Launch OT Device scans and start getting up-to-date views on your OT Assets and security posture using Qualys VMDR OT!
Note: The OT Device scan option is visible only if VMDR OT is turned on in your subscription.
- Comprehensive visibility and vulnerability management for critical infrastructure across all industrial network layers: Control, Supervisory, and Site Operations
- Real-time VMDR OT asset inventory
- Extensive industrial protocol support
- Out of band Configuration Assessment support
- Broad industrial vendor support
For more information on VMDR OT, refer to the Online help and Getting Started Guide.
Ready to scan?
There are some steps you need to take in your account to get ready for scanning. See Steps to Take Before You Scan.
Choose only the OT Device Scan option while scanning the OT/Industrial devices; other IT scans may not suit industrial assets. If these industrial assets are probed with IT scans, assets might reboot or crash because of intrusive scans.
In the Launch OT Device Scan window, enter details in the General Information section.
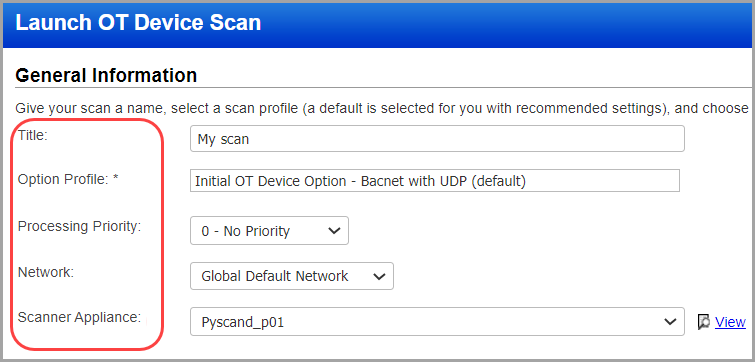
Title - Give your scan a title so you can easily identify it later.
Option Profile - Select an option profile for this scan job. The option profile contains the scan settings that will be used. Get help choosing an option profile.
Processing Priority - If you have an important scan that you want to be processed before other scans, then you can prioritize it. Choose from nine priority levels, with the highest priority being "1 - Emergency" and the lowest priority being "9 - Low". Scans with no priority will be processed after scans with priority. Get help choosing processing priority.
Network - (Visible only when the Network Support feature is enabled for your subscription.) Select the network you want to scan. The Global Default Network is selected by default, but you can choose a user-created network from the list.
Scanner Appliance - (Visible only when you have Scanner Appliances in your account.) If this option does not appear, your scans will automatically use external scanners.
Click here to see your Scanner Appliance optionsClick here to see your Scanner Appliance options
Select one of these options on the Scanner Appliance menu:
- Choose "External" to use our cloud scanners to scan IPs on your network perimeter.
- Choose a single scanner appliance from the list by name or use the "Build my list" option to select multiple appliances to scan IPs on your internal network.
- If you plan to scan asset groups, you can pick "All Scanners in Asset Group" and we'll distribute the scan across appliances in each group. Learn more about "All Scanners in Asset Group"
- If you plan to scan asset tags, you can pick "All Scanners in TagSet" to use scanner appliances with the same tags assigned as the scan target. Learn more about "All Scanners in TagSet"
- If you have the Network Support feature enabled, you can pick "All Scanners in Network" to use all appliances in the network you're scanning.
- Choose "Default" with asset groups as your scan target and we'll use the default scanner appliance defined in each asset group. Choose "Default" with IP addresses as your scan target and we'll use our External cloud scanners.
You can choose target hosts from Assets (IPs, asset groups) or from Tags.
Choose Target Hosts from Assets.
Select the Assets option to specify the scan target using any combination of IP addresses or asset groups.
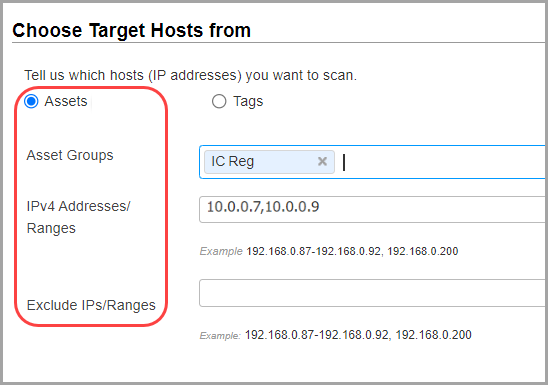
Asset Groups - When you scan asset groups, all the IPs in the asset groups are scanned. Enter the asset groups you want to scan by name or click the Select link to pick from your account's list of asset groups.
IPv4 Addresses/Ranges - Enter the IPv4 addresses/ranges you want to scan. Use commas to separate multiple IPs and ranges. Optionally, click the Select link to pick from a list of IPs and ranges in your account.
Exclude IPs/Ranges - The hosts excluded from the scan do not receive any scanning traffic, including ICMP, TCP and UDP probes. Enter the IP addresses/ranges you want to exclude from the scan. Use commas to separate multiple IPs and ranges. Optionally, click the Select link to pick from a list of IPs and ranges in your account.
Choose Target Hosts from Tags.
Select Tags to specify the scan target using asset tags.
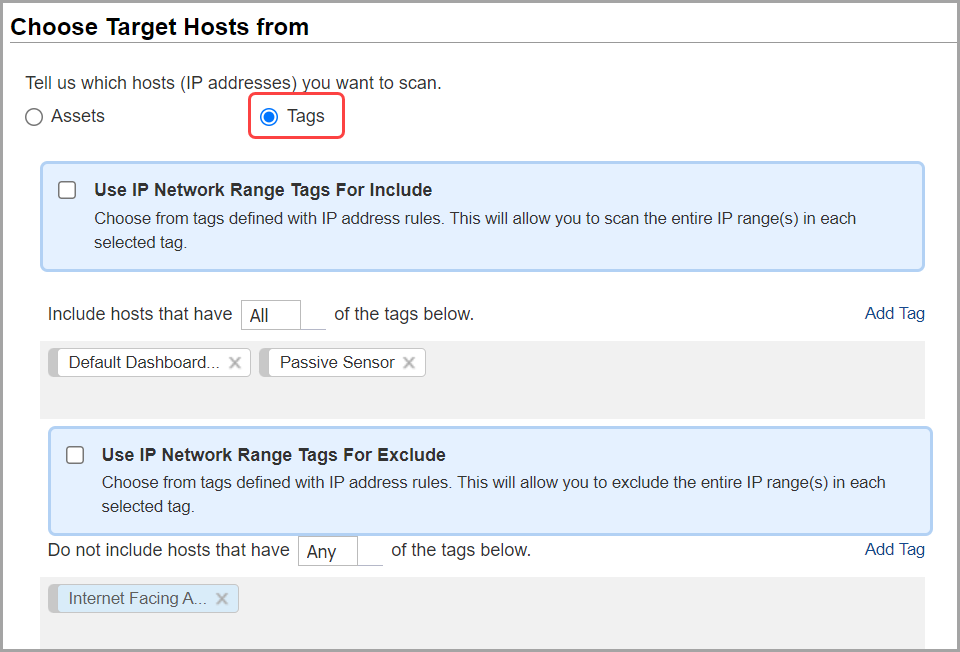
Include hosts - Add tags for the hosts you want to include in the scan target. Hosts that match the selected tags are scanned. To find a tag in the tag selector, click Add Tag and begin typing the tag name in the Search field. Click a tag to select it, then click outside the tree to add the selected tags to the scan.
Do not include hosts - Add tags for the hosts you want to exclude from the scan. The hosts excluded from the scan will not receive any scanning traffic, including ICMP, TCP and UDP probes.
Any vs. All - Choose All to include hosts that match all of the tags selected. Choose Any to include hosts that match at least one of the tags selected.
Use IP Network Range Tags For Include - This option lets you scan all IPs defined in a tag with the IP address tag rule, even if the IPs don't already have the tag assigned to them. We'll apply the tag to each IP that doesn't already have it. Click here for an exampleClick here for an example.
Example: Let's say you have a tag called My Network with the IP range 172.31.254.0-172.31.254.25. You have scanned IPs 172.31.254.10 and 172.31.254.20 before, so these hosts have the My Network tag assigned. The other IPs in the range do not have the tag. If you select Use IP Network Range tags, the entire IP range will be scanned, and hosts will be tagged. If you don't select it, only the 2 hosts that already have the tag will be scanned.
Use IP Network Range Tags For Exclude - This option excludes the entire IP range(s) defined in tags with the IP address tag rule.
(Optional) Select Send notification when this scan is finished if you'd like an email notification with a custom message to be sent to you and others when this scan is finished.
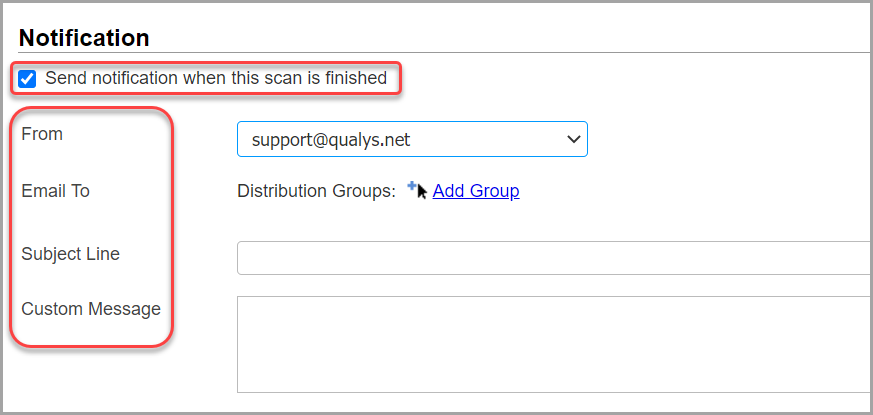
From - Select the email address that should appear in the From the line of the email. You can choose the Support email or your own.
Email To - Tell us who to notify when this scan is finished. You can do this by selecting distribution groups. Click Add Group. Then, in the Add Distribution Group window, select a group in the list to see details about the group, and click Add to list to add the group to the notification. Learn more about distribution groups
Subject Line - Enter the text for the Subject line of the email.
Custom Message - Enter a custom message for the email.
Once you have provided all the scan information, you are ready to launch the scan. Click Launch to start the scan.

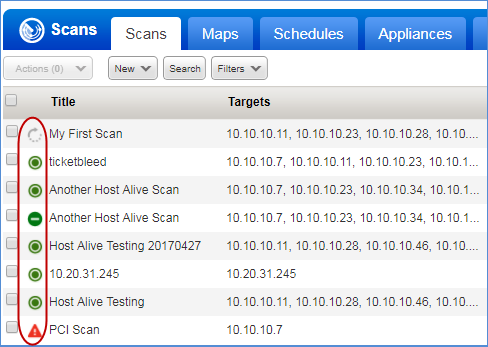
Your new scan appears on the Scans list. You can let the scan run in the background and then return to this list anytime to check the scan status. You can see status icons next to each scan in the list to indicate if the scan is Running, Finished, Paused, etc. Select any scan row and view the Preview pane below the list for more scan summary details. Learn more about scan status
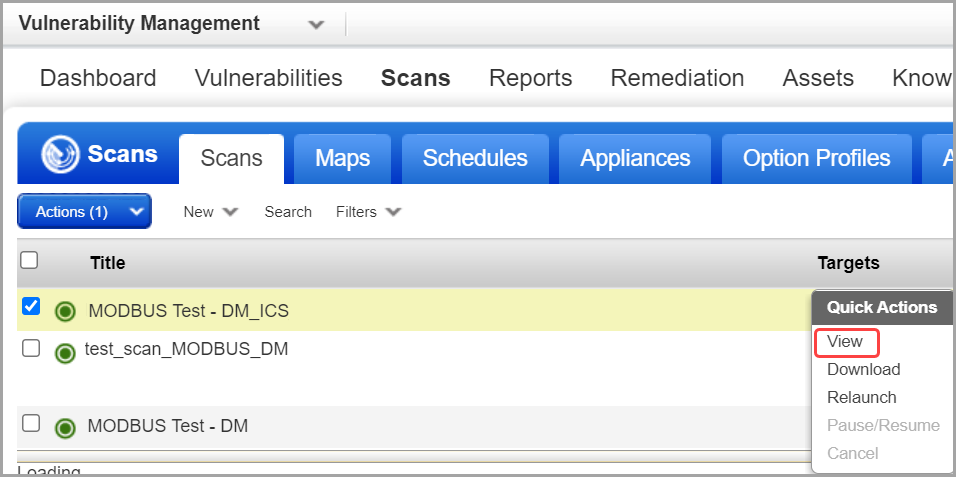
When your scan is finished, select View from the Quick Actions menu to see the detailed scan results. Download scan results by selecting Download from the Quick Actions menu. Learn more
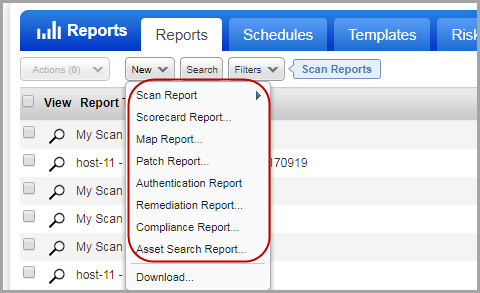
Your processed scan data will be available in your account and you can run reports for different views of your data. We offer several reporting options. Go to Reports > Reports > New to see the options available. Learn more about reporting