Asset tagging helps to organize assets in your organization. You can apply tags manually or configure rules for but isn't automatically classifying your assets in logical, hierarchical, business-contextual groups. The most powerful use of tags is accomplished by creating a dynamic tag. Dynamic tag automatically assigns tags to the assets based on search criteria in the dynamic tagging rule.
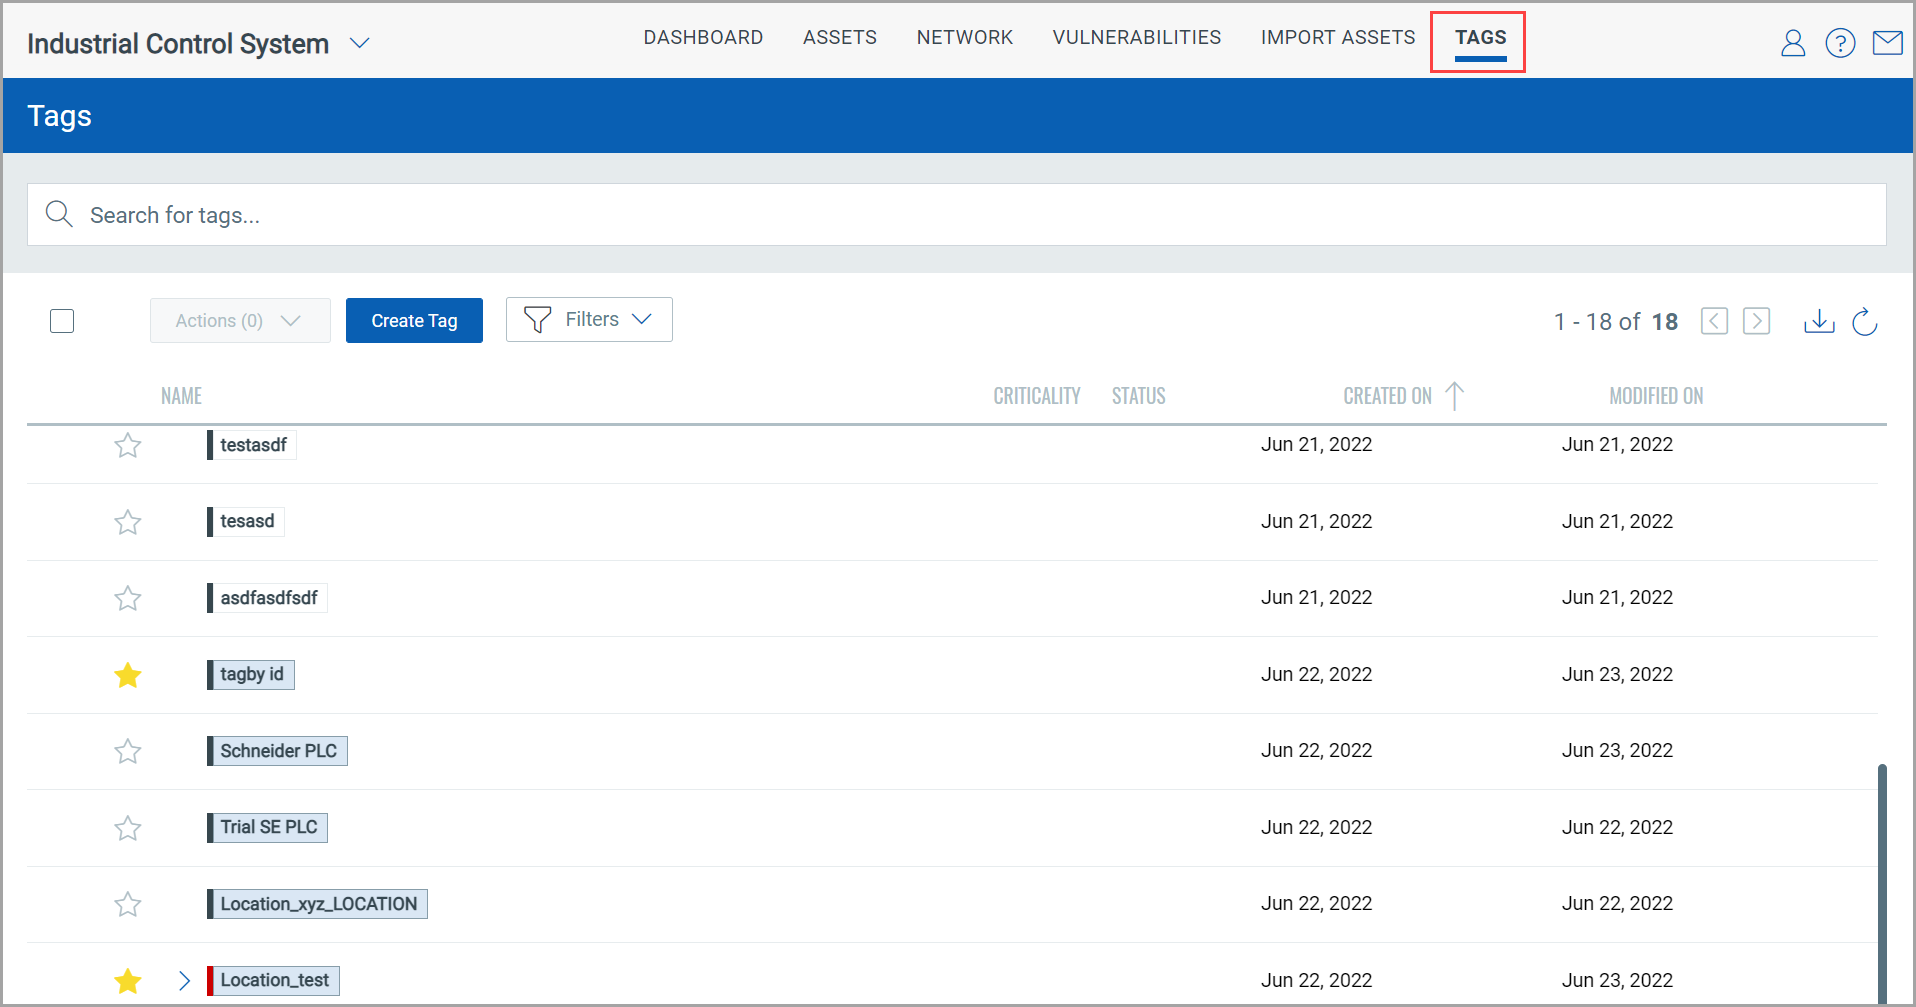
On the TAGS tab, you can view list of various tags applied to the assets and option to create new tag.
Note: You need permissions related to tagging activities. There are various permissions like Create User Tag | Edit User Tag| Delete User Tag |Modify Dynamic Tag Rules| Add/Remove Tags.
Manager users can assign/edit the permissions for other users from Administration utility. For details refer to Assign Roles to users.
For more details on Tagging permission, refer to the section Steps to assign or remove the Tagging Permissions of online help of Administration Utility.
You can search the tag from the Search for tags.

Configure tags to apply them to assets. Tags help to organize your assets and to manage user access to them.
1) Go to Tags and click Create Tag.
2) Enter the basic details and tag properties for your tag.
3) Set up a dynamic tag type (optional). If there is no dynamic rule, then your tag will be saved as a static tag.
- Tag Type
- Test Rule Applicability on Selected Assets (Optional)
4) Click Create to save the tag. When you save your dynamic tag, it is applied to all discovered assets that match your defined rule. You can filter the assets list to show only those that match your new tag rule.
Note: When you save your static tag, you can apply it to your asset from the Assets tab.
Steps to follow:
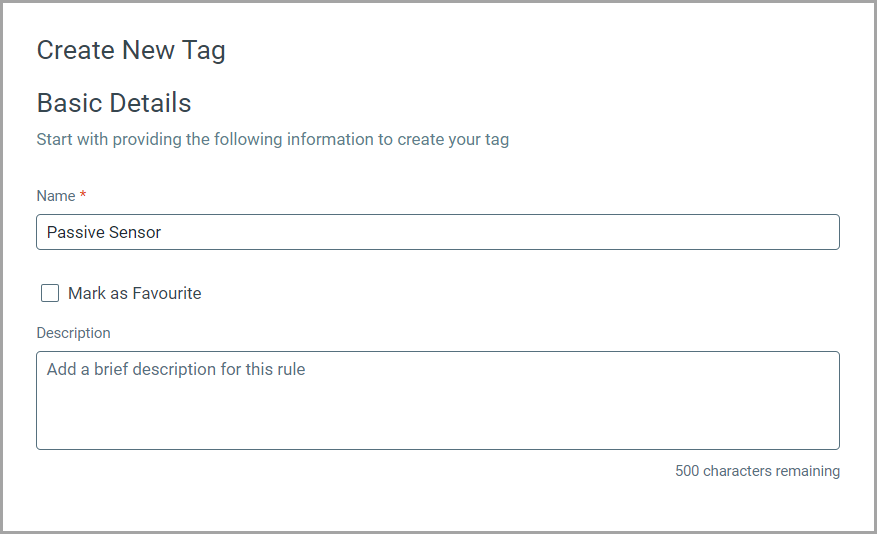
1. Enter the basic details.
- Go to TAGS > Create Tag
- Create New Tag window is displayed.
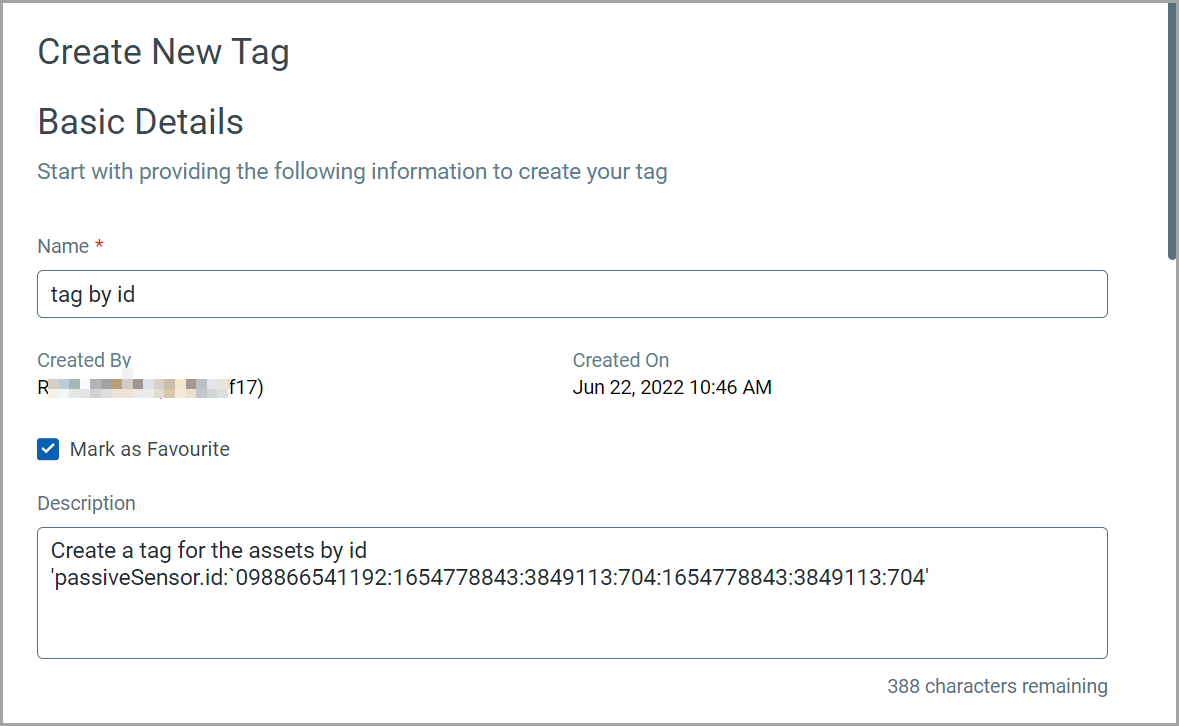
- Provide the Name for the tag.
- Provide a Description for the tag. This is an optional field.
- Select Mark as Favourite if you want to create a tag as a favourite.
The favourite tag is displayed with a yellow star in the list.
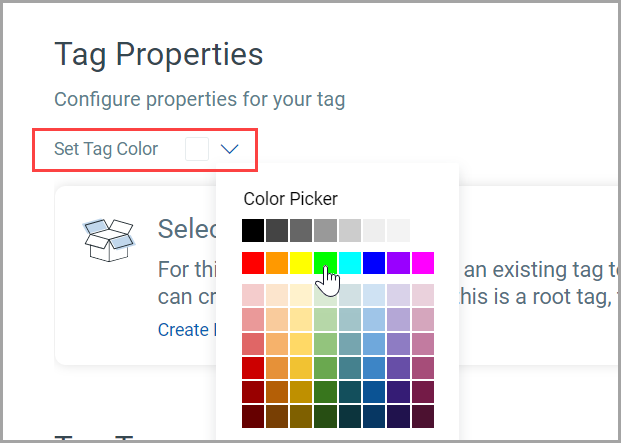
2. Go to Tag Properties. (This is an optional field)
You can assign different colors to different tags for better organization of the tags.
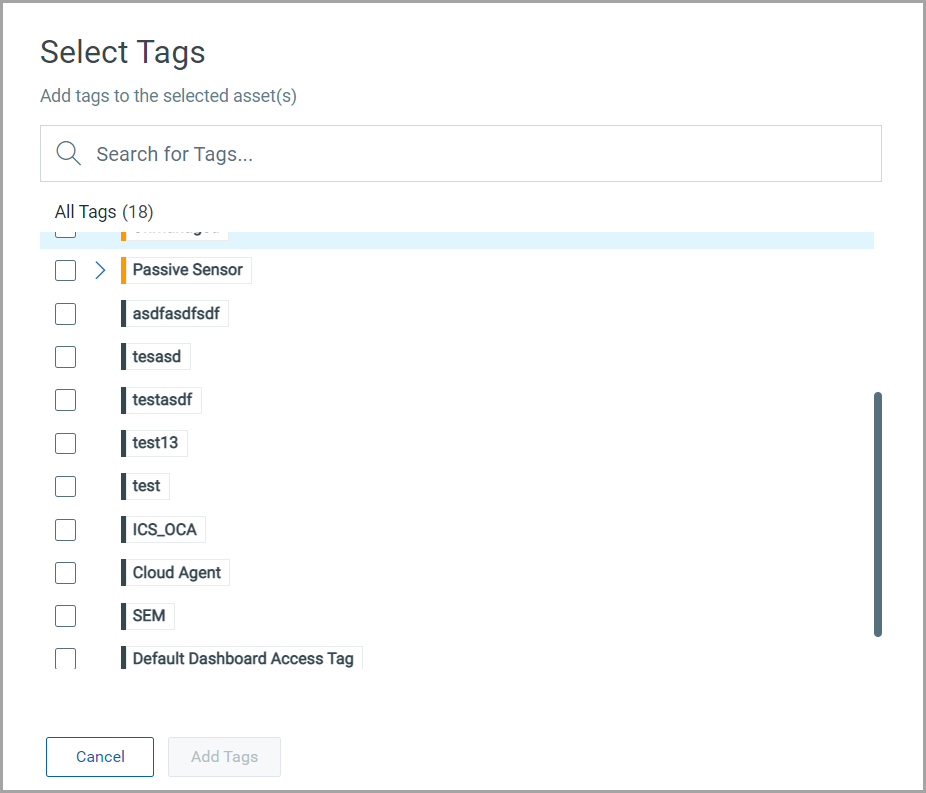
When creating a child tag, you can select a parent tag from existing tags in your account.
To select an existing tag, click Select and choose a tag from the Select Tags window.
You can also create a new tag for a parent.
Click Add Tags and again similar form to create a tag displays. You can not create a new parent from this new tag.
3. Select Tag Type.
There are two types of tags - Static and Dynamic. By default, the static tag is created. The dynamic tag allows you to define Tag Rules.
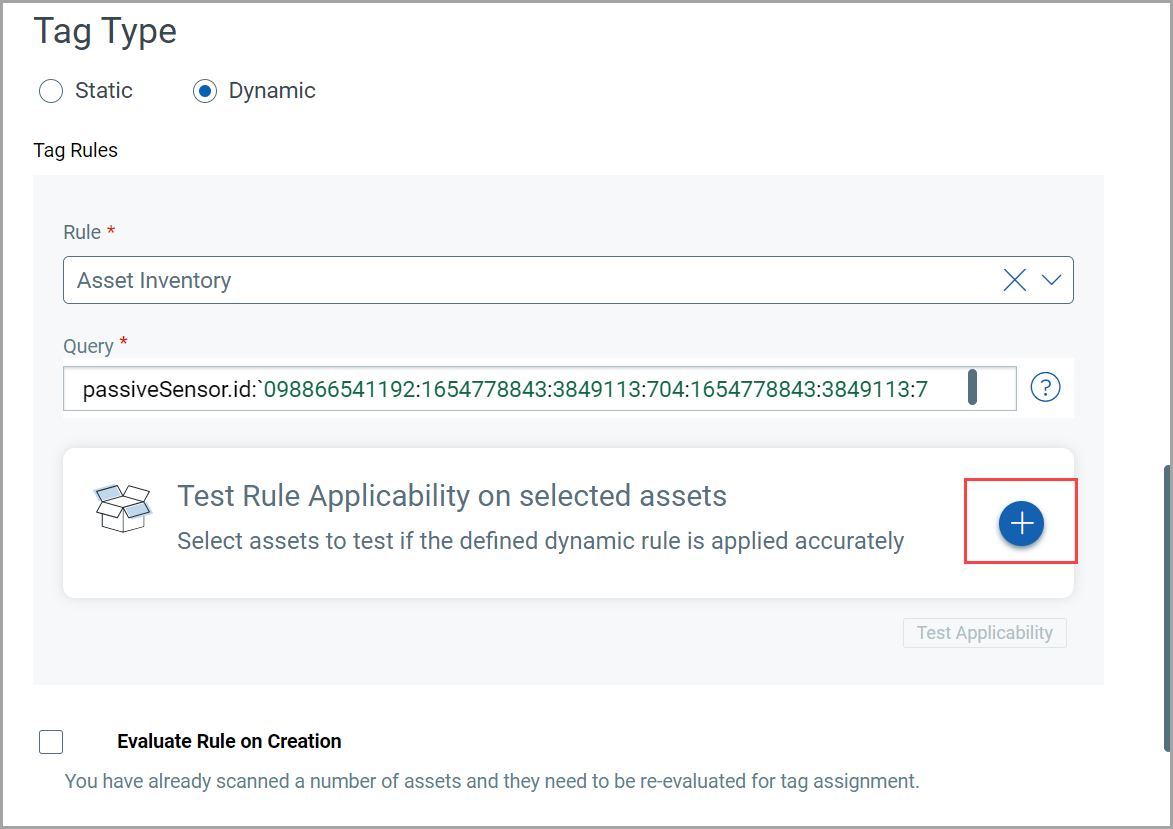
- For setting dynamic tag type, select Dynamic.
- Go to Rule and select Asset Inventory.
Here we want to tag the assets by passive sensor ID.
-Enter the query. Keep the passive sensor Id in backticks for an exact match.
- To test the rule of Applicability on your assets, click ![]() This is an optional field.
This is an optional field.
We recommend the following search queries for the Asset Inventory rule for creating dynamic tags.
passiveSensor.id |
operatingSystem |
passiveSensor.location |
hardware.category2 |
hardware.manufacturer |
hardware.model |
passiveSensor.name |
|
To check rule applicability, select the assets from the list and click Apply.
- A green color Pass tells you the asset matches the rule.
- A red color Fail tells you the asset does not match the rule.
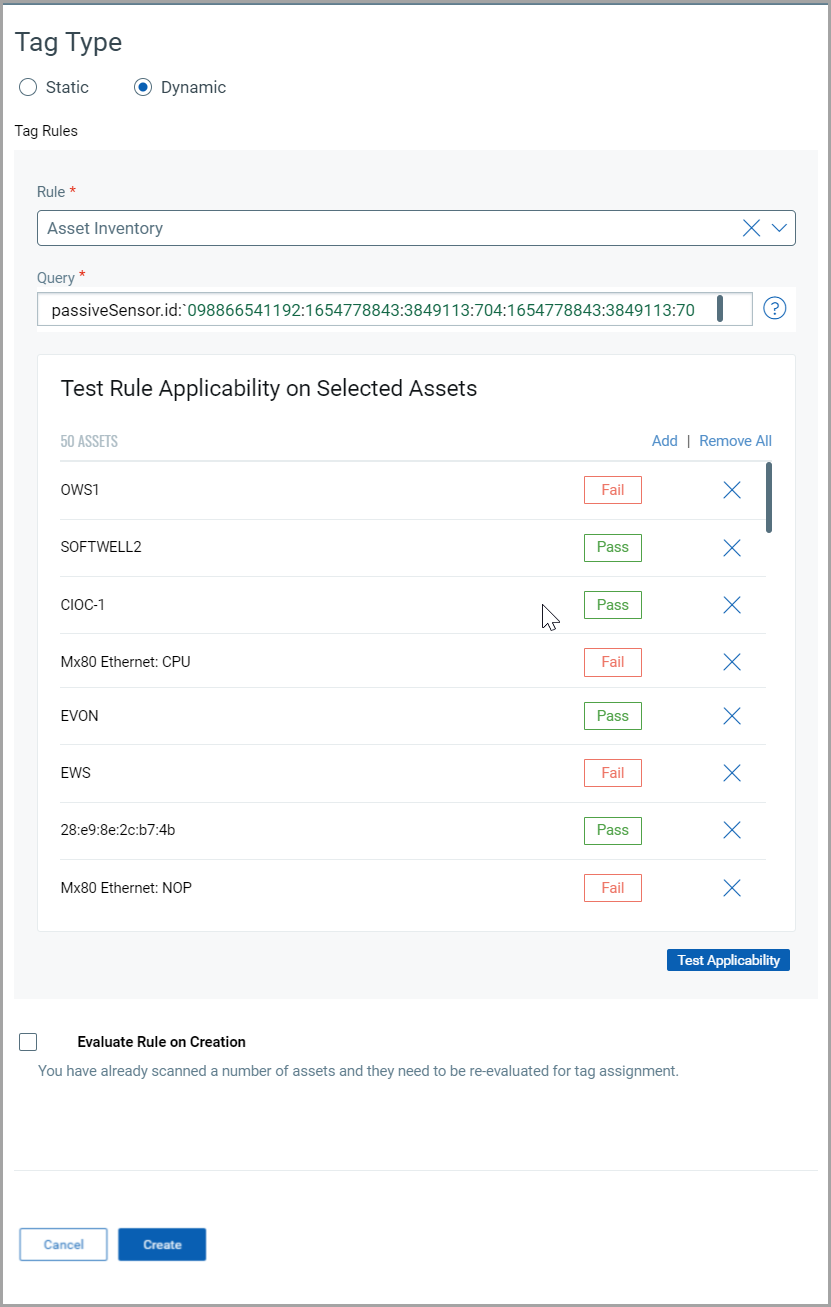
- Click Add to add another set of assets to test rule applicability from the list of assets of Select Asset window.
- Click Remove All to clear
the assets present in the list, you can search more assets by clicking
![]() from Test
Rule Applicability on Selected Assets.
from Test
Rule Applicability on Selected Assets.
You can select Evaluate Rule on Creation check box to evaluate the dynamic rule once it is created or updated.
Clicking the Evaluate Rule on Creation applies to all the assets which satisfy the rule includes assets that are scanned earlier.
- Click Create to save the tag.
You have completed the steps to assign the tag to the assets.
You can view the tag in the Tags table.

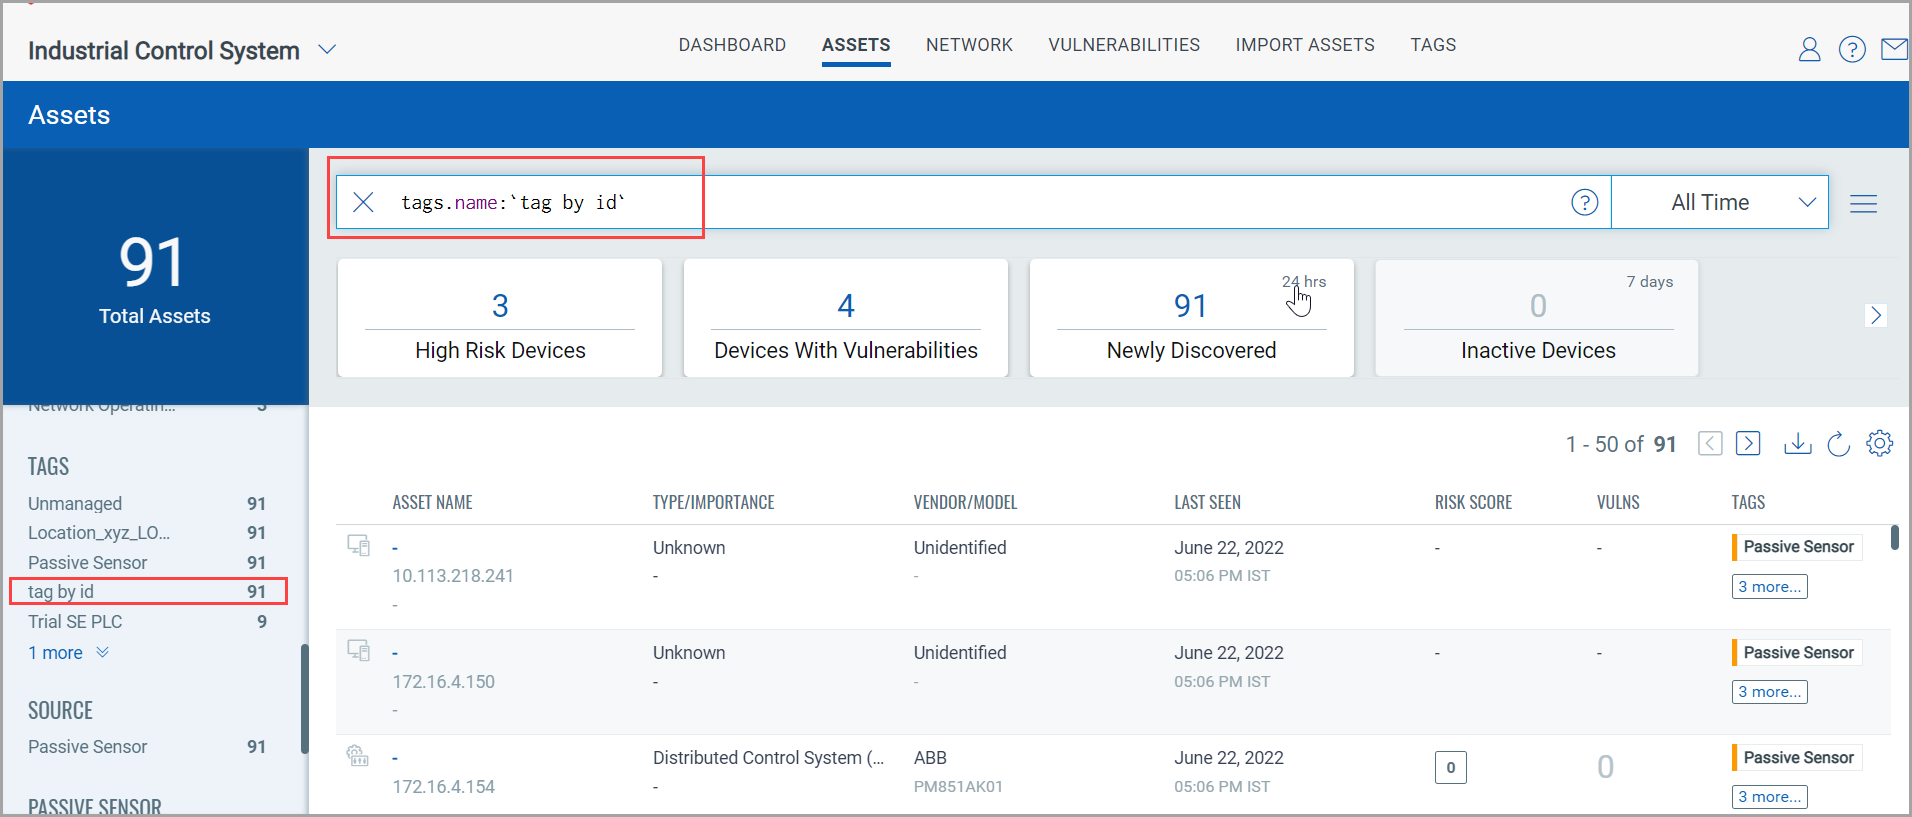
You can also view the details of the tag on the Assets tab.
Under the total number of assets, you can see tag by id is available in the TAGS filter.
After you click a tag by id from the list, your selection gets translated into a QQL query in the search bar and the assets that belong to the selected tag are displayed in the assets table.
