Create Vulnerability Reports in Container Security
We support customizable, QQL query driven on-demand report jobs. Reports are driven by report templates. We have these report templates: Image Vulnerability Report and Container Vulnerability Report. When your report is finished you'll be able to download it in CSV format from the Reports list.
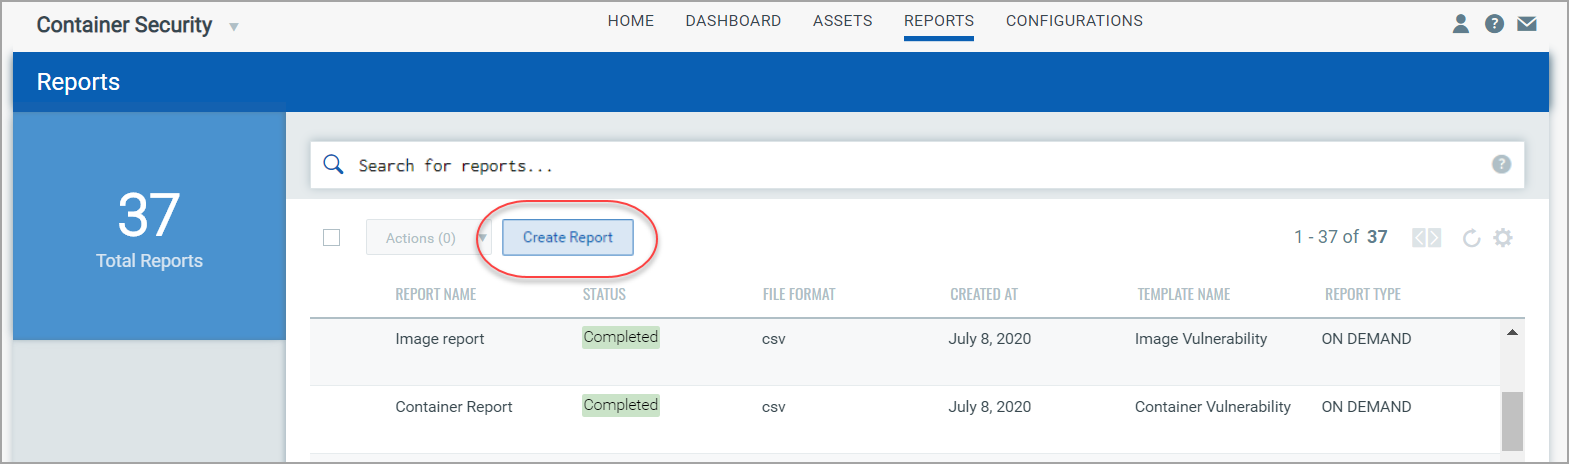
1) Go to the Reports section on the top menu, and then click the Create Report button.
2) Under Report Details, enter a friendly name and description for the new report, then click Next. (Tip - You'll be able to find this report later by searching your reports by name.)
3) Under Report Source, you'll see 2 service provided report templates to choose from: Image Vulnerability and Container Vulnerability. Choose the "Image Vulnerability" template to create a vulnerability report on your scanned images. Choose the "Container Vulnerability" template to create a vulnerability report on your scanned containers.
4) (Optional) Add a QQL search query to limit the report to only certain images/containers. For an Image Vulnerability report, only the images that match your query will be included in the report. For a Container Vulnerability report, only the containers that match your query will be included. For example, apply a search query to focus on a particular scope or timeframe. Reports with a large number of records will be truncated and this will be indicated in the report. After providing your query, click Next to continue.
Learn more about search tokens: Searching Images | Searching Containers
5) Under Report Display, choose the details you want to see in your report. Your selections determine which columns appear in the CSV report output. Note that certain details are selected by default and cannot be unchecked. Optionally, pick "Select All" to include all details in the report. After making your selections, click Next to continue.
6) Review the Report Summary
and click Submit to submit the
report job. Your report will appear on the reports list with a status
of Accepted. The status will change to Completed once the report is done
and ready to download. Just choose Download
from the Quick Actions menu to view the completed report. See Manage
Your Reports to learn more.