menu.
menu.You may want to edit widget template or change the layout of widgets in the dashboard. Let us see the various possible actions that you can do to manage your dashboards.
Note: You can only add a maximum of 80 widgets to a dashboard. If you want to increase or decrease the limit from 80 widgets on a dashboard, contact Qualys support.
Over a period of time, you may want to change the widget preferences or update the search query or configure updated thresholds in widget rules. In such cases. you can edit the existing widget. Let us see the steps for the same.
1. On the dashboard, select the widget you want to customize and click
the widget
menu.
2. Select Edit from the menu options.
Note: Editing widget option is available only if the widget is editable and if you have adequate permissions to edit the widget.
The Edit Widget page is displayed.
3. In the Edit Widget window, modify the required properties and click Save.
We provide widget templates that have pre-populated search queries. You can customize the template to suit your need. Let us see the steps to customize a widget template .
1. On the dashboard, the Add
Widget  button. The widget
template library builder is displayed.
button. The widget
template library builder is displayed.
2. Locate the required widget template.
3. Choose the widget template you want to customize and click Customize Widget.
4. Choose the widget type from the options provided: Numerical, Table, Bar, or Pie.
Depending on the widget type you choose, populate the information and configure the required settings for the widget. For detailed information about each widget type, see Widget Types.
You can choose the widget preferences from the different options that we offer in the Preview section.
Click Test and Preview to test how the search query works and get a preview of your widget.
5. Click Add to Dashboard and your widget is added to the dashboard.
Resize any widget vertically or horizontally, drag & drop widgets on the page to change the layout.
1. Click the Tools  menu on the dashboard.
2. From the menu options, select Edit Dashboard Layout.
3. Adjust the width for any widget or drag the widget to a new location.
4. Click OK to save your changes.
You might want to see the latest asset data for a widget. Just select the label to the right of the widget title and select Refresh Widget from the widget menu.
To refresh all widgets in one go, choose the Refresh Dashboard option from the Tools menu and all the widgets on the dashboard will be refreshed.
You might also want to choose the number of resources or controls displayed in your Live Feed widget. You can choose to display: Top 10, Top 5, or Top 3 failed controls or resources.
You can search for a widget by its name or view the list of all widgets for a module.
Search Widgets: Click Add widget button on the dashboard, select the module to which the widget belongs, and then type the widget name in the search bar. All the widgets that match the search are populated.
Qualys Defined Templates: Lists all the pre-defined templates available in your subscription.
Recently Added Templates: Lists all the templates that were added recently to the library.
My Templates: Lists all the templates that you have created. If you have not created any custom widget template, then this section is not visible. To create a template from a widget, refer to Save widgets as template.
Popular In Your Organization: Lists all the popular templates that are widely used in your subscription.
Use to import widgets (JSON format) from other accounts or users.
1. Select the dashboard you want to perform actions on from the Dashboard selector on the home page.
2. Click the Tools
menu and click Import New Widget.
3. Provide a name for the widget you want to import.
4. Click Browse and browse to the widget file (JSON format) and click Import.
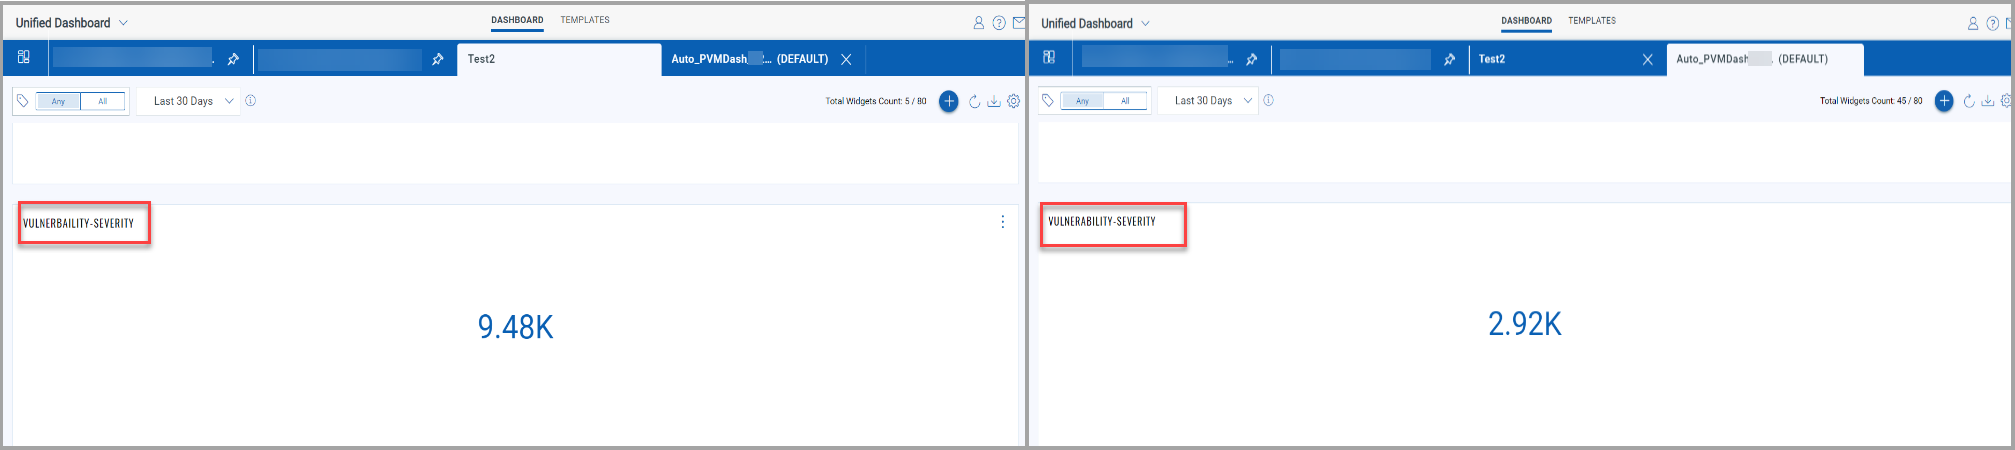
The widget is now available in user-defined widget library to be added to your dashboards. The imported widget data acts as a copy of its dashboard. If you import a widget to a different account, the vulnerabilities score might differ depending on the vulnerabilities in each account.
In the following example the Vulnerability Severity widget of the Default dashboard is imported to the Test2 dashboard, and the count for both the dashboard is different:
1. Click the Add Widget button on your dashboard.
2. Pick one of our widget templates - there are many to choose from - or create your own.
The Add Widget to Dashboard page is displayed.
3. Select the application/module from the left pane from where you want to fetch the data. Then pick the widget from the widget library. You could customize the widget templates that we provide or create a widget from scratch.
For information on different widget types we provide, widget templates and other widget related information, see Knowing Widgets.
4. Once your widget is ready, click Add to Dashboard.
Click the Add Widget
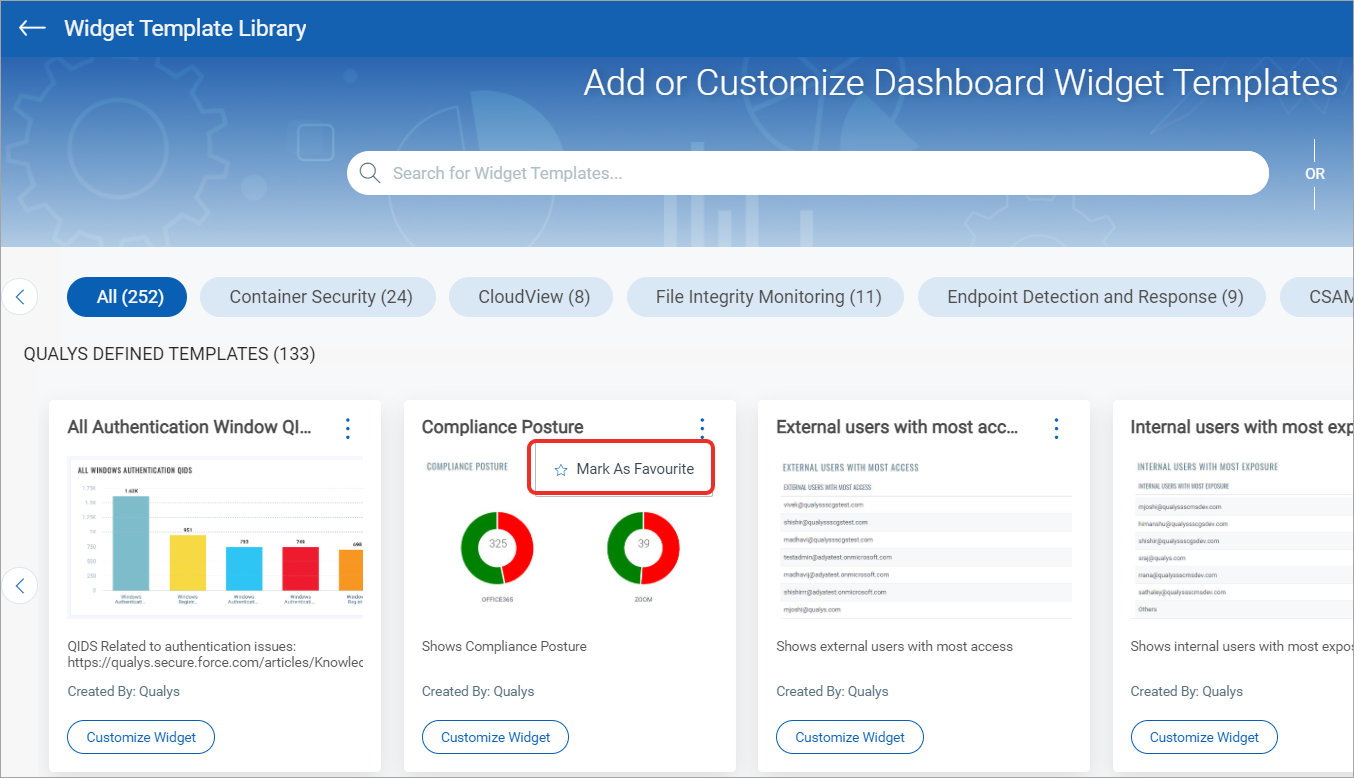
button on your dashboard. The widget template library is displayed.
Select the widget template that you want to mark as favorite and then
click the
icon. Choose Mark as Favorite option and the widget is added to favorite
widget list.