Zoom Connector
Create a SaaSDR connector with your Zoom account to begin monitoring it.
Follow these steps to create a Zoom Connector:
1) Create application and get Application ID Application Key
2) Create Connector in SaaSDR with Zoom as application
Create application and get Application ID, Application Key
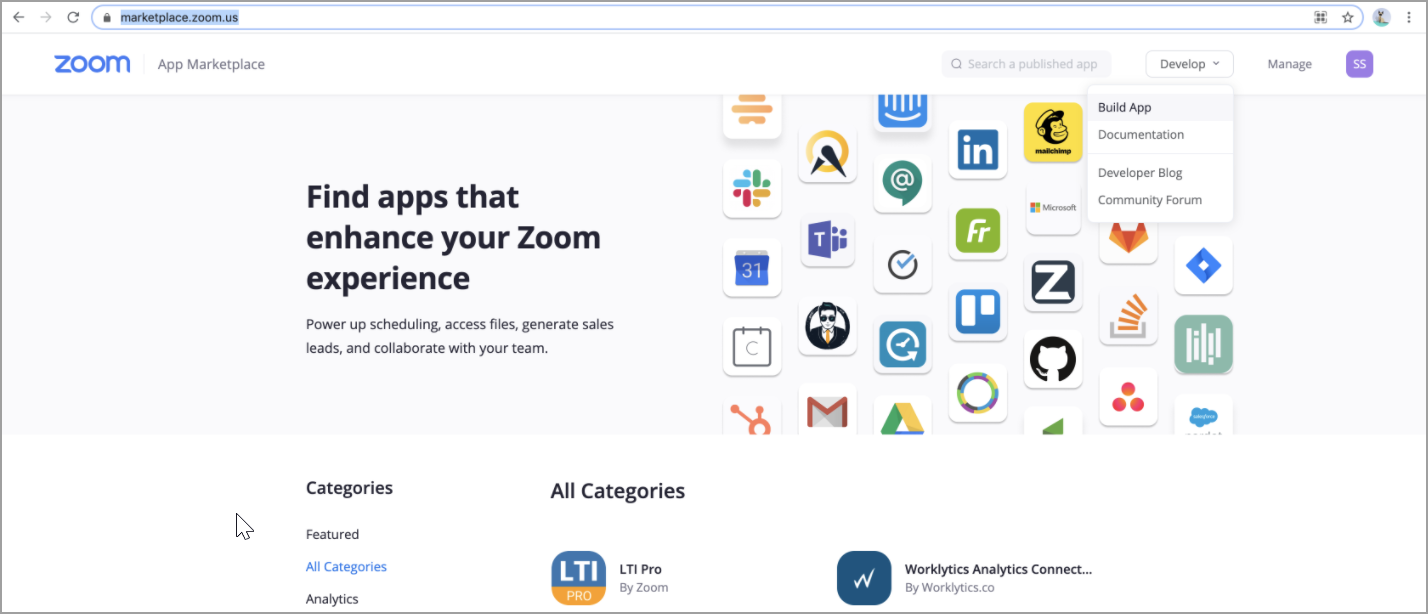
1. Login to the Zoom Marketplace (https://marketplace.zoom.us/) via Admin User.
2. Go to Develop drop-down option on the top-right and click Build App menu.
3. Click Create for OAuth App type and provide the following details:
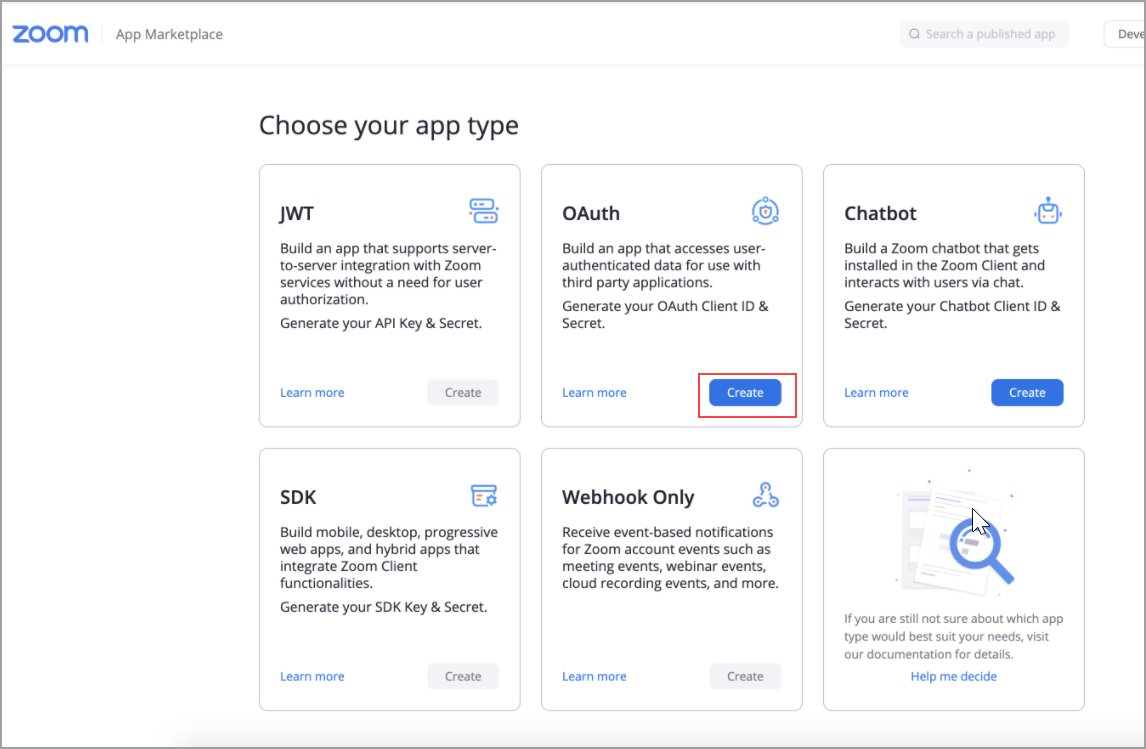
a. App Name: A name for the application (e.g. QualysSaaSDR).
b. App Type: Choose Account level app.
c. Disable option to publish app on marketplace.
4. Click Create.
The newly created application is displayed with its properties.
5. Copy the Client ID and Client Secret. You will need this later in the process.
6. Enter the Qualys Guard Url to the Add allow lists (Ex: https://qualysguard.qualys.com/)
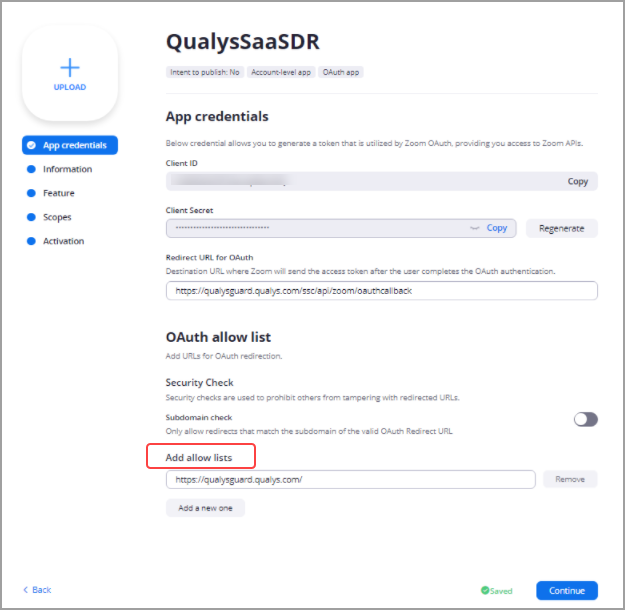
7. Enter the "Redirect Url for OAuth" (Ex - https://qualysguard.qualys.com/ssc/api/zoom/oauthcallback) and click Continue.
8. Enter the basic details in the subsequent section.
9. Go to Scopes section and click Add Scopes. Add the following scopes for the application:
View account info
View groups
View all user meetings
View all user recordings
View report data
View all user roles
View all user information
View all user Webinars

8. Click Continue.
Create Connector in SaaSDR with Zoom as application
Follow these steps to create a Zoom connector:
1) From the SaaSDR UI, click Configuration > Connectors tab and then click the Create Connector.
2) On the Create Connector page, select Zoom from the SaaS drop-down menu.
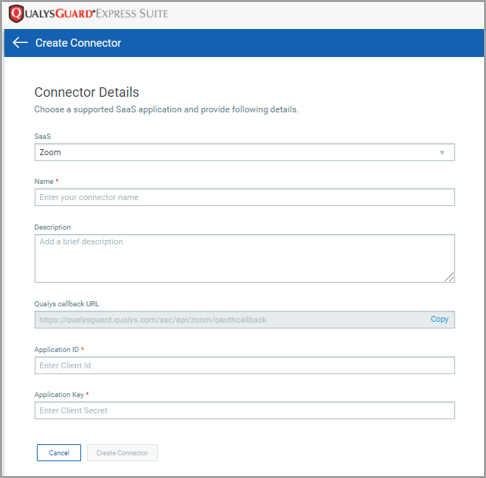
3) Provide a Name and Description for this new connector and enter the Client ID and Client Secret copied in the previous step in Application Id and Authentication Key fields respectively.
4) Click Create Connector.
Once you click Create Connector, you are redirected to the Zoom login screen. Provide admin credentials and allow access. When your connector is created, it is listed in the Configurations > Connectors list. Here you can check the status and other details of the connector.