Google Workspace Connector
Follow these steps to create a Google Workspace Connector:
1) Enable Access to APIs in API library
2) Create Service Account and Download Configuration File
3) Grant Scope access to Service Account
4) Create Connector in SaaSDR with Google Workspace as application
Enable Access to APIs in API library
1) Navigate to the Google Cloud Platform (GCP) console. (https://console.cloud.google.com/)
2) Select the organization.
3) Select a project or create a new project. Ensure that you select the correct project.
4) In the left sidebar, navigate to APIs & Services > Library.
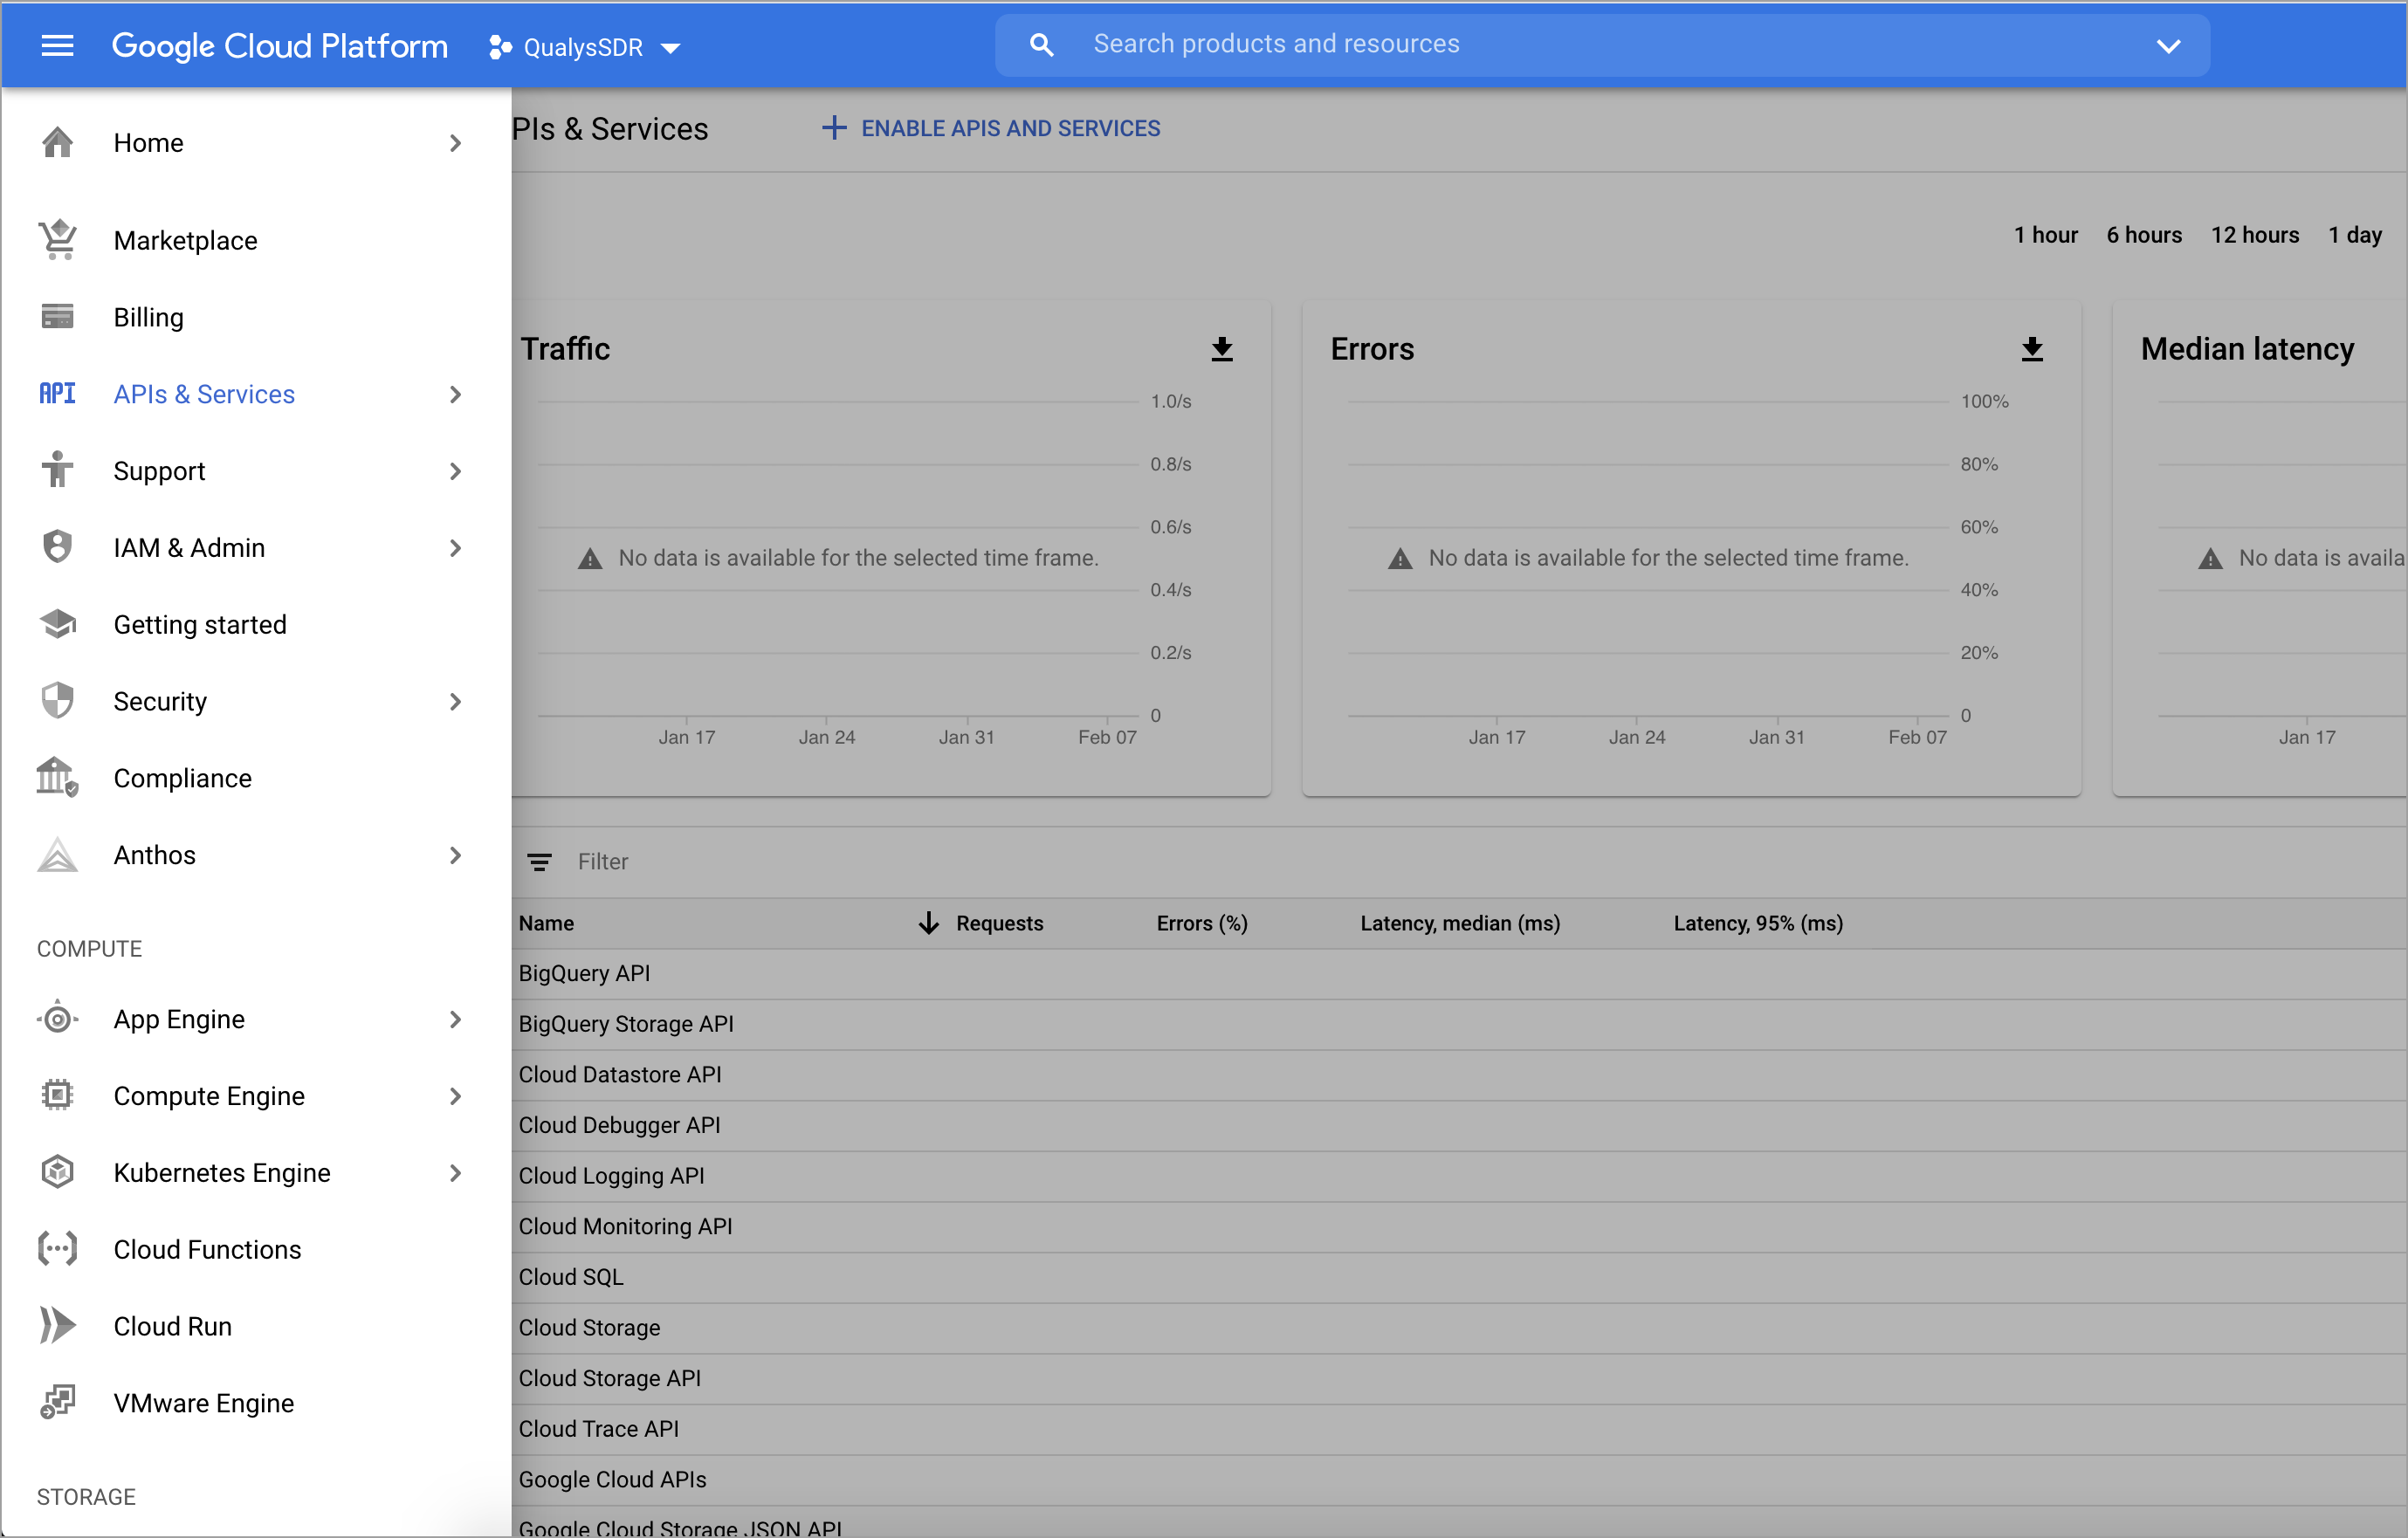
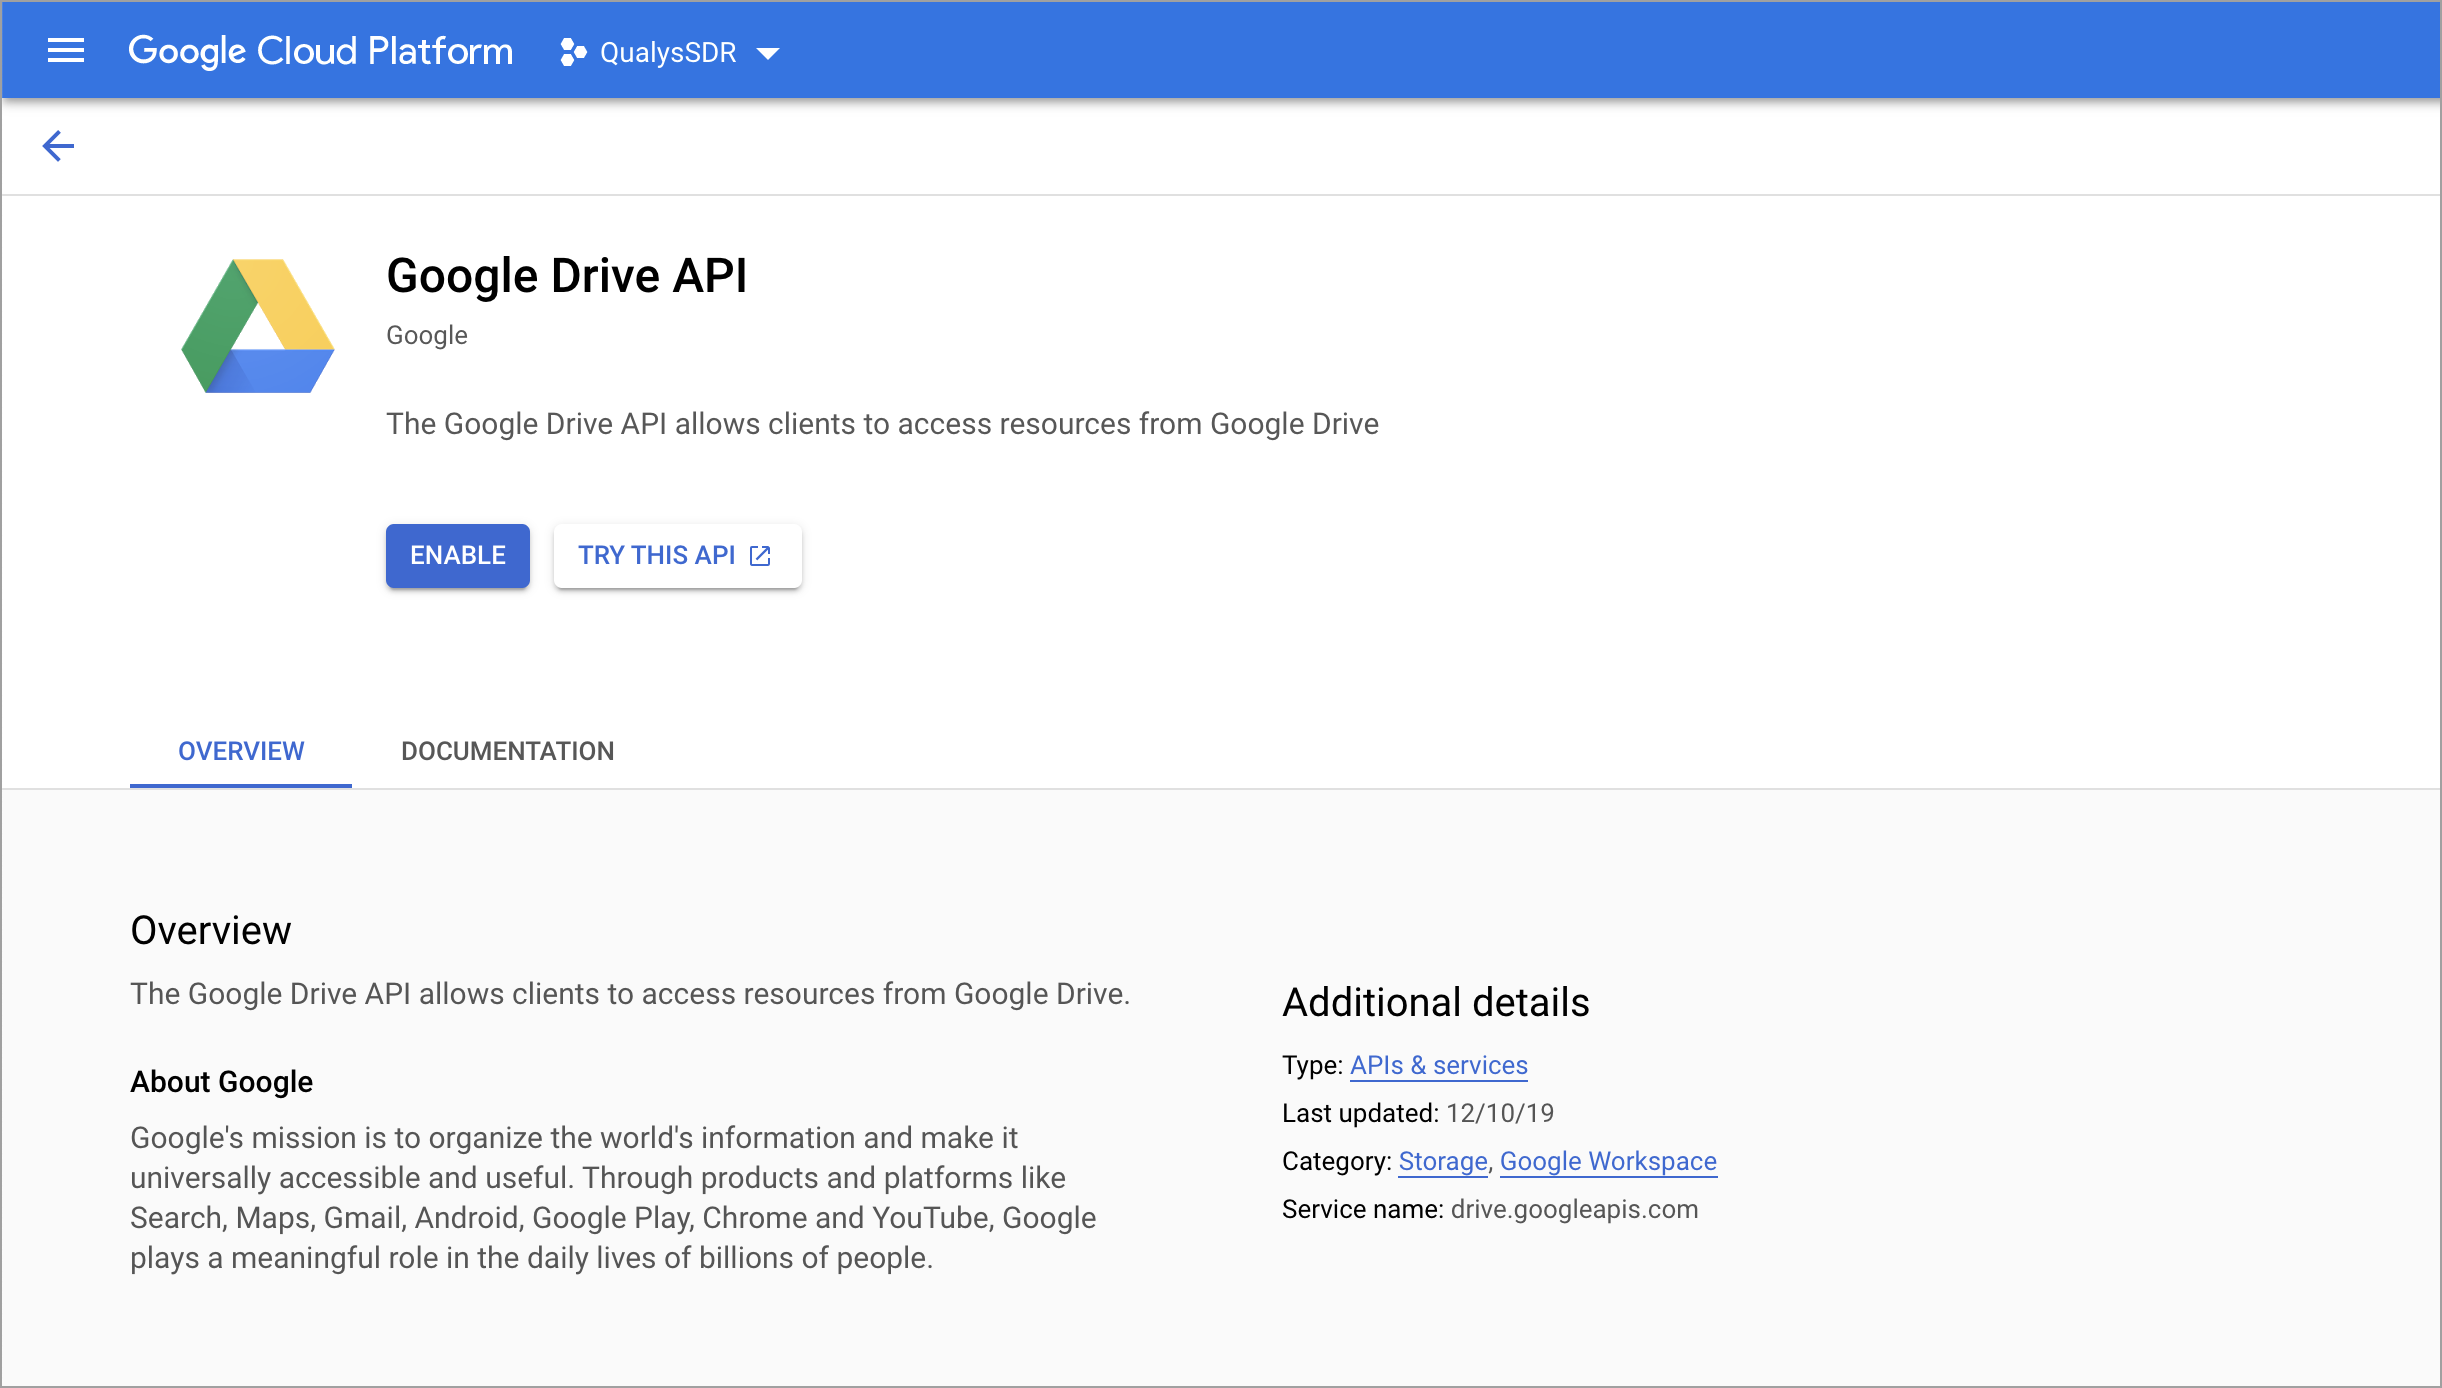
5) In API library, click the following APIs and enable them. To find the API, use the search field.
a. Google Drive API
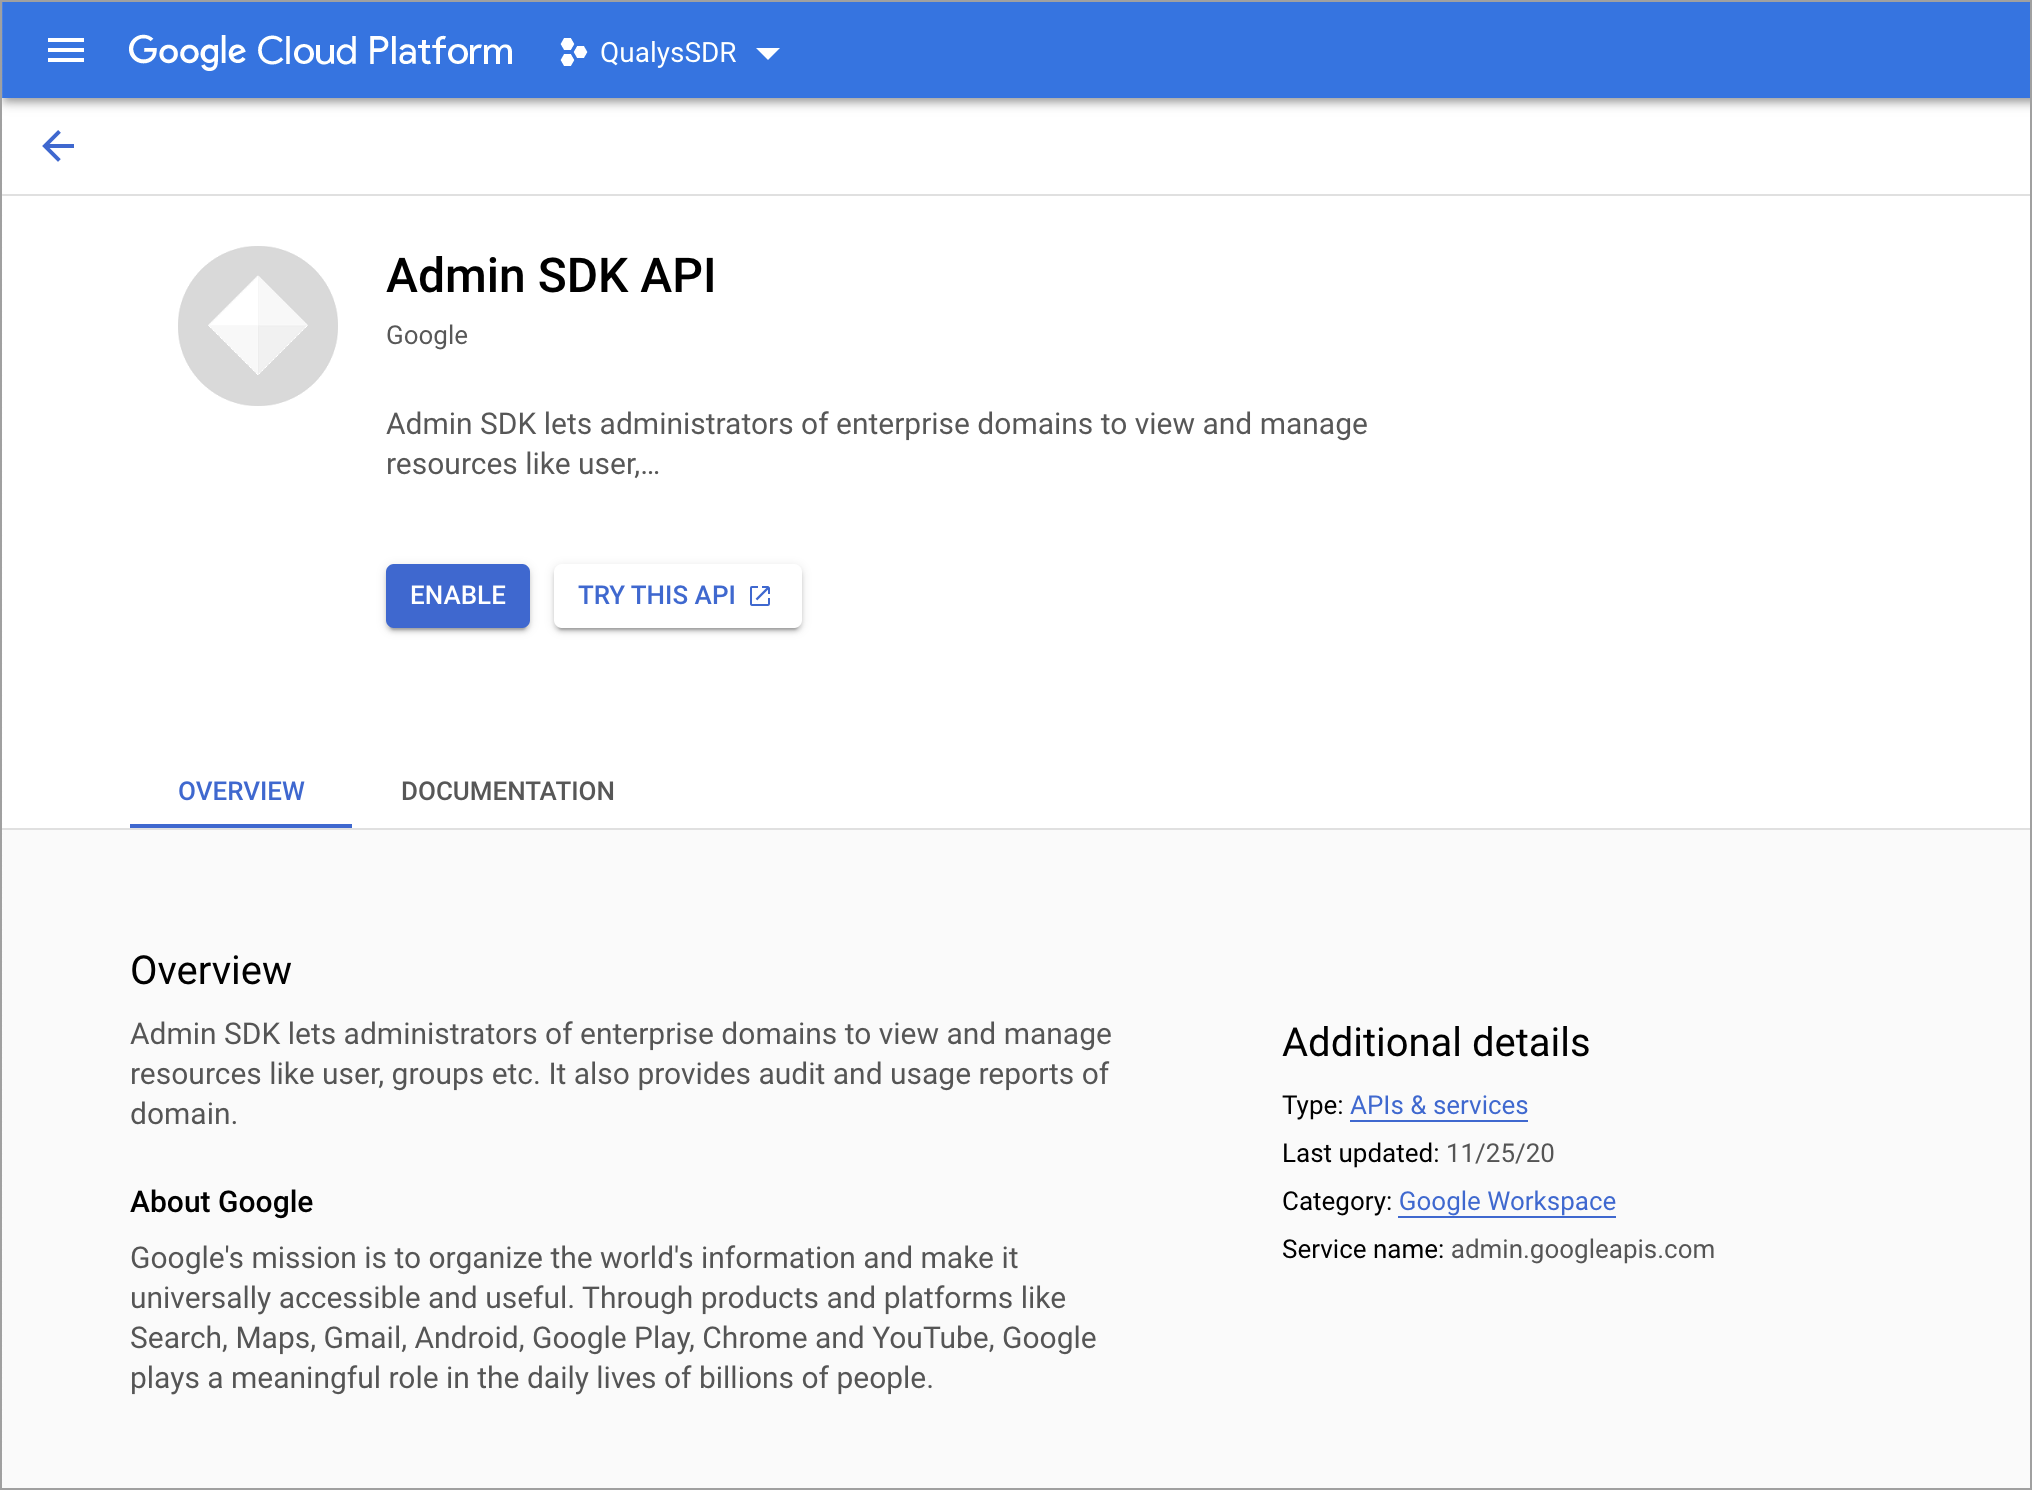
b. Admin SDK API
Create Service Account and Download Configuration File
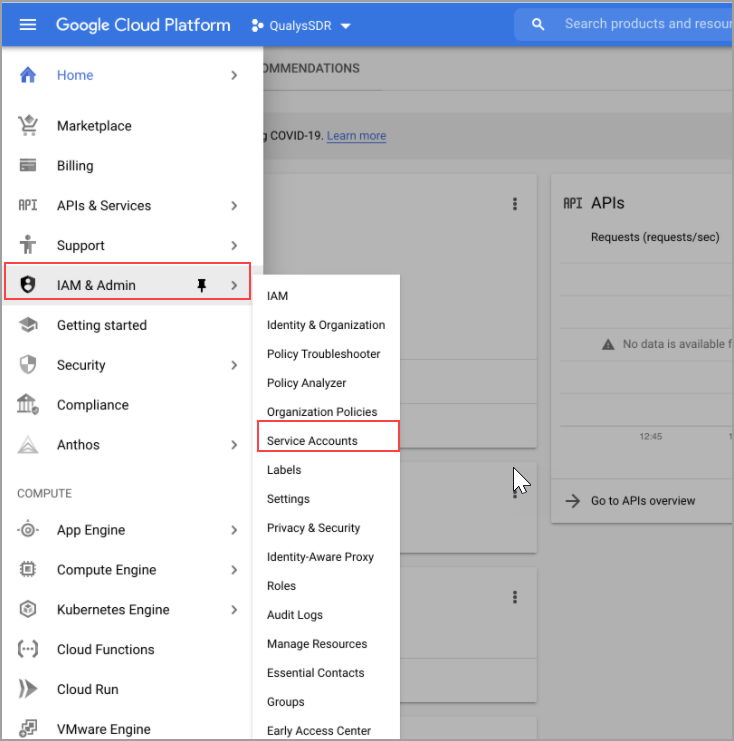
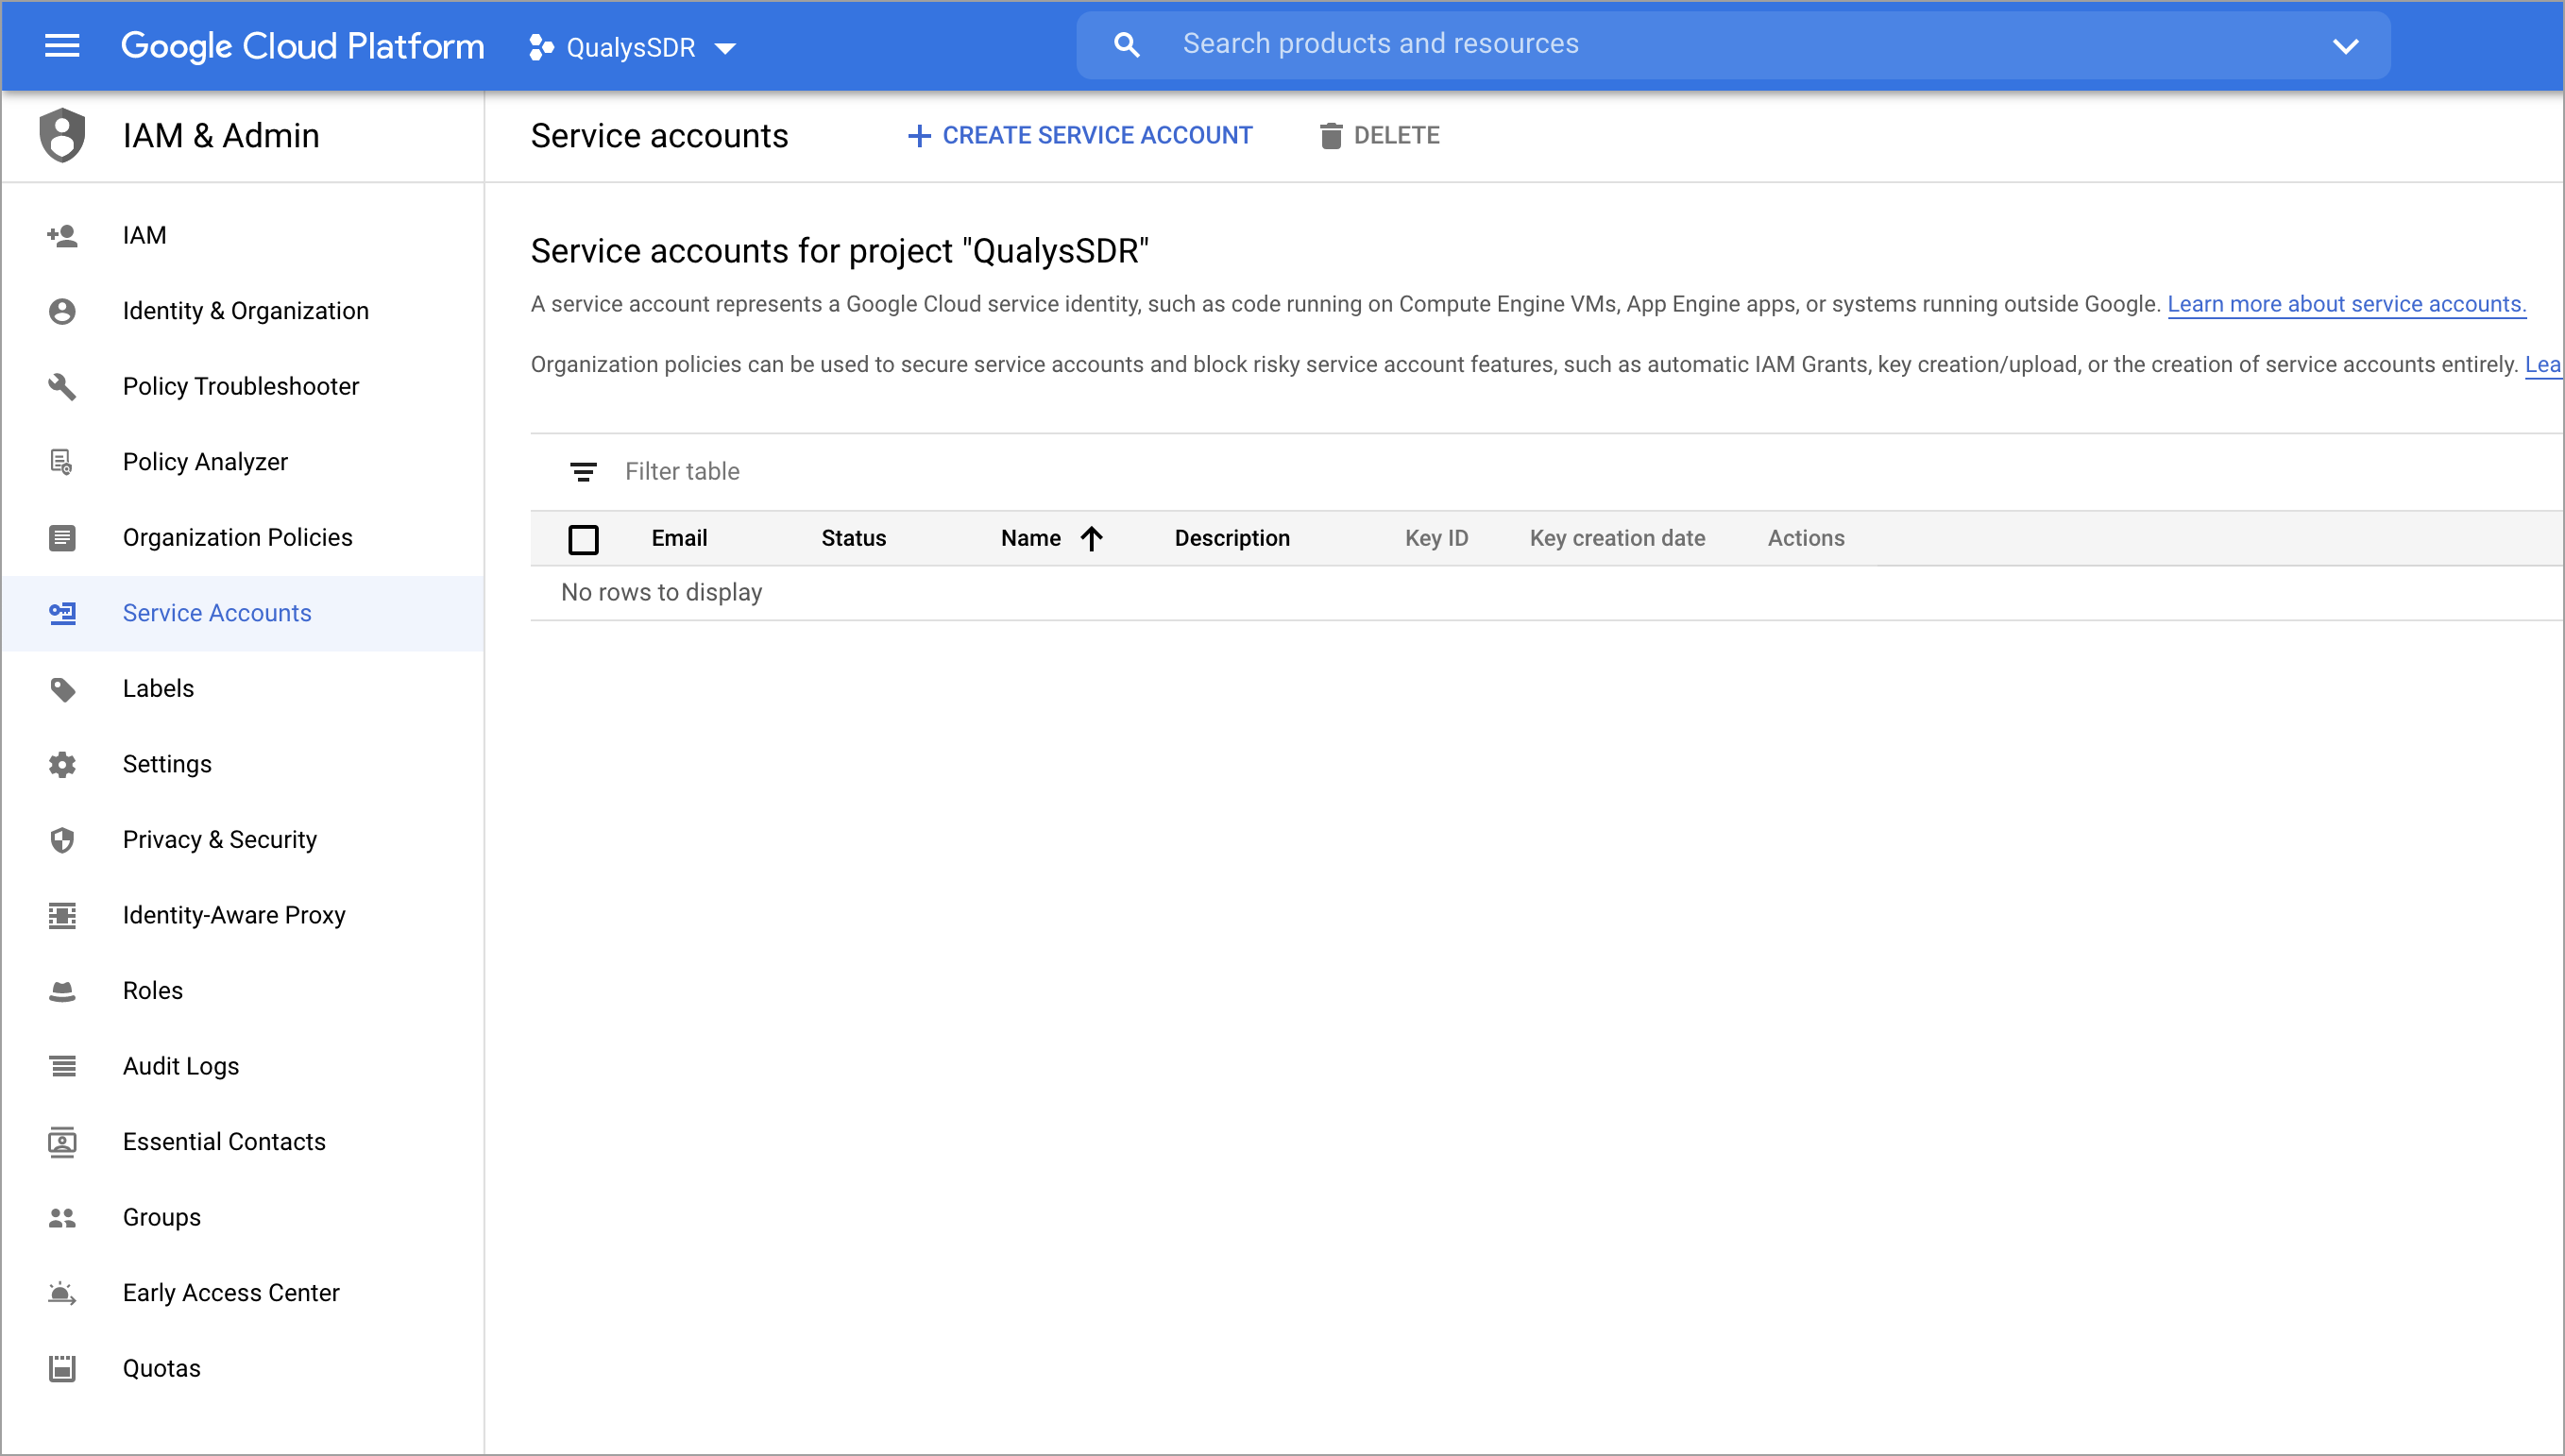
1) From the left navigation pane of the GCP console, navigate to IAM & Admin > Service Accounts and click Create Service Account.
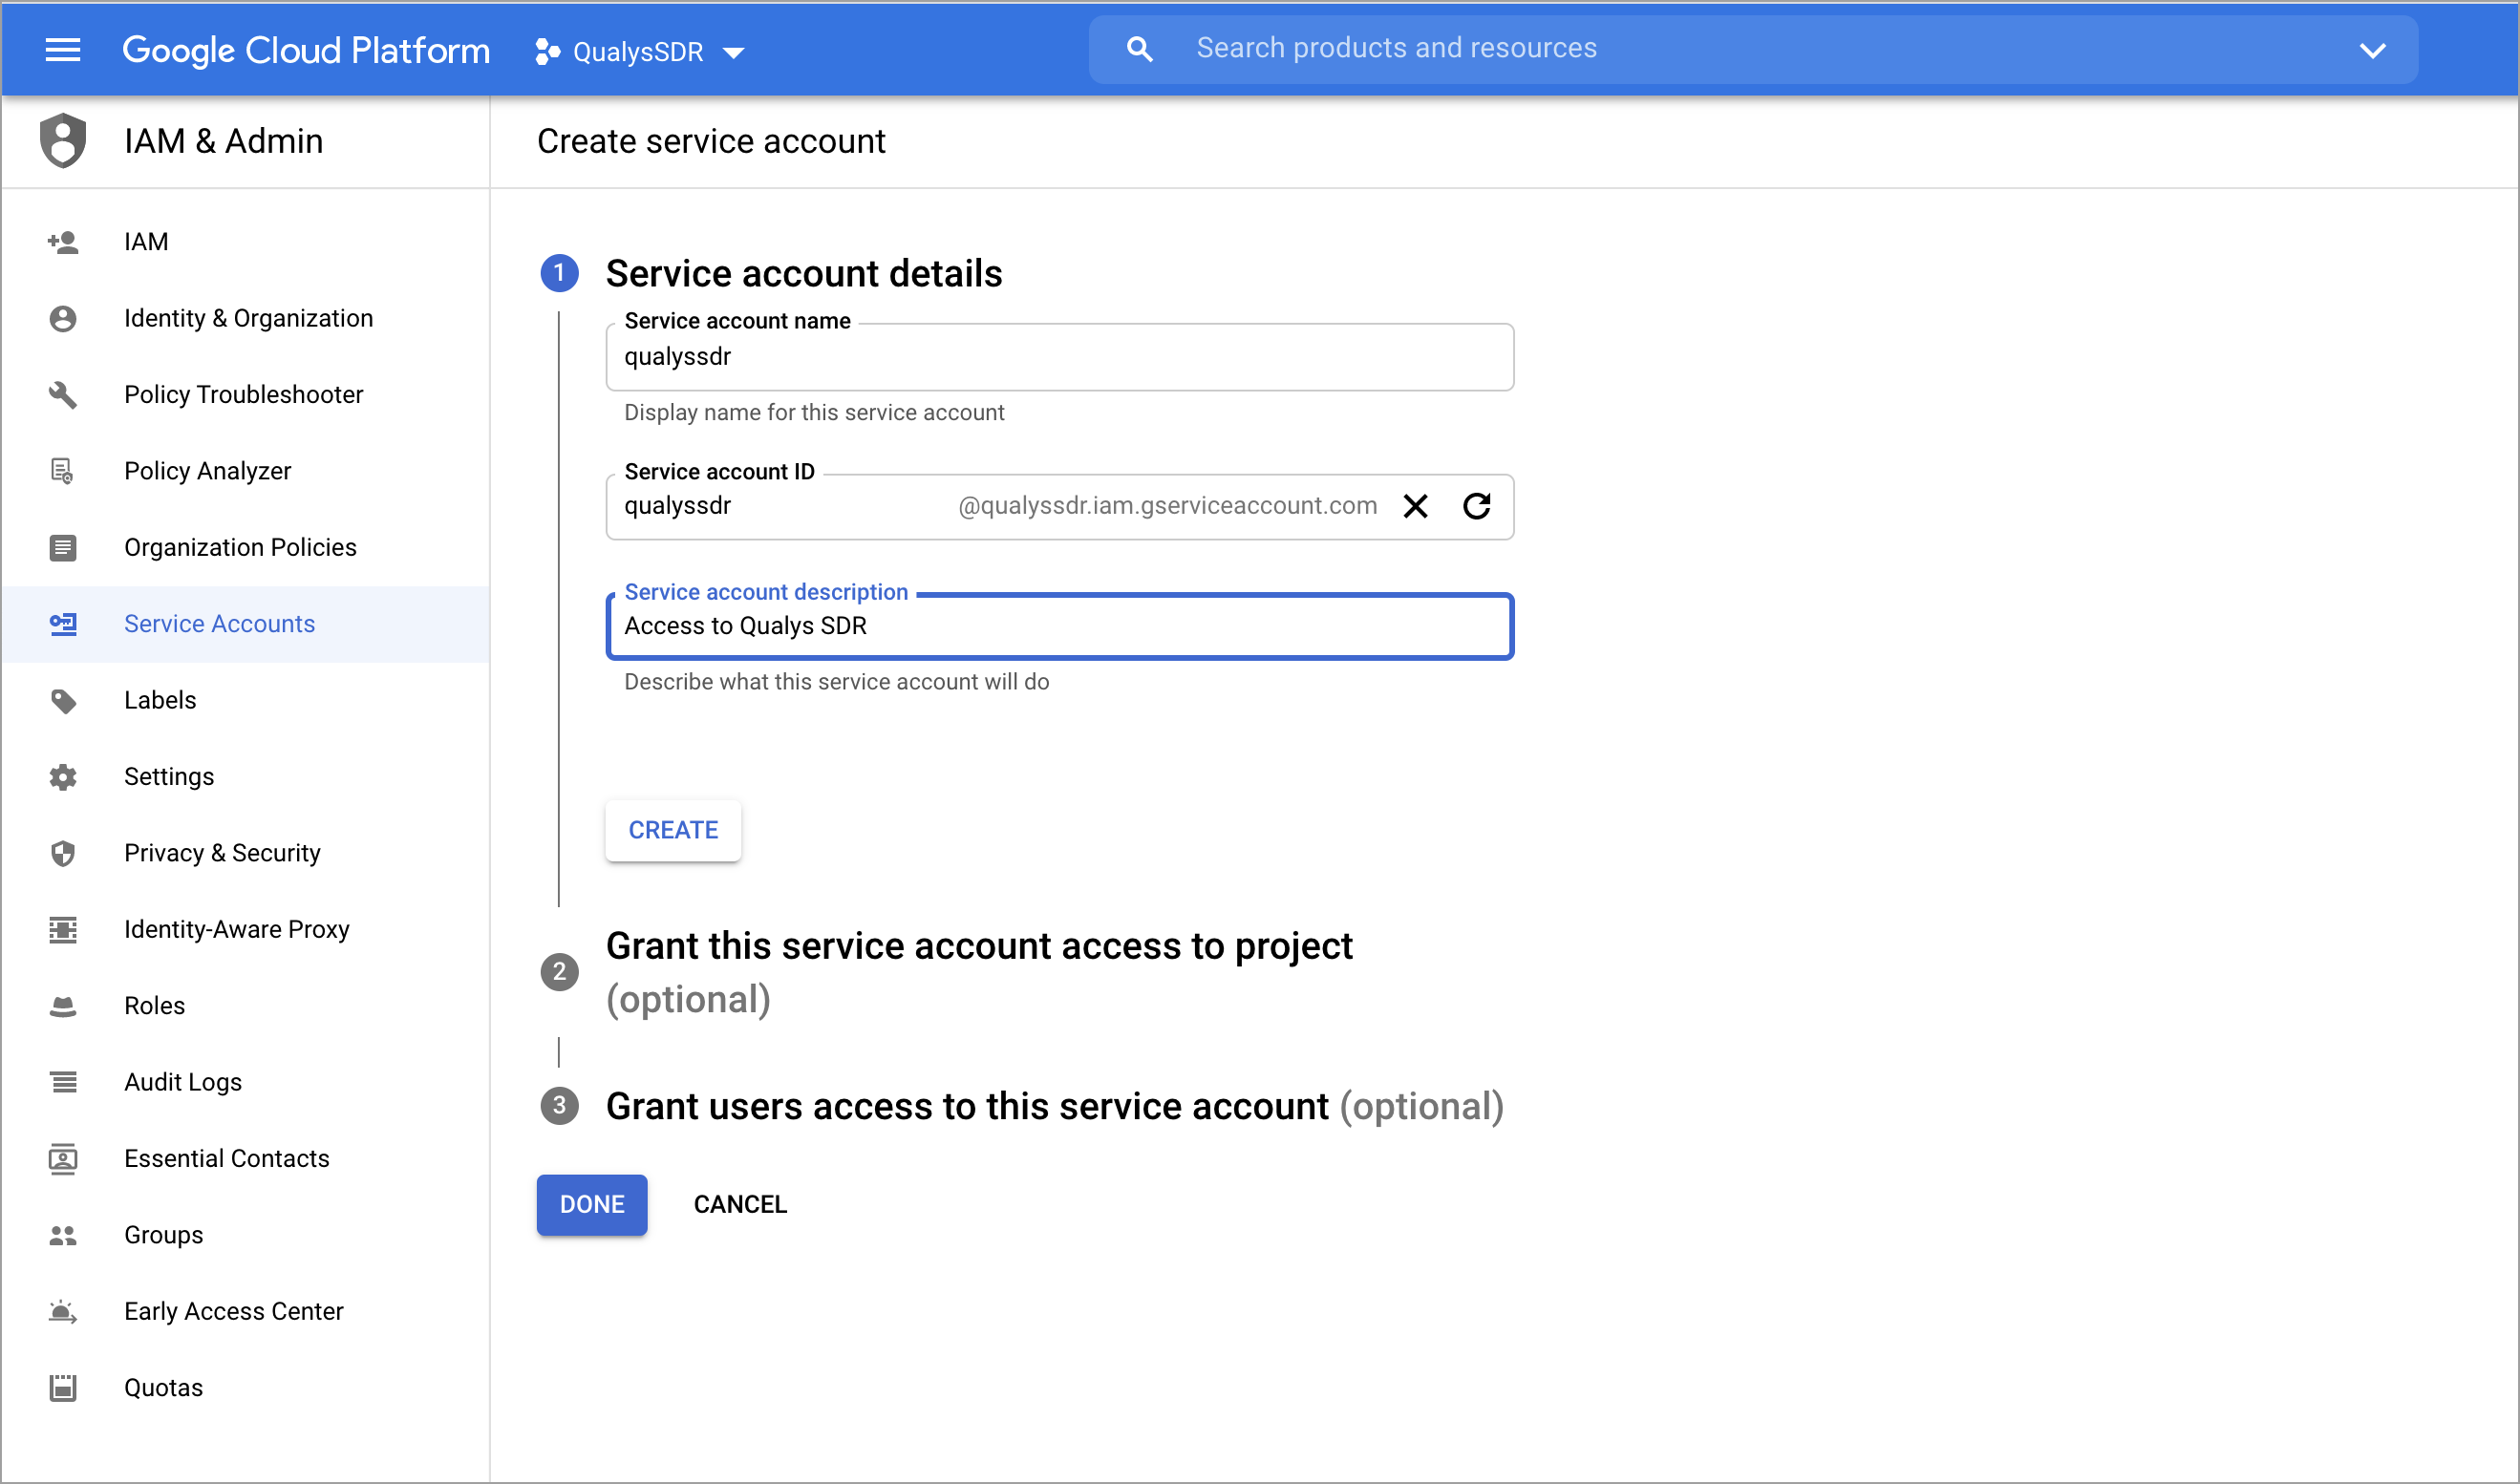
2) Provide a name and description (optional) for the service account and click Create.
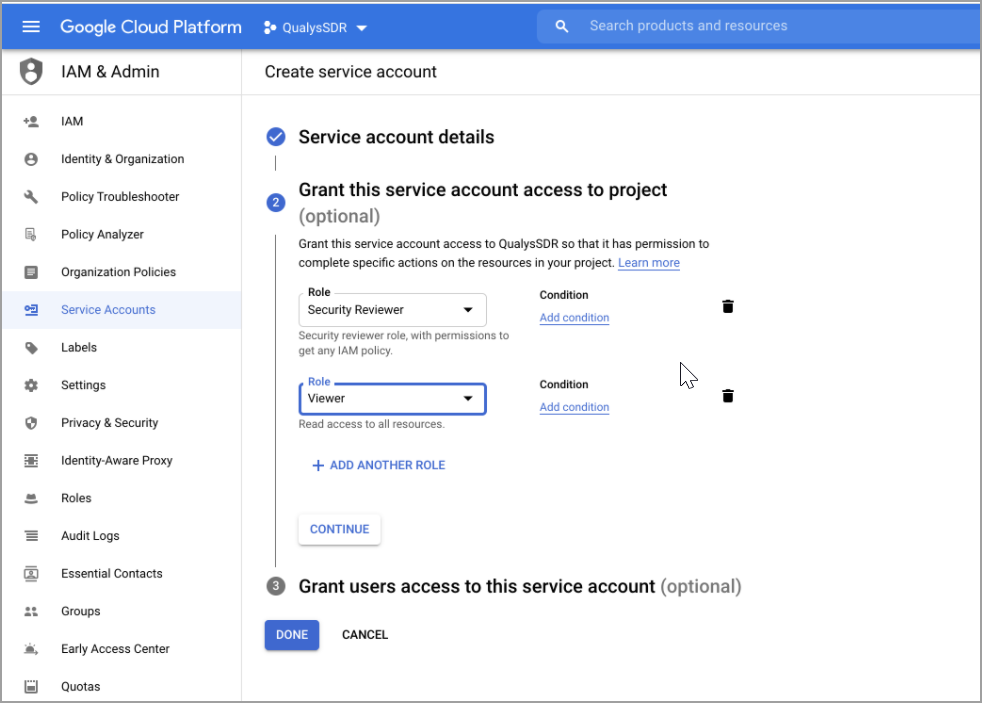
3) Choose the Viewer role and the Security Reviewer role to assign at least reader permissions to the service account. Click Continue and click Done.
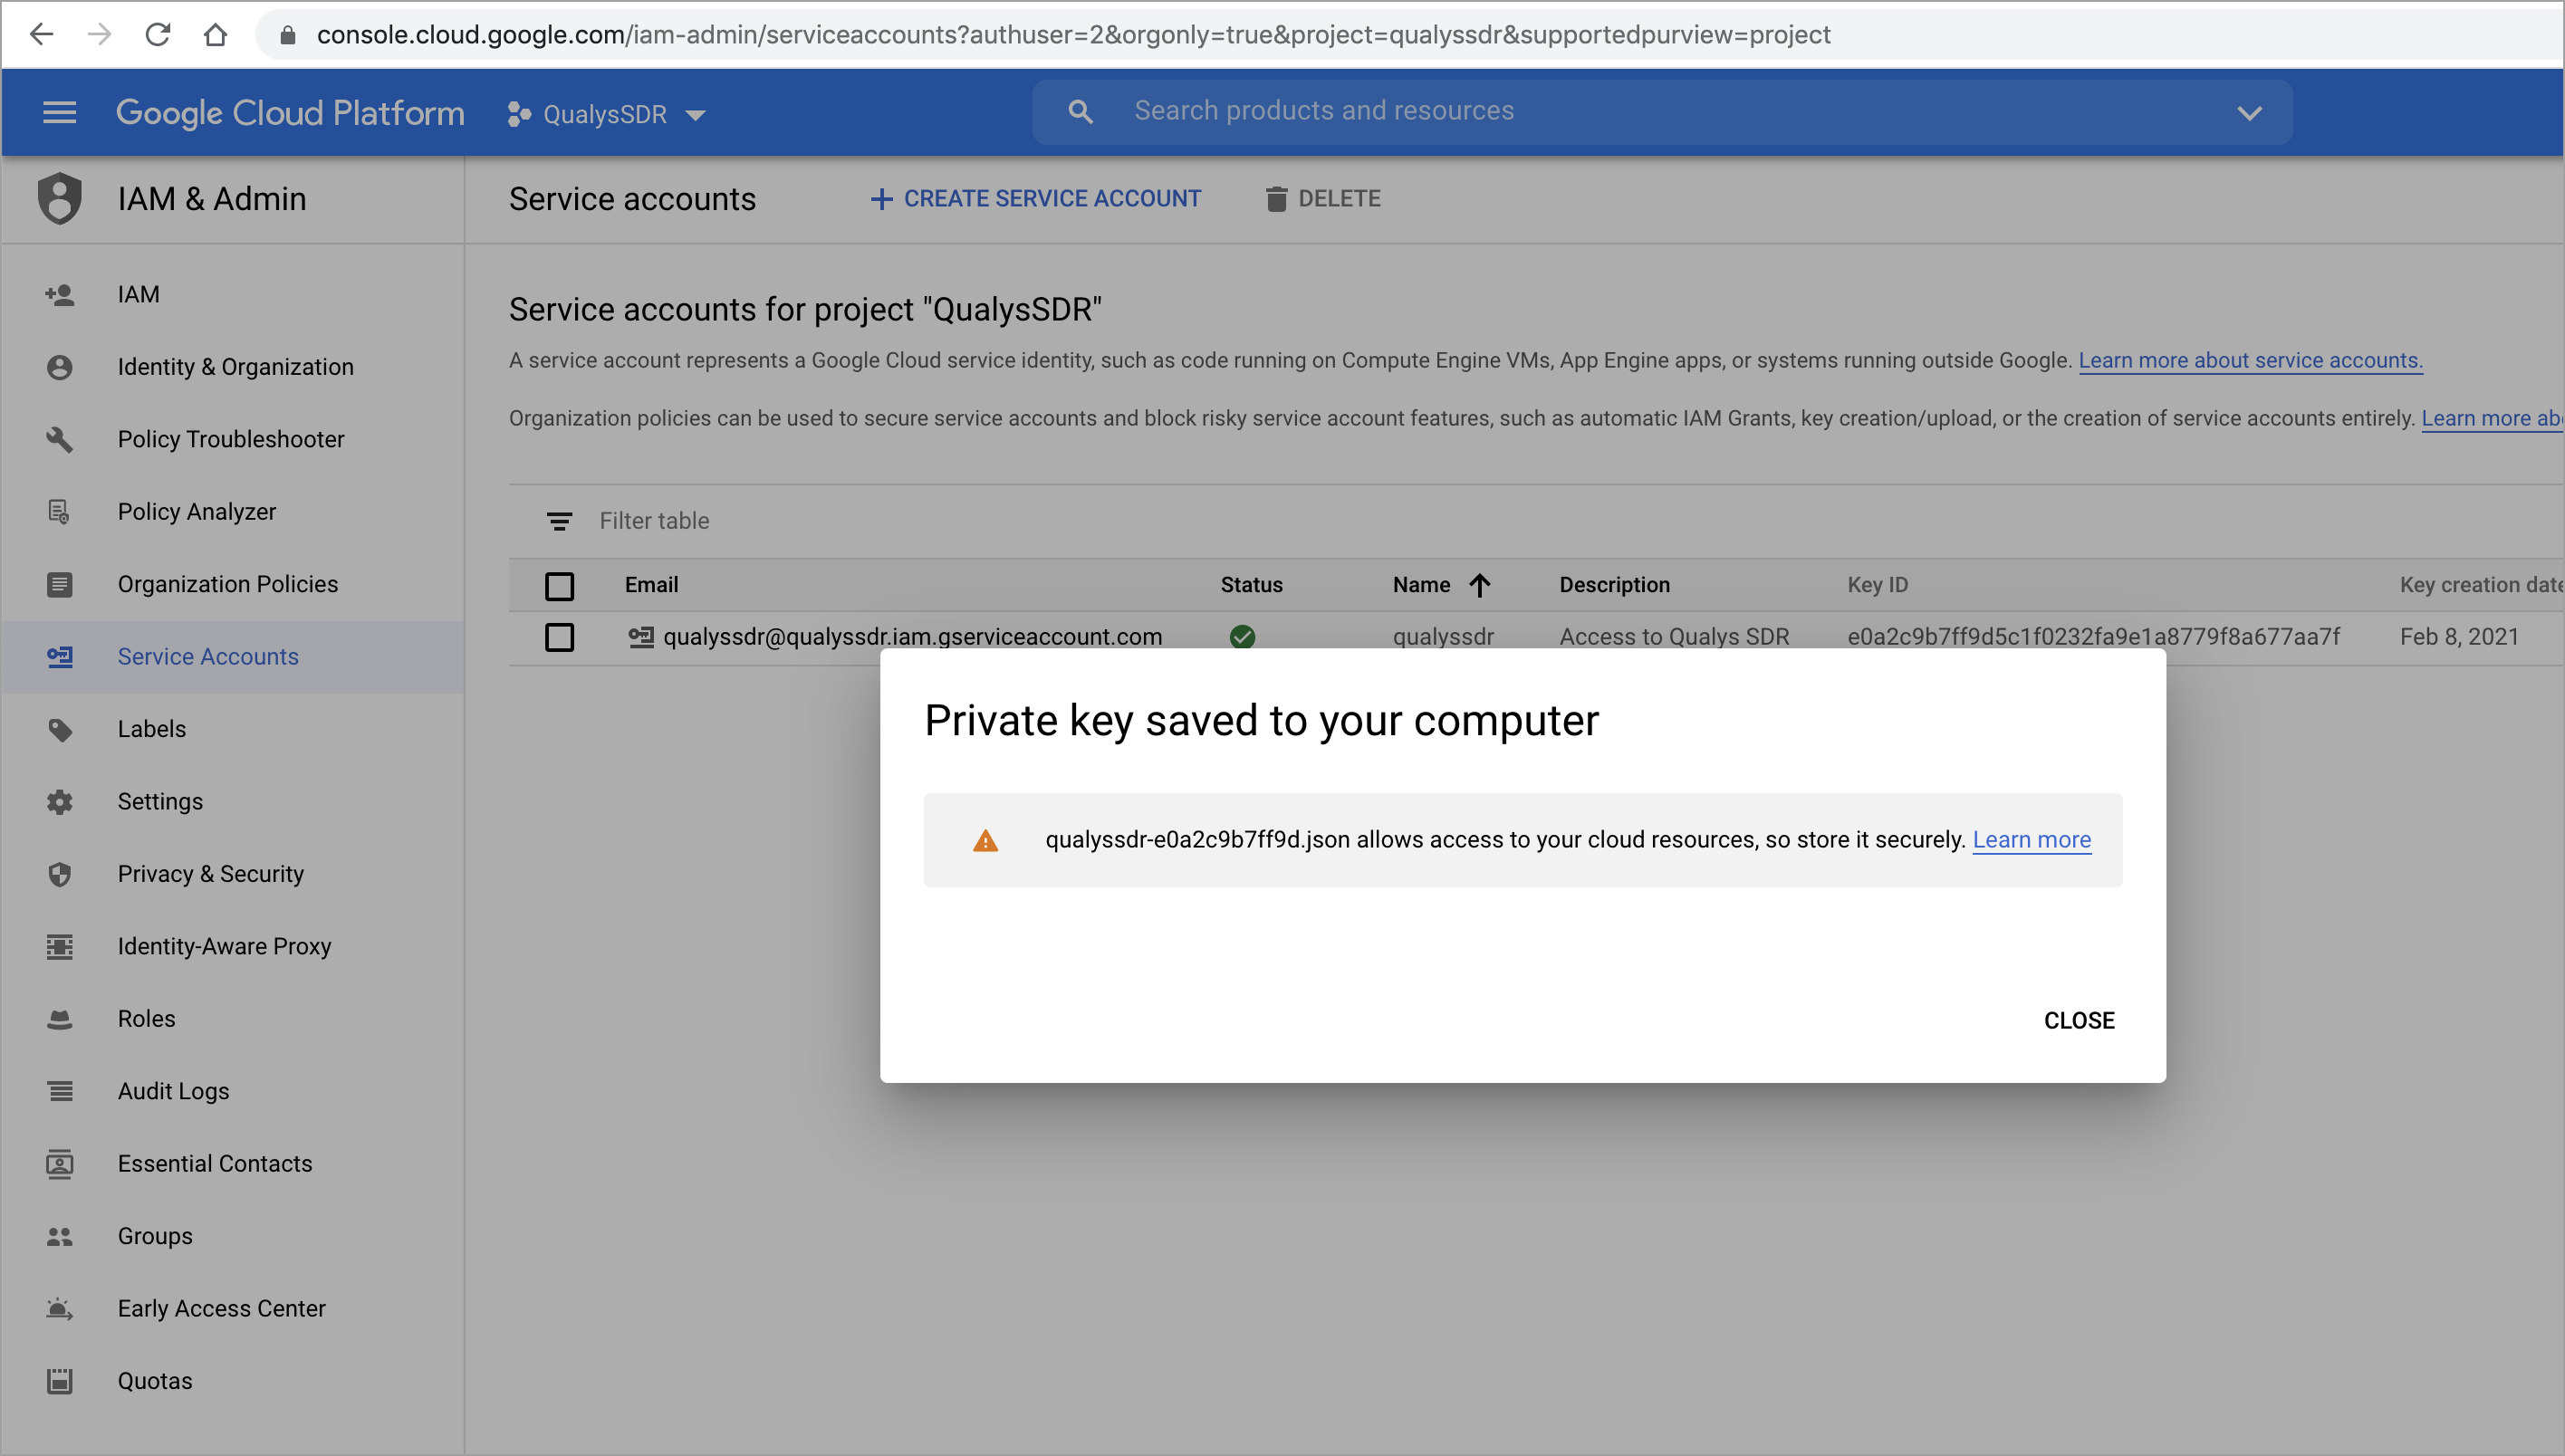
4) From the Actions column, click Manage keys.

5) Click Add Key and click Create new key.
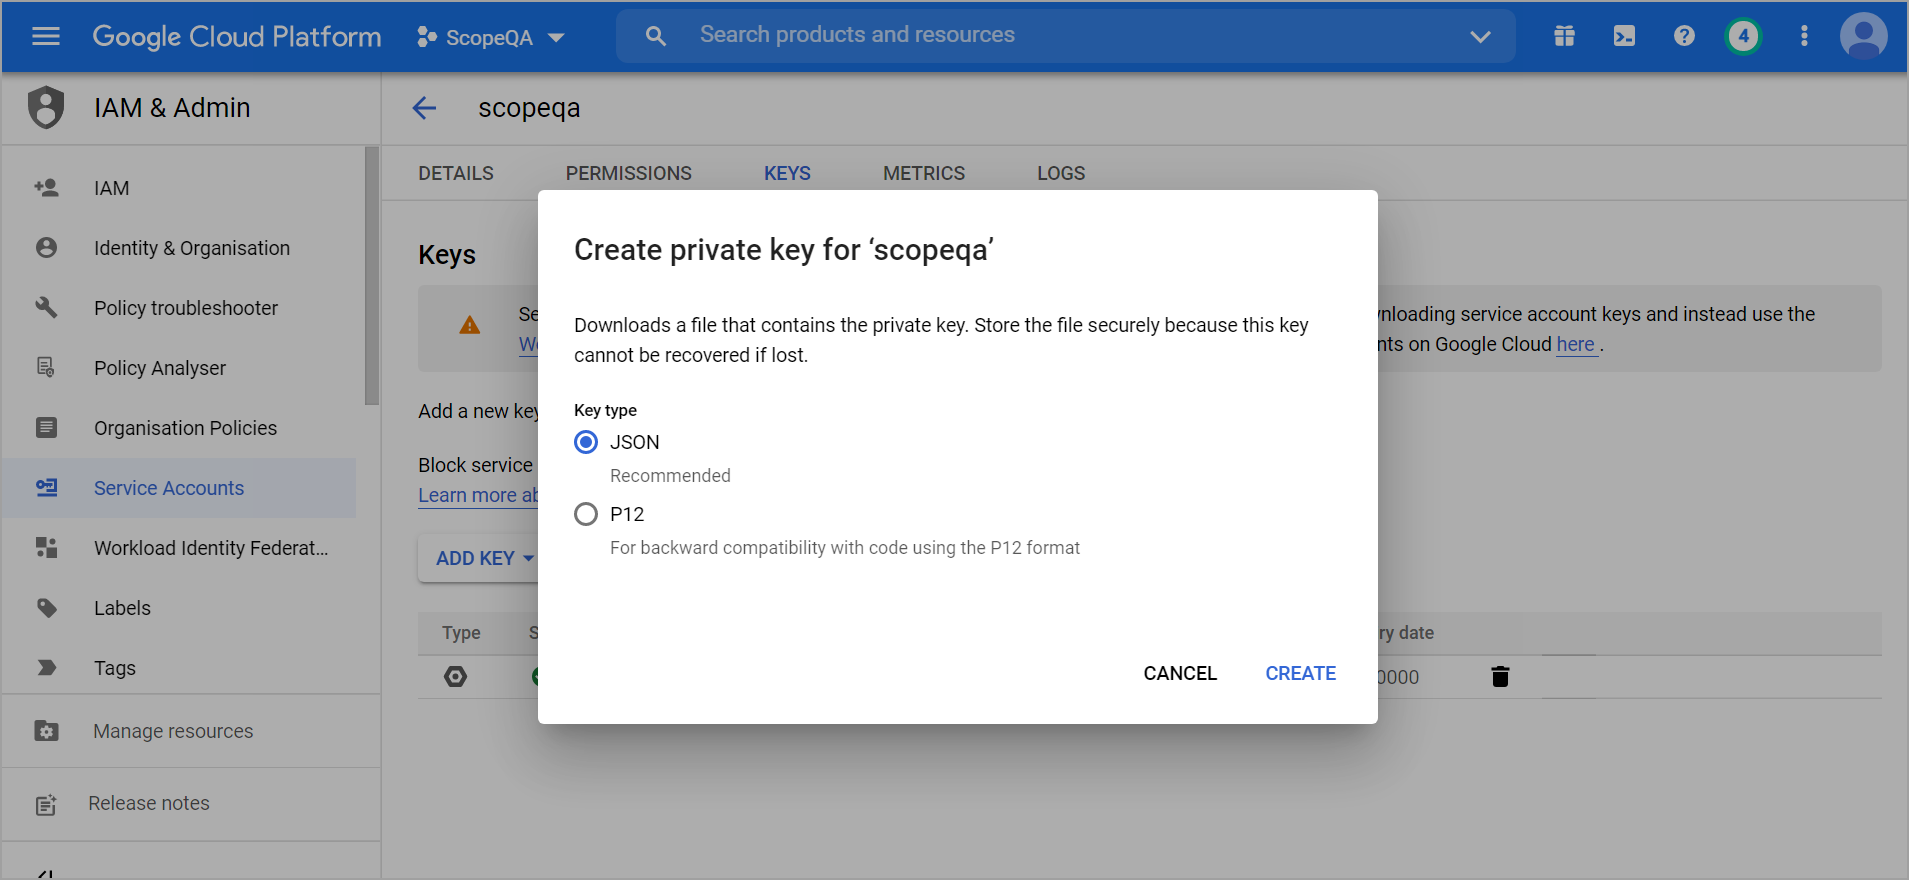
A message saying “Private key saved to your computer” is displayed and the JSON file is downloaded to your computer.
6) Click Close > Done.
Note: Save the configuration (JSON) file to a secure folder and open it in a text editor. This would be needed in subsequent steps.
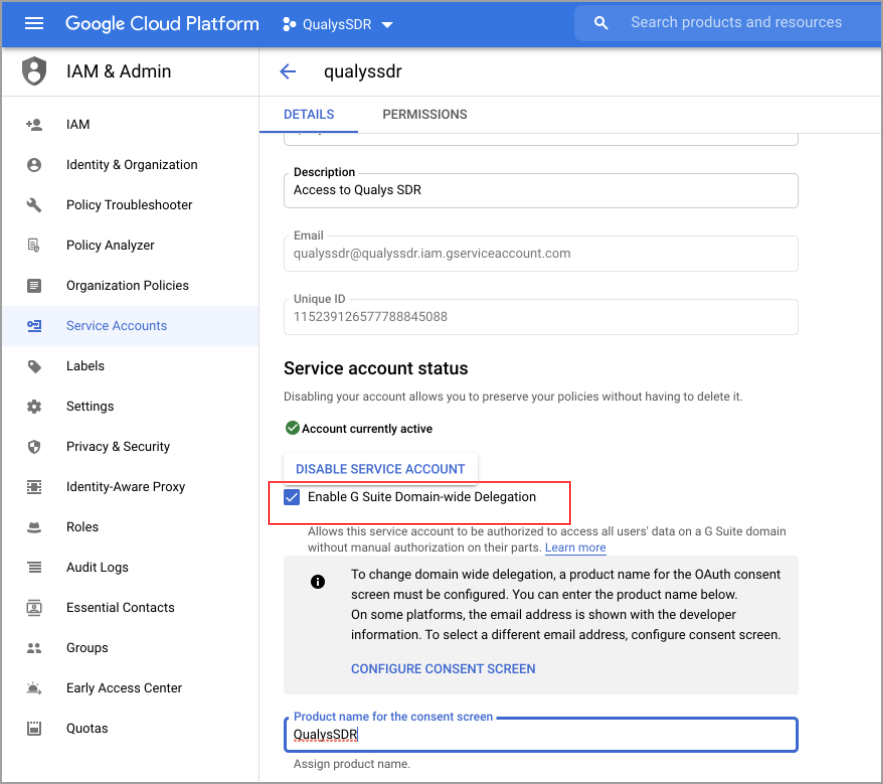
7) Edit the service account again, select Enable Google Workspace Domain-wide Delegation (provide an App Name - ex: QualysSaaSDR), click Save.
Grant Scope access to Service Account
1) Log in to your Google Workspace Admin console (https://admin.google.com/) with the administrator credentials.
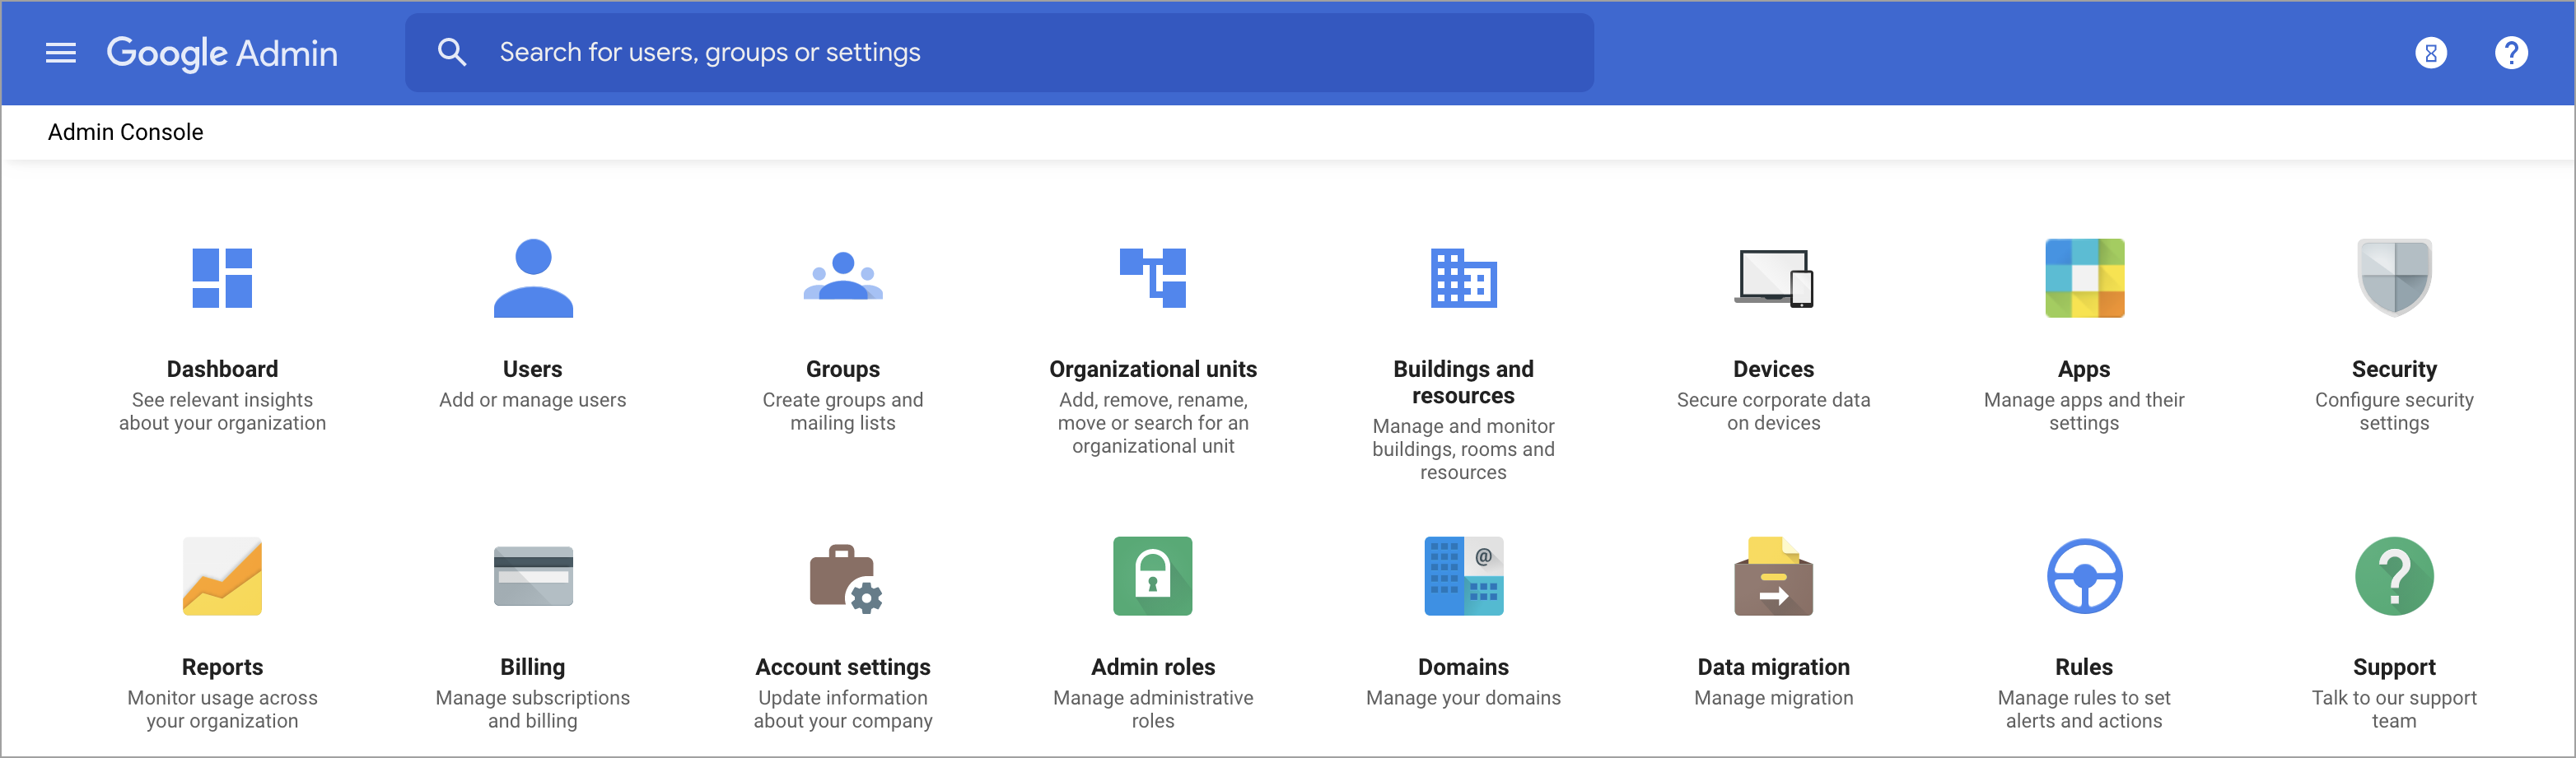
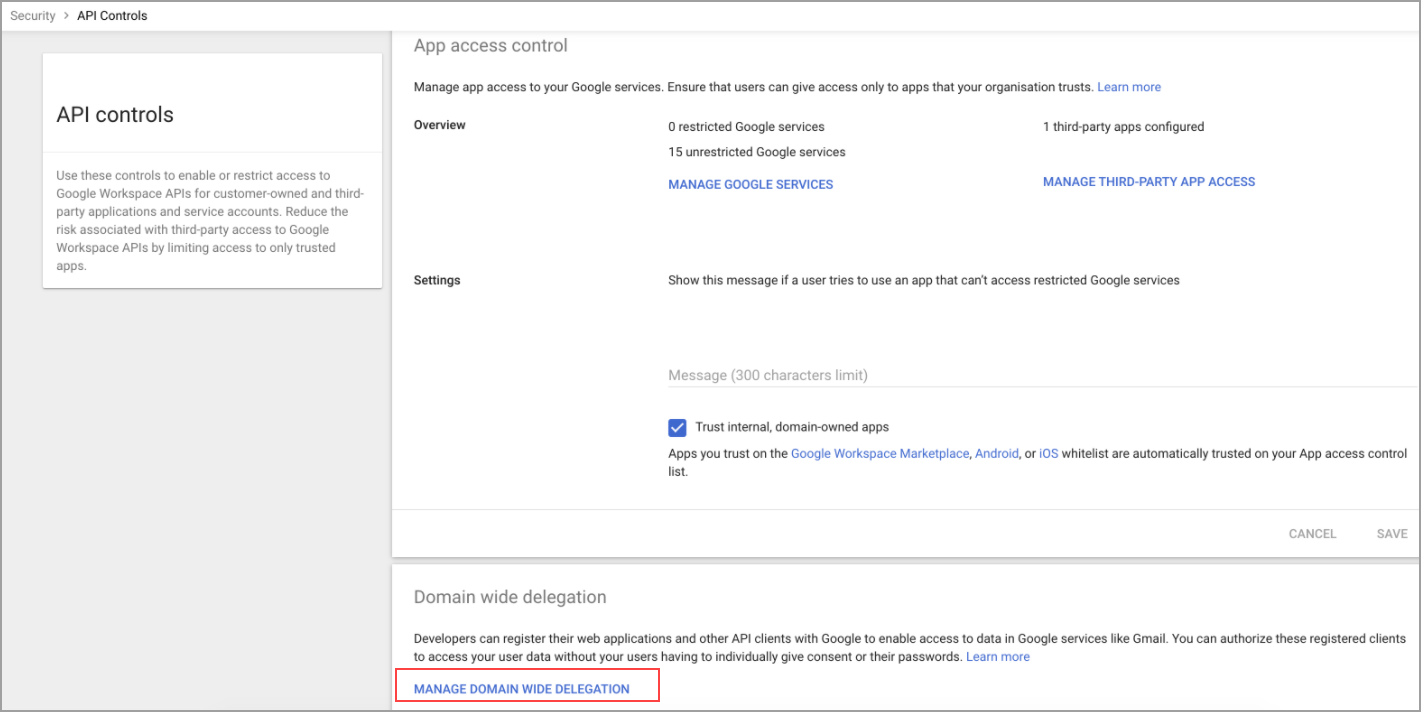
2) Click Security and expand API controls.
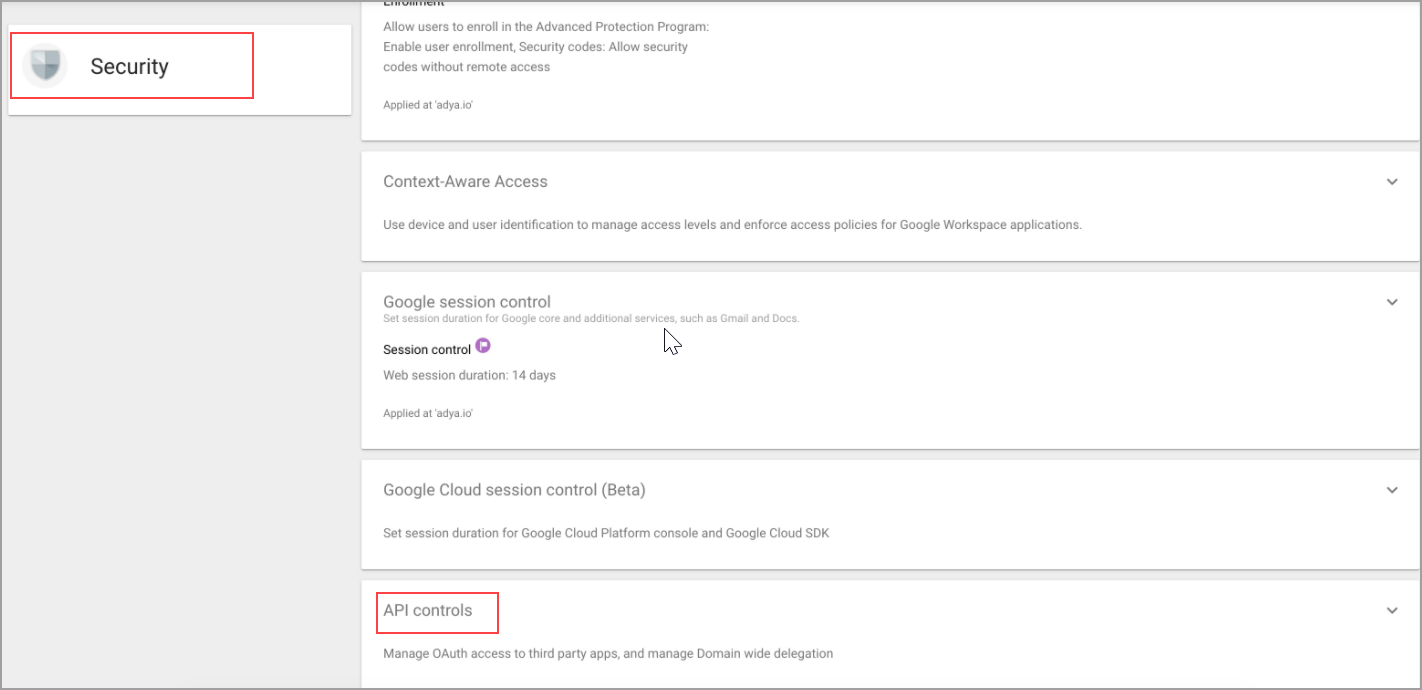
3) Click Manage Domain Wide Delegation.
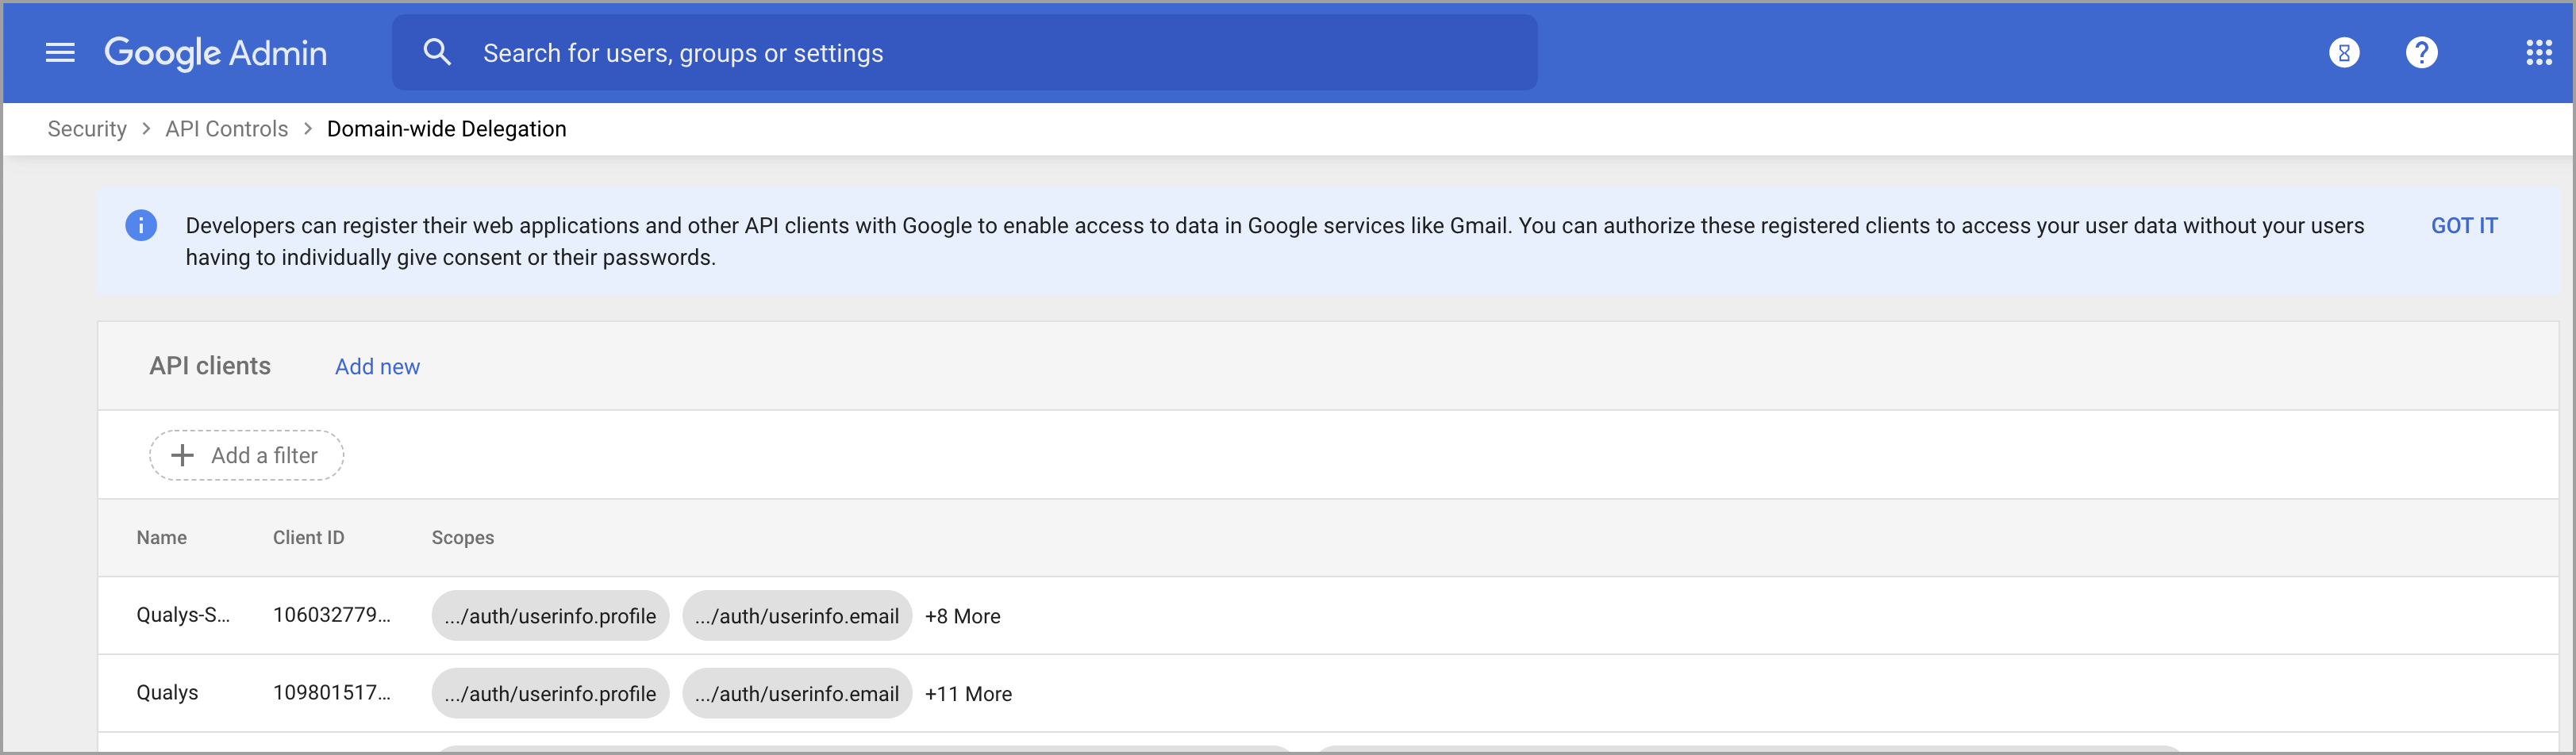
4) Click Add new.
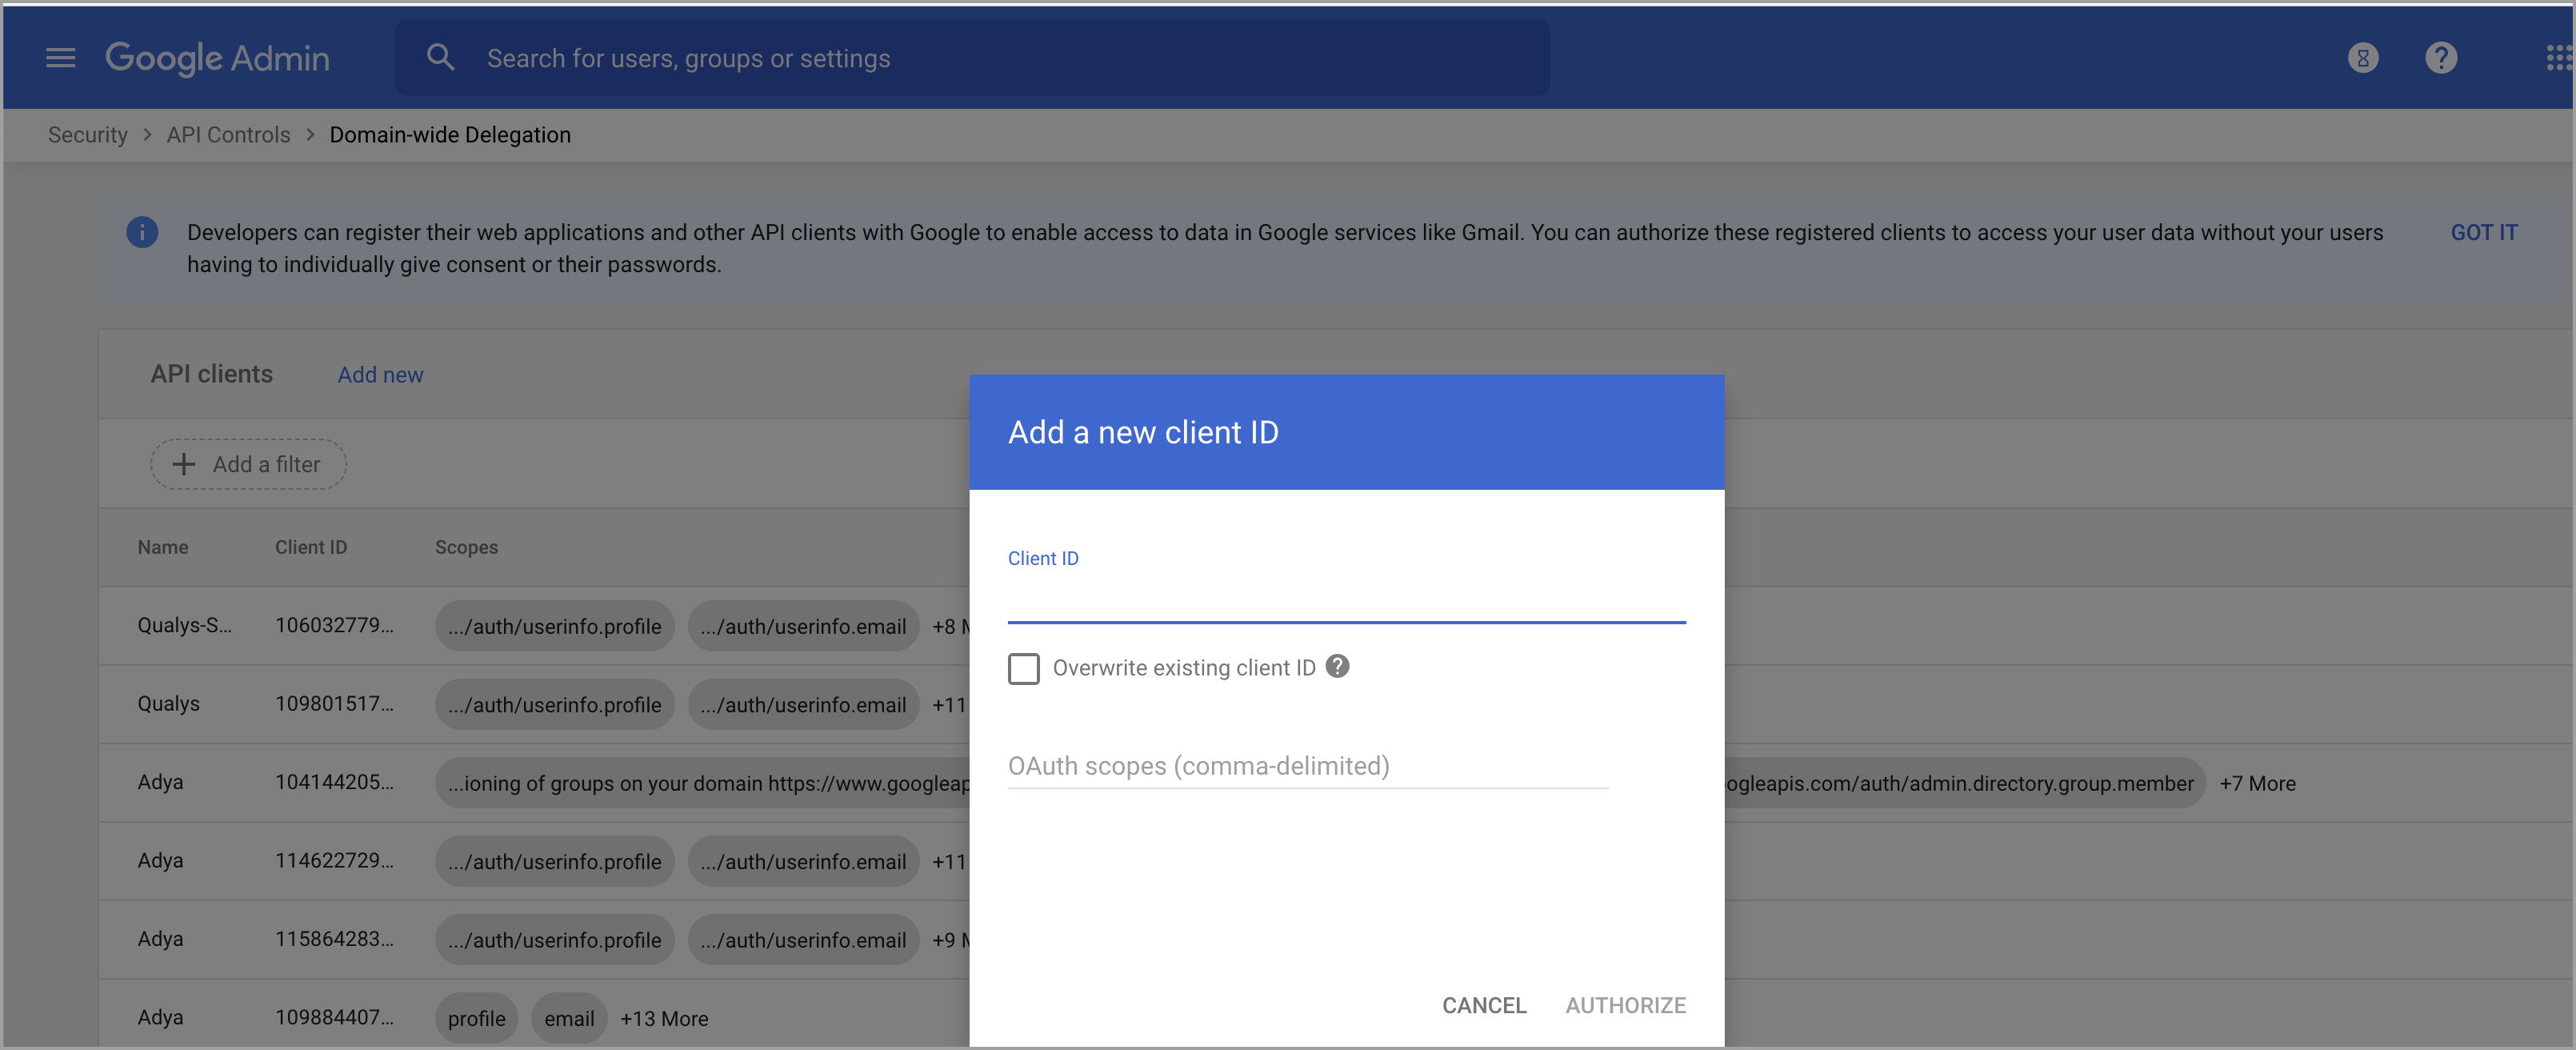
5) Add the Client ID (client_id value) from the downloaded JSON file and add the following scopes:
https://www.googleapis.com/auth/userinfo.profile,
https://www.googleapis.com/auth/userinfo.email,
https://www.googleapis.com/auth/admin.directory.user,
https://www.googleapis.com/auth/admin.directory.group,
https://www.googleapis.com/auth/admin.directory.group.member,
https://www.googleapis.com/auth/admin.directory.user.security,
https://www.googleapis.com/auth/drive,
https://www.googleapis.com/auth/admin.directory.domain.readonly,
https://www.googleapis.com/auth/admin.reports.audit.readonly,
https://www.googleapis.com/auth/admin.directory.device.mobile,
https://www.googleapis.com/auth/apps.groups.settings,
https://www.googleapis.com/auth/admin.directory.customer.readonly
6) After adding scopes make sure Group Setting API is enabled.
Enable GROUP SETTING API with following steps if its not enabled.
1) Go to: https://console.cloud.google.com/
2) Select Project
3) In the left sidebar, navigate to APIs and Services >Dashboard
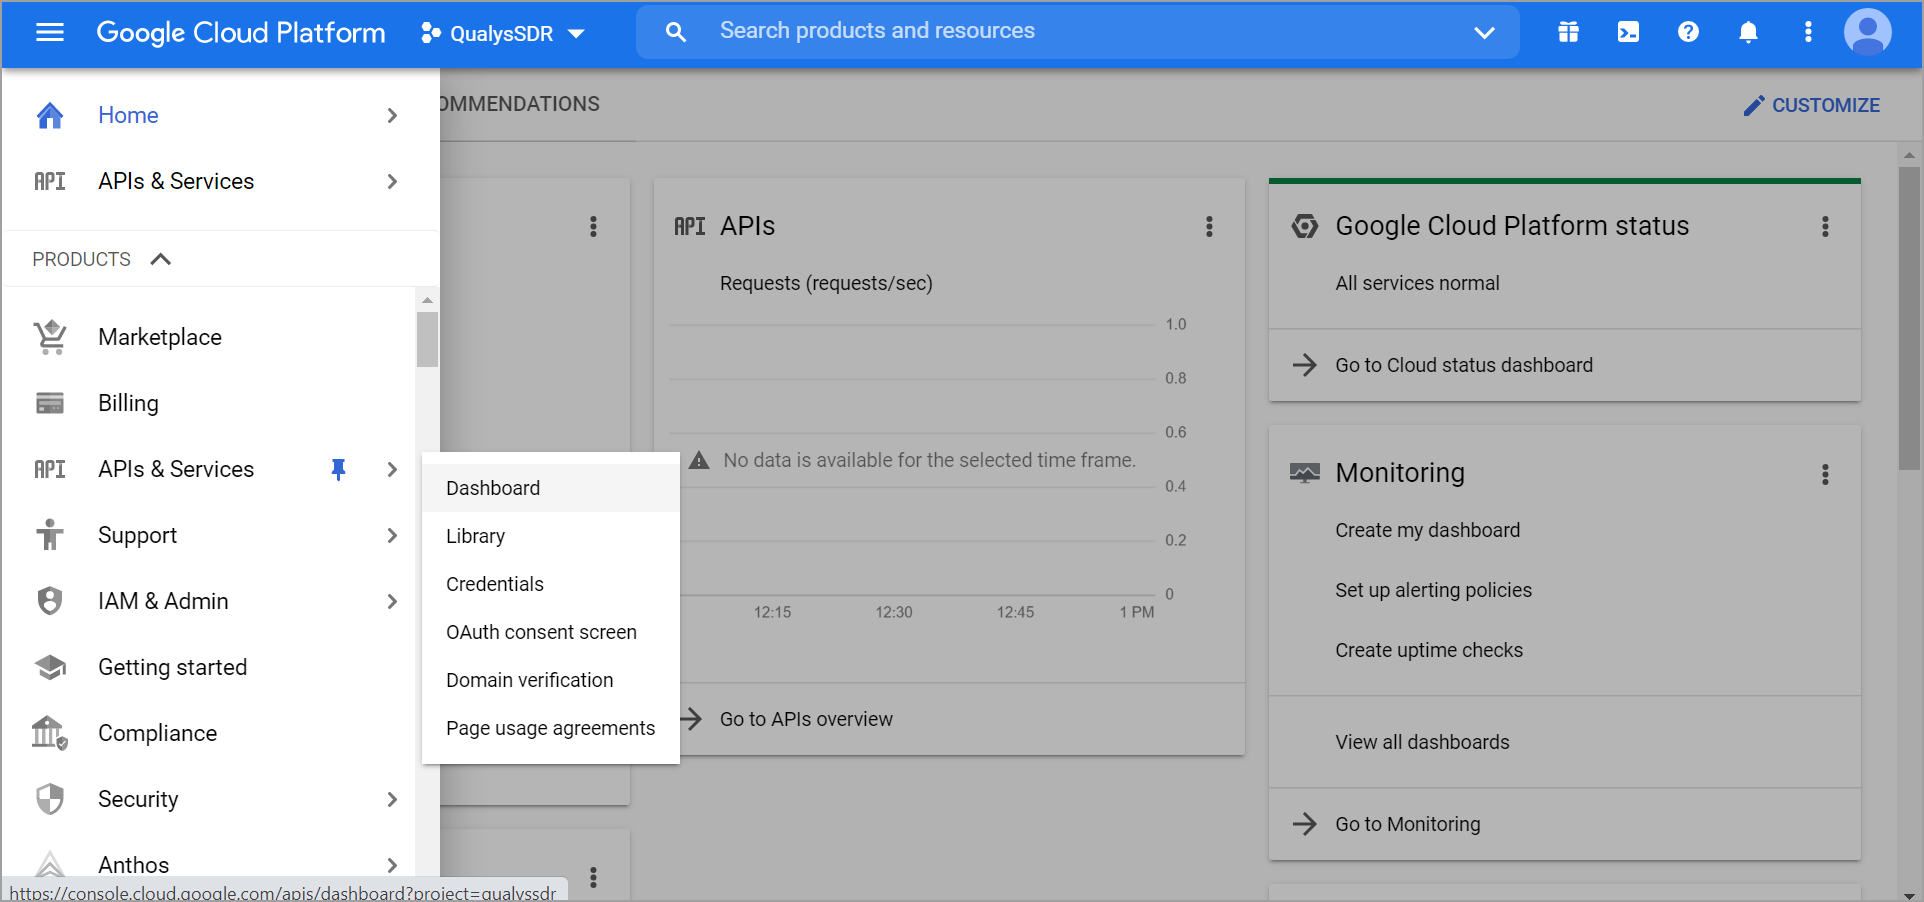
4) Click ENABLE APIS AND SERVICES
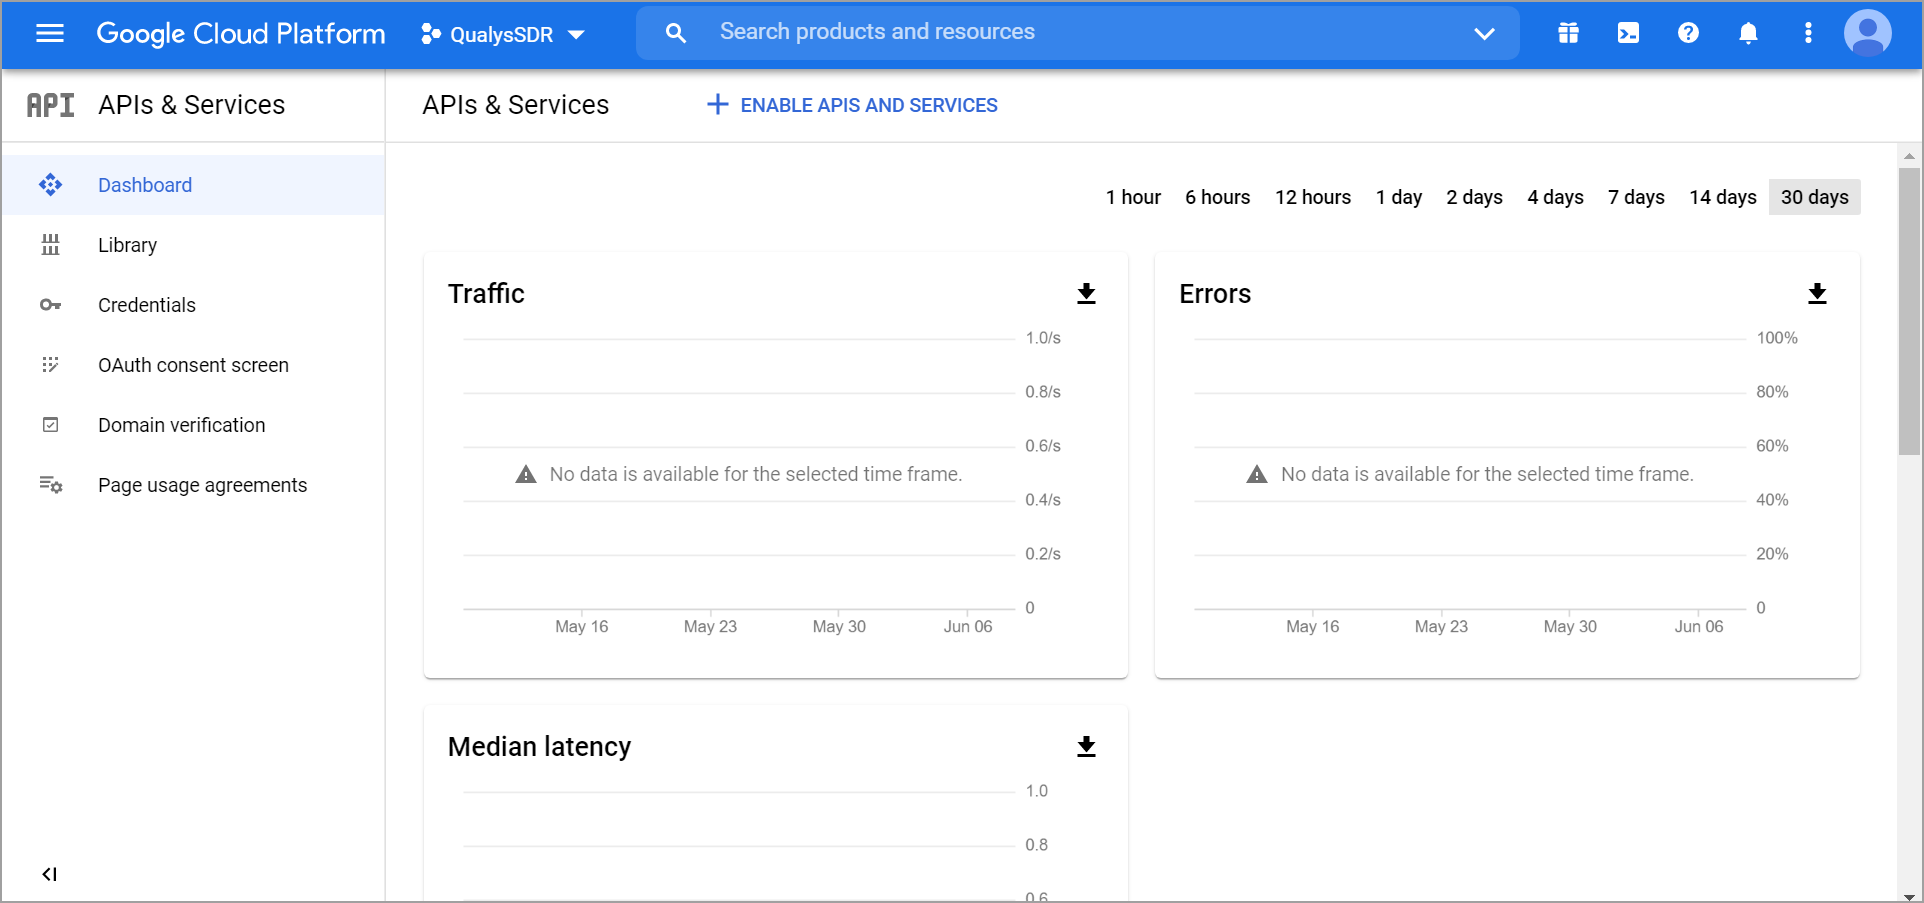
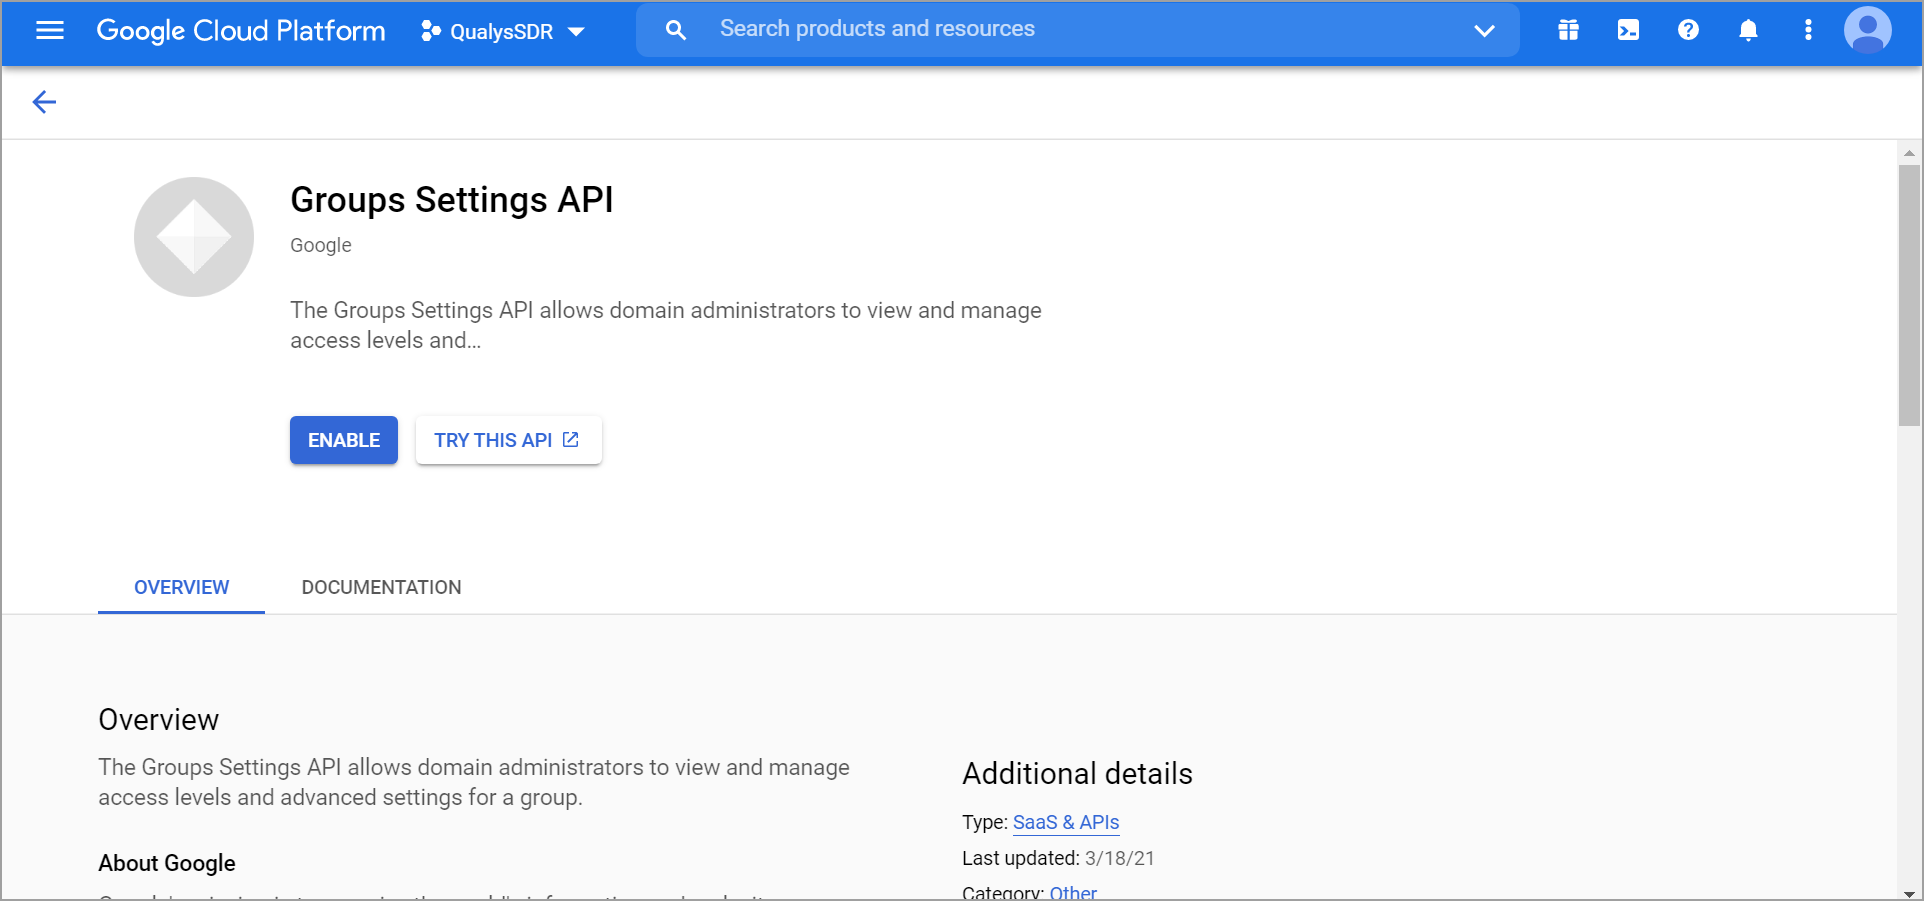
5) Search for GROUP SETTING API
6) Click GROUP SETTING API, check if it is enabled or not. If not, enable them.
Create Connector in SaaSDR with Google Workspace as application
1) Now, on the SaaSDR UI, go to Configuration > Connectors and click Create Connector.
2) Select Google Workspace from the SaaS drop-down menu.
3) Provide the information in the required fields. Service Account ID, Private Key ID, and Private Key - these are fetched from the JSON downloaded in the previous steps.
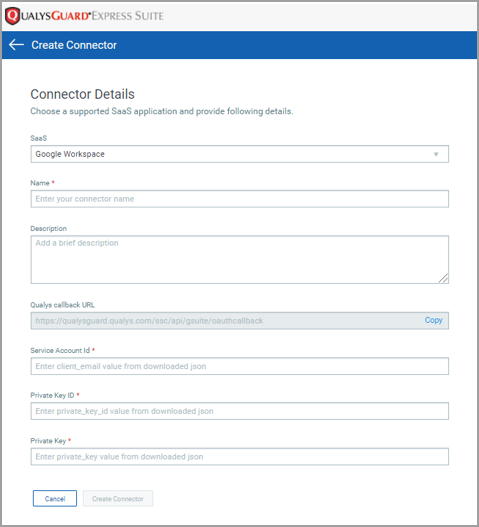
4) Click Create Connector.
You will be redirected to the login page of the application where you need to login using your administrator credentials. Once your connector is created, it is listed in the Configurations > Connectors list. Here you can check the status and other details of the connector.
That's it!
Once the application is connected, a scan is initiated to pull metadata from the application. This step may take some time to complete based on the number of resources to be cataloged in your application.