Qualys allows the configuration of static routes on both virtual and physical scanners. This allows the scanner to direct non-local traffic to the appropriate gateway address when this address is not the default gateway. This configuration may be useful when a scanner is placed on a transit network containing multiple routers for different destinations, such as for remote facilities or business partner network connections.
In order to configure your appliance with static routes you will need the following information:
Gateway IP address – The scanner-facing IP address of the router or gateway. There is no requirement for uniqueness, the same gateway may be used for multiple target networks.
Target network address in CIDR format – The gateway/target network pair must be unique. The same gateway/target network pair cannot be defined in another static route configuration for the same appliance. The target network must have a valid starting IP address for the target mask provided.
A route name to identify the static route configuration in the static routes list.
Static routes cannot be configured on any of the public cloud provider-specific virtual scanner images (AWS, Azure, GCP, etc.).
Physical scanners support up to 99 static routes.
Virtual scanners support up to 4094 static routes as long as you are using the latest appliance software distribution. Previous versions support up to 99.
1) Log in to Qualys as a Manager, go to Scans > Appliances, select the appliance, and choose Edit from the Quick Actions menu.
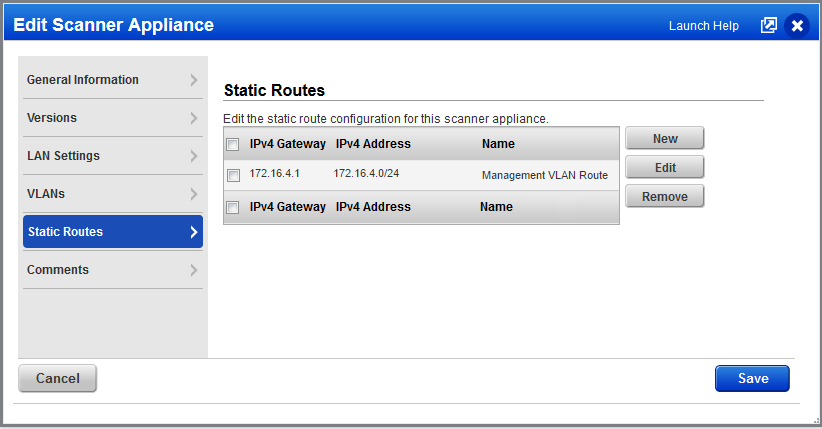
2) Select the Static Routes tab on the left. Click New, then click OK once you have read and understood the warning.
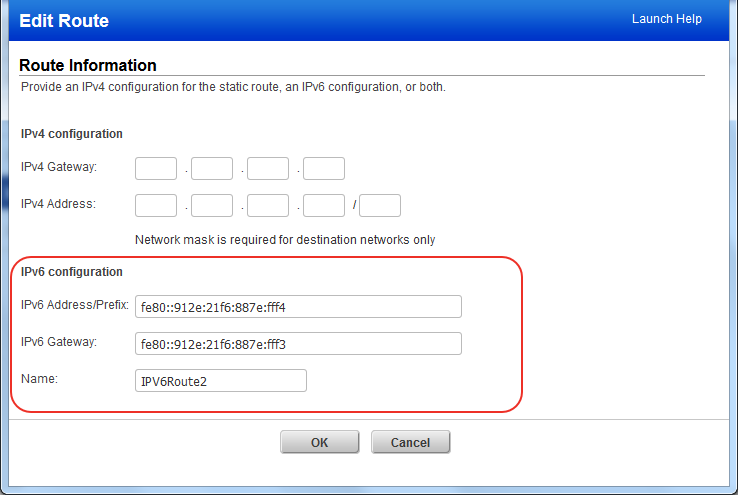
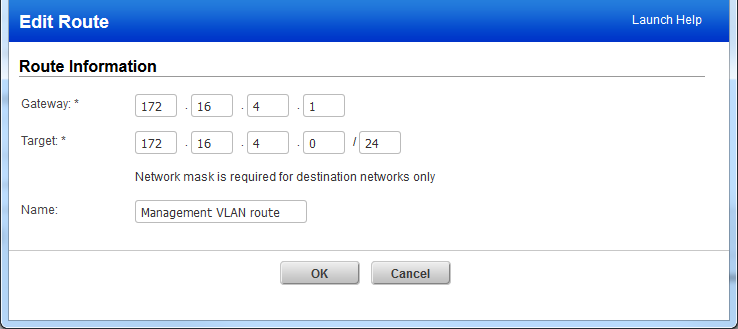
3) When the Edit Route dialog box appears enter the required information and click OK.
4) Click Save once all your Add/Change/Delete operations have been completed.
The IPv6 Scanning feature must be enabled for your account. Please contact Support or your Technical Account Manager if you would like have this feature turned on.
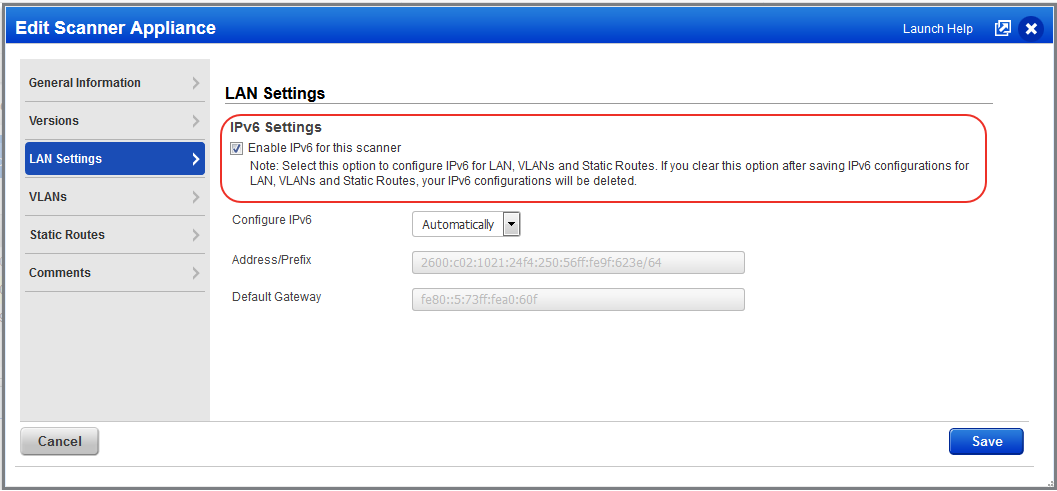
You must enable IPv6 on the scanner to add IPv6 configurations. Select “Enable IPv6 for this scanner” on the LAN Settings tab.
On the Static Routes tab you’ll see IPv4 and IPv6 configurations that have been configured for the appliance.
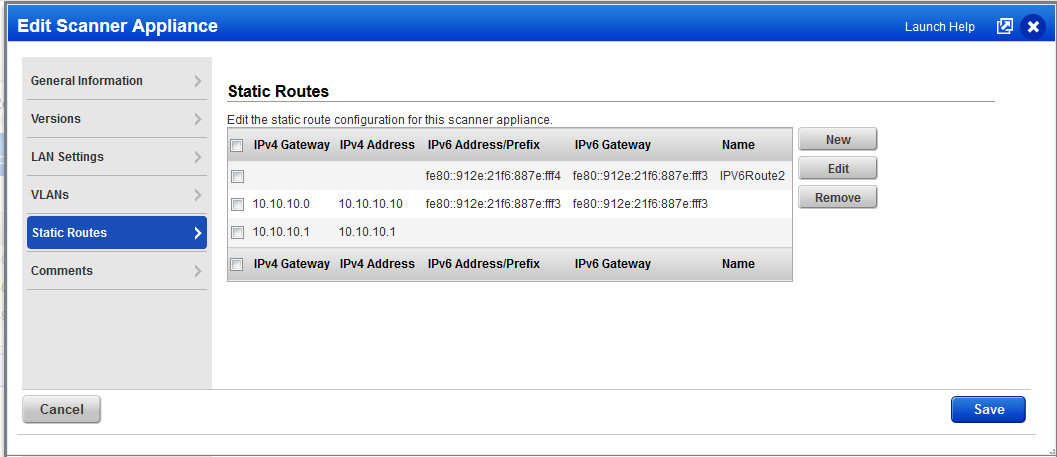
When you create or edit a static route, you can add IPv4 details, IPv6 details or both.