Scan your SCA assets in minutes to check the compliance status of your systems against the CIS policies in your policies list.
Good to Know - The steps for starting an SCA compliance scan are similar to steps for Vulnerability Management (VM) scan.
What you'll need for the scan |
Check Assets - Go to Assets > Host Assets and check your assets are added to SCA. Use the New menu to add assets to SCA as needed. Learn more |
Authentication set up - The authentication feature is used to perform in depth assessment of your assets. Check to be sure you have authentication records for your assets (Windows, Unix, etc). Have the VM app? If yes your authentication records in VM are available to you in SCA. |
Scan Settings - An option profile with recommended scan settings called Initial PC options is provided by Qualys. Create a new option profile with custom settings as needed. |
Scanner Appliance configuration - Remote scanning is supported using scanner appliances. Choose an appliance in your account or configure a new one. Have the VM app? If yes your appliances in VM are available in SCA. |
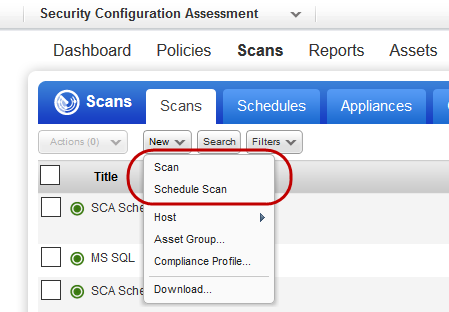
Go to Scans > New Scan (or Schedule Scan).
Choose your scan settings. The compliance option profile has your scan settings (1), and the scanner appliance supports remote scanning (2).

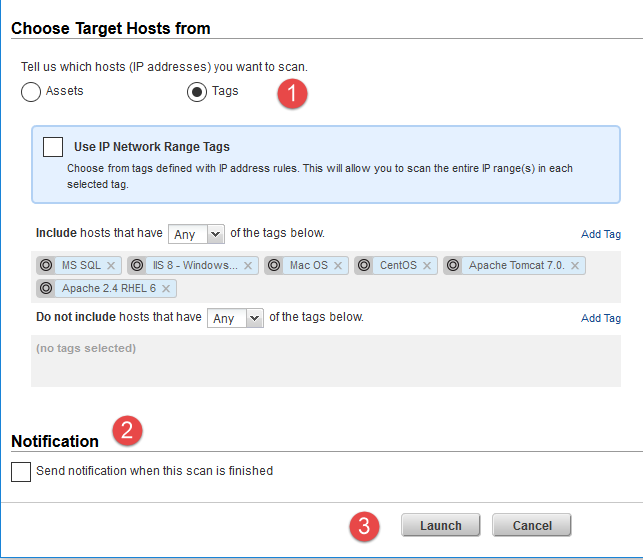
Choose assets to check compliance against (1), choose to send notification to users when the scan finishes (2), then click Launch (3).
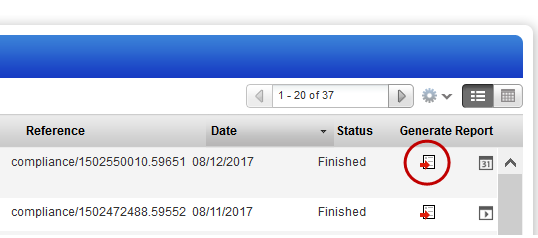
That's it! You'll see your scan in the scans list. When the scan is Finished, click Generate Report to view the completed report.