 button on
the dashboard, select the module/application from where the widget data
was picked and then click User-defined Widgets tab. This way you can duplicate
widgets and then edit them as per your need.
button on
the dashboard, select the module/application from where the widget data
was picked and then click User-defined Widgets tab. This way you can duplicate
widgets and then edit them as per your need.How to save a widget as a template? |
|
Click the Widget menu and select Edit from the menu options. Click the required widget type and click Save. Depending on the widget type you select, you may have to provide the required information.
Note: Editing widget option is available only if the widget is editable and if you have adequate permissions to edit the widget.
Click the Widget menu and select Create Template from this Widget option. Provide a name and description for the widget template you want to create and click Save. The widget template is saved and available in the User-defined widgets tab of the widget builder.
To view the template, click the
Add Widget  button on
the dashboard, select the module/application from where the widget data
was picked and then click User-defined Widgets tab. This way you can duplicate
widgets and then edit them as per your need.
Resize any widget vertically or horizontally, drag & drop widgets on the page to change the layout.
1) Click the Tools icon on your dashboard.
2) Select Edit Dashboard Layout.
3) Adjust the width for any widget or drag the widget to a new location.
4) Click OK to save your changes.
You have multiple ways to configure a table in a widget to help you visualize your assets and their security. Create tables with multiple columns sort by any column you like or set the sort order (ascending or descending)
Yes, you can configure dashboard numerical widgets to display trend data. Enable the Collect trend data option in the dynamic widget wizard. Once enabled, the widget trend data is collected daily and stored for up to 90 days. This is used to plot a line graph in the numerical widget.
A new user with the Manager role has all permissions and can view the trending widget's current and historical data for any existing widget already added on the dashboard. However, a new sub-user can view the trending data for the tags within their user scope. The sub-users cannot view the historical data for the trending widgets, and the trend lines will start showing from the time the sub-user is created.
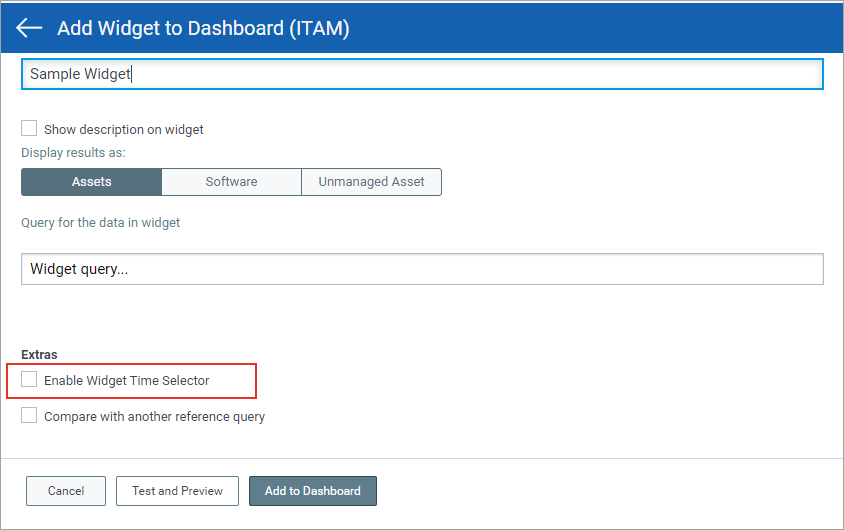
Yes, you can configure time filter at a widget-level when you create a new widget or edit an existing widget. Select the Enable Widget Time Selector check box and select the required time filter from the drop-down. Once saved, the time filter is applicable for the widget.
Note: The widget-level time filter settings takes precedence over the dashboard time filter settings. Also, the widget-level time filter settings is available only for certain modules (CloudView, Container Security, Endpoint Detection and Response, File Integrity Monitoring, and Global IT Asset Inventory).

Yes, you can add advanced filters for Table, Bar, and Pie widget types. You can use one or more tokens to filter data displayed on a widget. If you add multiple token filters, the latest filter gets the precedence.
Yes for a Numerical widget type, you can simply click ![]() on the widget card to expand and view the trend lines clearly.
on the widget card to expand and view the trend lines clearly.
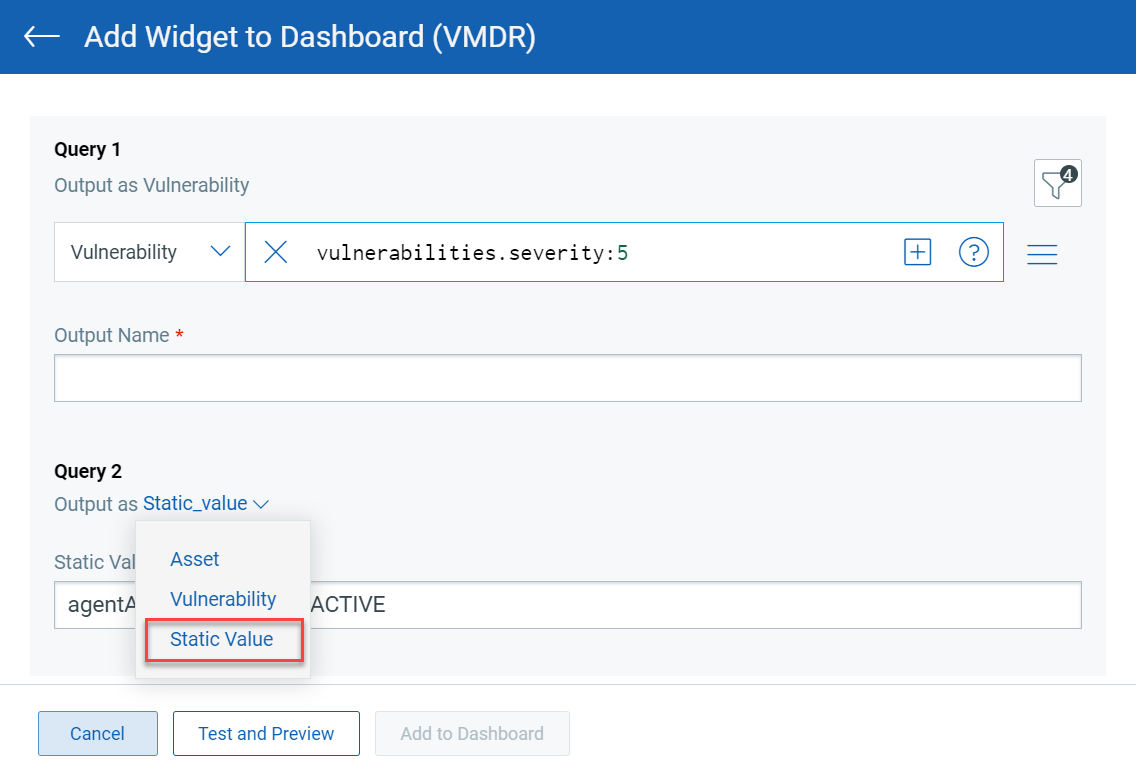
Yes, while comparing queries for Numerical Ratio widget, you can use a static value.

For Column and Pie type of widgets, you use the color library to assign custom color schemes for the data.
While creating a VMDR widget, if you select any of the following tokens from the Group By menu, you can customize the color mapping for the predefined values of these tokens.
| Vulnerability | - Auth type |
| Assets | - Activated Modules |
Alternatively, you can customize the color mapping even after you have
saved the widget.
On the dashboard, click the
Add Widget  button. The
widget template library is displayed. Click the
 ![]() icon to filter and view your favorite widget templates. To know how to
add widgets to the favorite template list, refer to Marking
Favorite Widgets.
icon to filter and view your favorite widget templates. To know how to
add widgets to the favorite template list, refer to Marking
Favorite Widgets.