Manage Vendors
Create a Vendor
You can create Vendor profiles with the required information such as contact details (SPOC), address, service provided and so on, including the ability to upload contractual files.
To onboard a vendor, do the following:
- Provide basic vendor information like company details, category of service provided, etc. Specify whether the vendor is contractual or still in proposed state (RFP) and upload relevant contract documents.
- In Assessment Configuration, identify the assessment areas that are relevant to services provided by your vendor. You can also add tags to better organize vendors in your organization.
- Identify a Point of Contact for your vendor, associated users and an internal contact.
- Define vendor criticality manually or by using our internal campaign template to help you auto-calculate the criticality.
Once created this vendor is added to the vendors list on the VENDORS tab. You can View, Edit, or Delete users using the Quick Actions menu.
|
Let's start now |
|
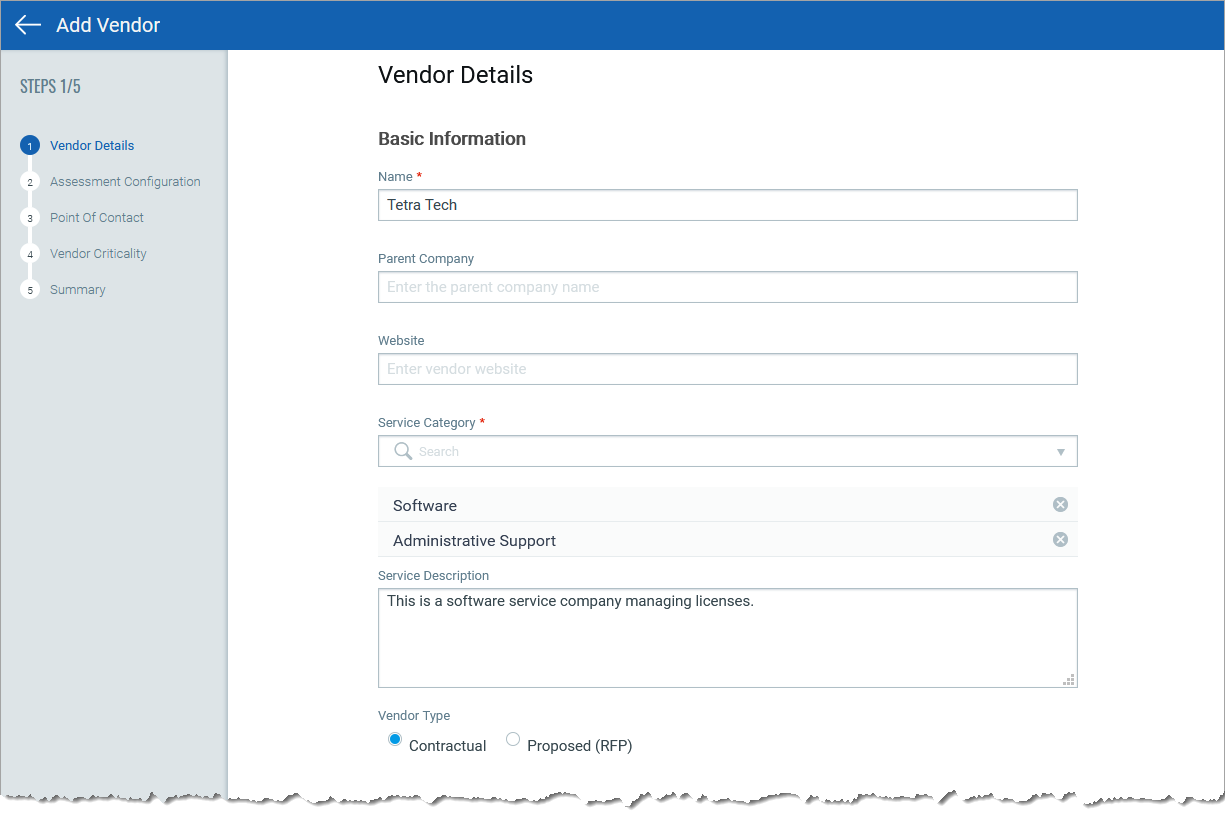
Go to the VENDORS tab, and select Add New. - Provide a name, details about the vendor company, select service category, etc. - Select vendor type. If your vendor has sent an RFP and not yet under contract, then select Proposed (RFP). By default, all vendors created as Contractual are marked Active. You can change the Vendor Status when you edit an existing vendor. - Add supporting documents for the vendor contracts, as required.
|
|
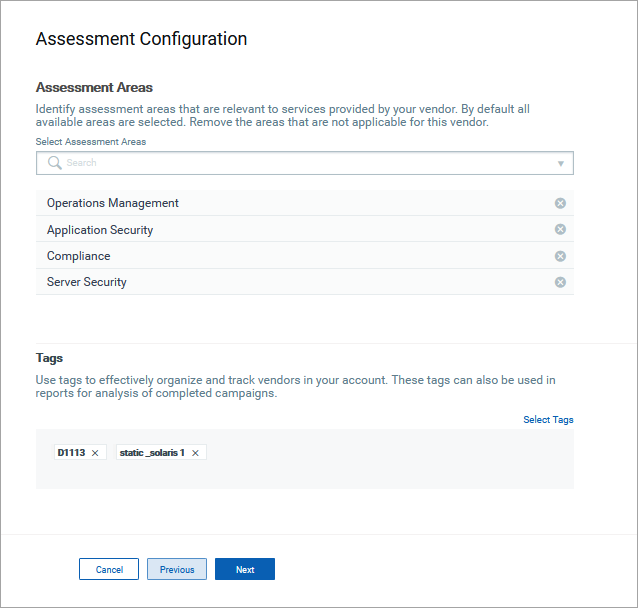
Choose Assessment Configuration - Depending on the services associated with the vendor choose the assessment areas. By default all available areas are selected. Remove the areas that are not applicable for this vendor. - Assign tags to effectively organize and track vendors in your account. These tags can also be used in reports for analysis of completed campaigns.
|
|
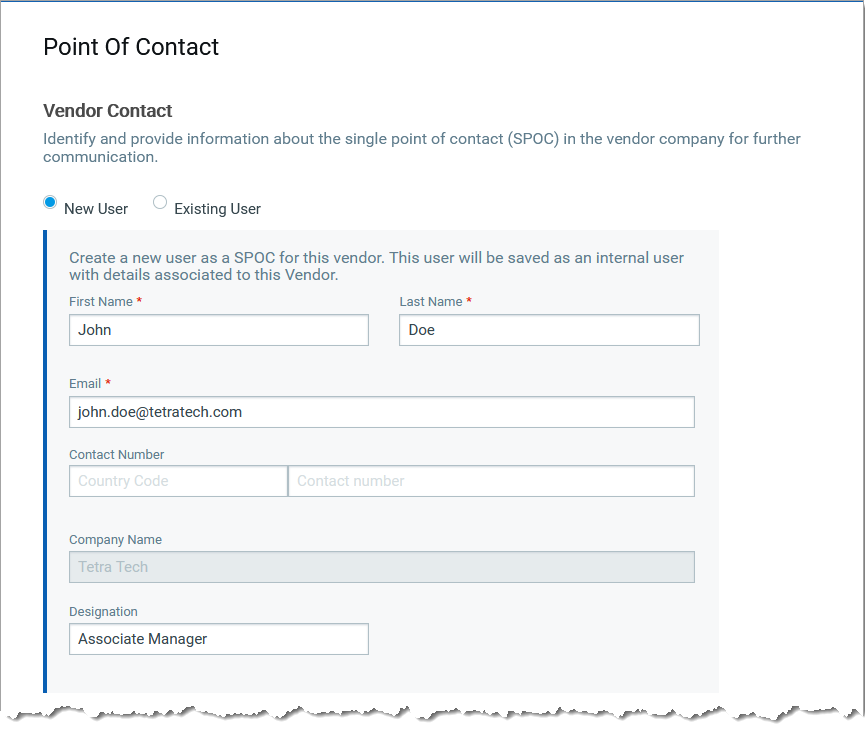
Define Point of Contact - Identify a single point of contact (SPOC) in the vendor company for further communication. You can choose to use an existing user of create a new user.
- You can map existing users that were already associated with this vendor. The user identified as vendor SPOC is by default added as an associated user. - Identify a contact within your organization who will be a single point of contact for this vendor. Usually this user will have more information about the vendor and the vendor services. |
|
Set Vendor Criticality You can choose to auto-generate vendor criticality. We will send a template (default internal template or library template or custom template) selected by the user to the internal contact user who by responding to the questionnaire will auto-calculate vendor criticality.
- Else, you can choose to set the criticality manually. Choose the Customize option and from the Criticality list select a value most relevant to this vendor. |
|
Review Summary Simply review all that you selected and Save your vendor. |

You can check out the tutorial about to know about Vendor Workflow:
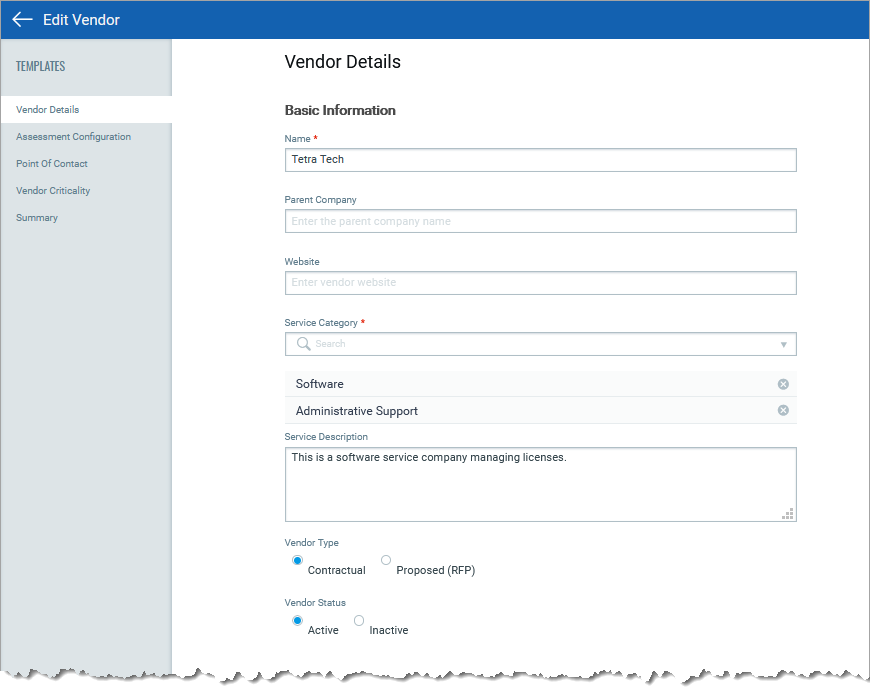
Edit a Vendor
You can edit a vendor to update or change information such as contract documents, vendor status, SPOC, internal contact, etc. For example, while creating a vendor you had set the Vendor Type as Proposed (RFP) so the vendor status was set to inactive by default. Once the vendor is confirmed as a contractual vendor you can edit the vendor to change Type to Contractual and Status to Active.
Simply navigate to the VENDORS tab and choose the vendor you wish to edit. From the Quick Actions menu select Edit and make the required changes to the vendor.