Managing Sensor Profiles
You can create sensor profiles, edit the configuration values, and assign the profiles to the required sensors.
For registry sensors, you can configure sensor profiles to control which sensors are used for scanning different registries. Each profile associates a list of registries with a list of sensors that can scan them. This is especially useful when you have sensors that don’t have Internet access and are not able to scan cloud-based registries. Now you can create a profile with your cloud-based registries and include only the sensors that can reach them for scanning.
Good to know:
-
If you do not associate a sensor profile with a sensor, the default sensor profile is used.
-
You can associate one sensor with only one sensor profile.
-
In case of registry sensors,
-
You can add multiple registries in a sensor profile.
-
At the scan time, only sensors associated with a registry are used for the scan job. If a registry is not included in a sensor profile, then any sensor can be used to scan it.
-
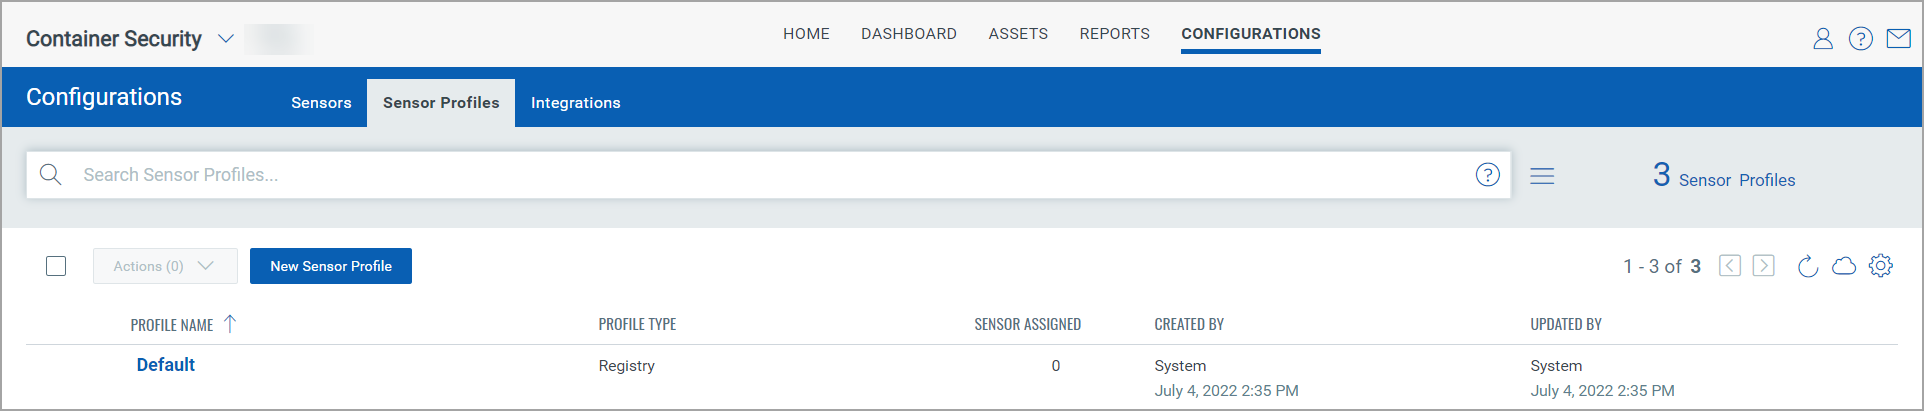
By default, all the sensors and registries that are not associated with any profile will come under the Default sensor profile. Any of the registries in the Default profile can be scanned from any of the sensors available in the Default sensor profile.
-
Create a Sensor Profile
-
Select Configurations > Sensor Profiles, and then click New Sensor Profile.
-
In the Basic Details tab, enter the profile name and description, and select one of the following profile types: Registry, General, and CICD.
-
In case of the registry profile type, in the Assign Registries tab, add registries to scan with the sensors in the profile.
-
In the Assign Sensors tab, assign sensors to the profile.
-
In the Log Settings tab, specify the following options:
Option
Description
Log Level
Specifies the type of log data.
Log File Purge Count
Specifies the maximum number of log files to achieve. The remaining files will be purged.
Log File Size
Specifies the maximum file size for each log file. After the file size is achieved for a file, a new file is created.
-
In the Sensor Inactive Windows tab, configure a window of time in which the sensor will not operate.
For each window, select a day of the week and then select the start time and end time. You can also select the All Day option to create an inactive window for the whole day.
Notes:
-
The start time and end time are based on the UTC time zone. Therefore, you must configure them according to UTC time.
-
You need sensor version 1.21 or later to use this feature.
-
-
In the Vulnerability Management tab, specify the following options:
-
For the Registry and CICD profile types, select one of the following options from the Configure Image Scans list:
-
Dynamic: to perform dynamic scanning.
-
Dynamic with Static Fallback: to perform static scanning as a fallback to dynamic scanning for images without a shell. This setting applies when a new image is pulled, or the manifest is updated. This setting only applies to vulnerability scans.
-
-
For the General profile type, specify the following options:
-
Enable Scanning: Turn this option off to stop all scan operations.
-
Configure Image Scans: See the above list item.
-
Container Scanning Interval: Select a scanning interval for how often sensors should rescan containers. An interval of 48 hours is recommended for optimum performance.
-
Image Exclusion: Create an image exclusion list using regular expressions. Images matching the exclusion list are not scanned by the sensors in this profile. You can create a maximum of 100 regular expressions.
-
-
-
In the Review tab, review the specified options and click Submit.
View, Edit, or Delete a Sensor Profile
-
Select Configurations > Sensor Profiles.
A list of available sensor profiles appears.
-
For a sensor profile, select an appropriate action from the Quick Actions menu:
Option
Description
View
Shows details of the sensor profile.
Edit
Let's you edit the sensor profile.
Delete
Deletes the sensor profile.