Google Artifact Registry Connector
For Google Artifact Registry (GCAR), you can create a connector to connect to your GCP account. The steps are similar to Google Cloud Registry except there's one additional step for providing Artifact Registry permissions.
Create Connector for Google Artifact Registry
1) In the Container Security UI, go to Assets > Registries and click New Registry.
2) Pick Google Artifact Registry from the Registry Type menu.
3) In the URL field, enter the path to the registry (e.g. https://location-docker.pkg.dev).
4) Click Create New next to the Connector field.
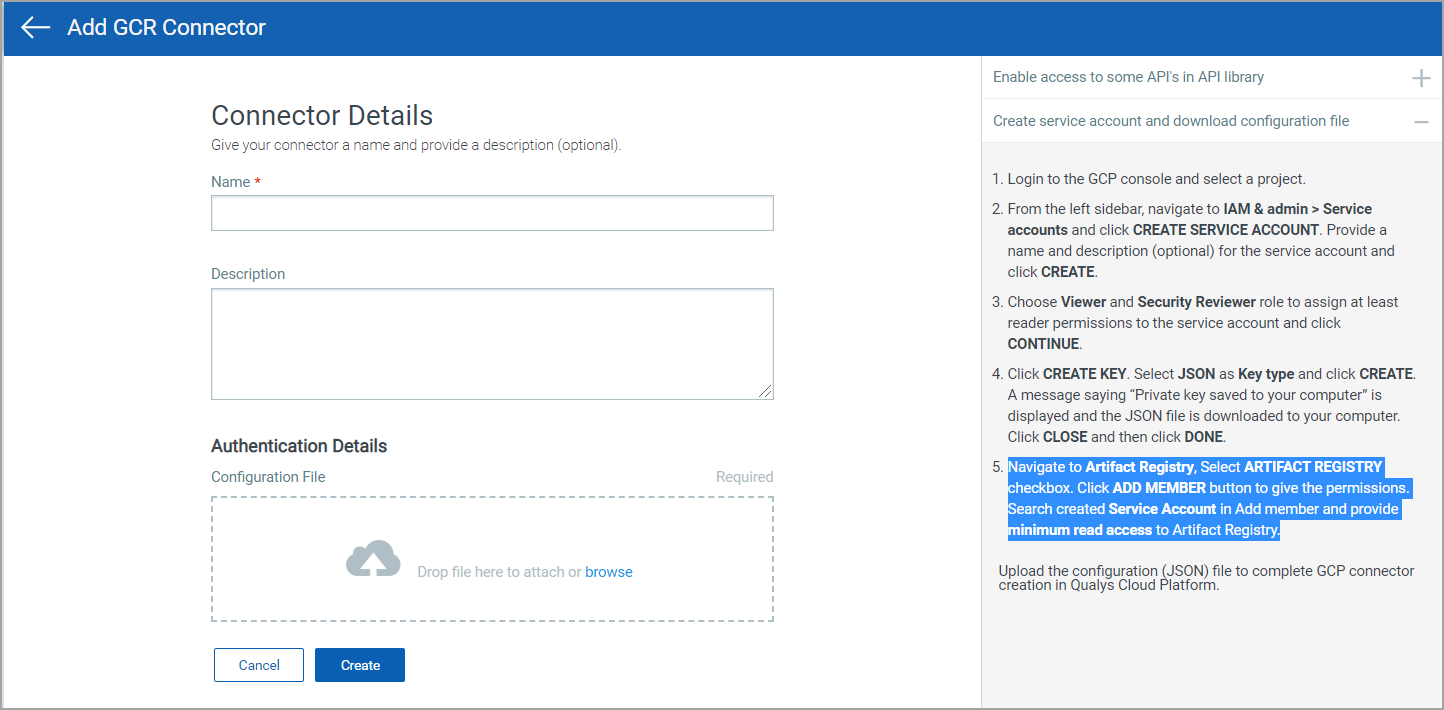
5) On the Connector Details page, give your connector a name.
6) Continue with the steps below to enable access to certain APIs, create a service account and download the configuration (JSON) file. When you're done, upload the configuration file to the connector details. (Note that the steps you need also appear in the UI, on the right side of the Connector Details screen.)
Enable Access to APIs in API Library
1) Login to the Google Cloud Platform (GCP) console.
2) Select the organization.
3) Select a project or create a new project. (It's important that you select the correct project.)
4) In the left sidebar, navigate to APIs and Services.
5) You'll need to enable access to the APIs listed below. In the API Library, search for each API by name, click Manage, and then click Enable API.
- Search Compute Engine API
- Cloud Resource Manager API
- Compute Engine API
- Kubernetes Engine API
- Cloud SQL Admin API
Create Service Account and Download Configuration File
1) Login to the Google Cloud Platform (GCP) console.
2) Select the project.
3) From the left sidebar, navigate to IAM & admin > Service accounts and click CREATE SERVICE ACCOUNT. Provide a name and description (optional) for the service account and click CREATE.
4) Choose Viewer and Security Reviewer role to assign at least reader permissions to the service account and click CONTINUE.
5) Click CREATE KEY. Select JSON as the Key type and click CREATE. A message saying “Private key saved to your computer” is displayed and the JSON file is downloaded to your computer. Click CLOSE and then click DONE.
6) Navigate to Artifact Registry, select the ARTIFACT REGISTRY check box. Click ADD MEMBER button to give the permissions. Search created Service Account in Add member and provide minimum read access to Artifact Registry.
7) Upload the configuration (JSON) file to the connector details.