Azure Container Registry Connector
For Azure Container Registry (ACR), you can create a connector to connect to your Azure account.
Create Connector for Azure Container Registry
1) In the Container Security UI, go to Assets > Registries and click New Registry.
2) Pick Azure Container Registry from the Registry Type menu.
3) In the URL field, enter the path to the registry (e.g. https://myregistry.domain:port).
4) Click Create New next to the Connector field.
5) On the Connector Details page, give your connector a name.
6) Continue with the steps below to create an application and generate client secret. When you're done, you'll need to paste the application ID and client secret back into the connector details. (Note that the steps you need also appear in the UI, on the right side of the Connector Details screen.)
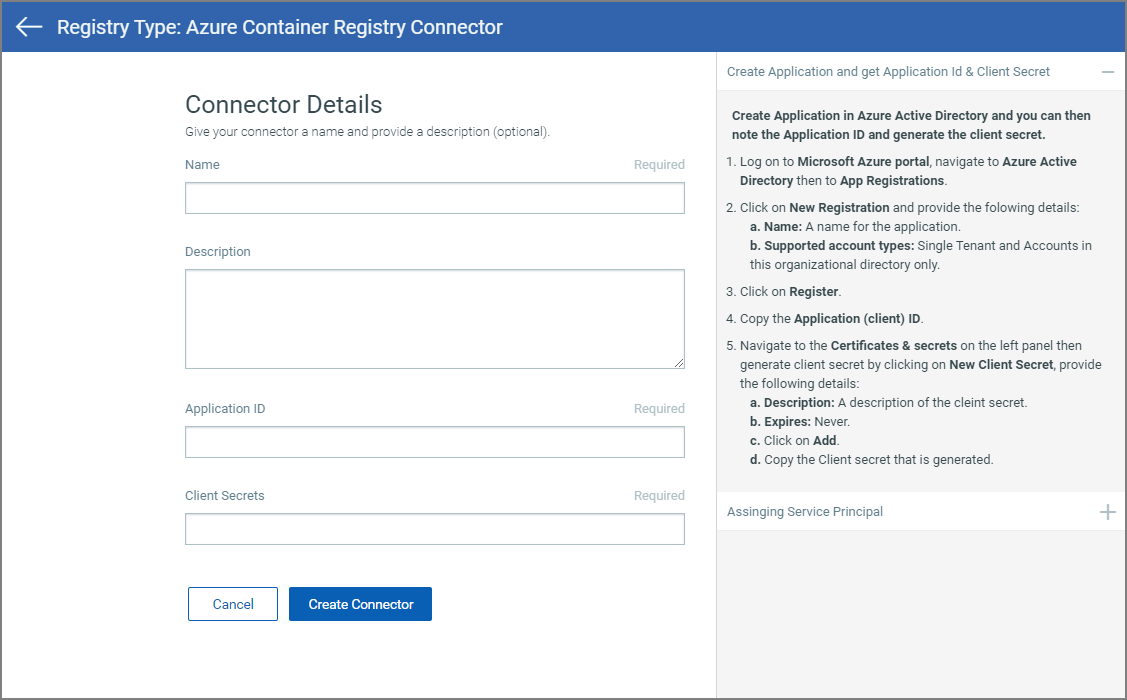
Create Application in Azure Active Directory
Follow the steps below to create an application in Azure Active Directory and generate the client secret.
1) Log on to Microsoft Azure portal, navigate to Azure Active Directory, and then go to App Registrations.
2) Click on New Registration and provide the following details:
- Name: A name for the application.
- Supported account types: Single Tenant and Accounts in this organizational directory only.
3) Click on Register.
4) Copy the Application (client) ID.
5) Navigate to "Certificates & secrets" on the left panel, then generate a client secret by clicking on New Client Secret.
Provide the following details:
- Description: A description of the client secret.
- Expires: Never.
6) Click Add.
7) Copy the Client Secret that is generated.
Assign Service Principal with a Contributor/Reader role to the Application
Follow the steps below to assign a role to the application.
1) Navigate to Container registries and then to Access control (IAM) on the left panel.
2) Navigate to Role assignments and Add a new role assignment.
Provide the following details:
- Role: Contributor.
- Assign access to: Azure AD user, group or service principal.
- Select: Application created with client secret.
3) Click Save.